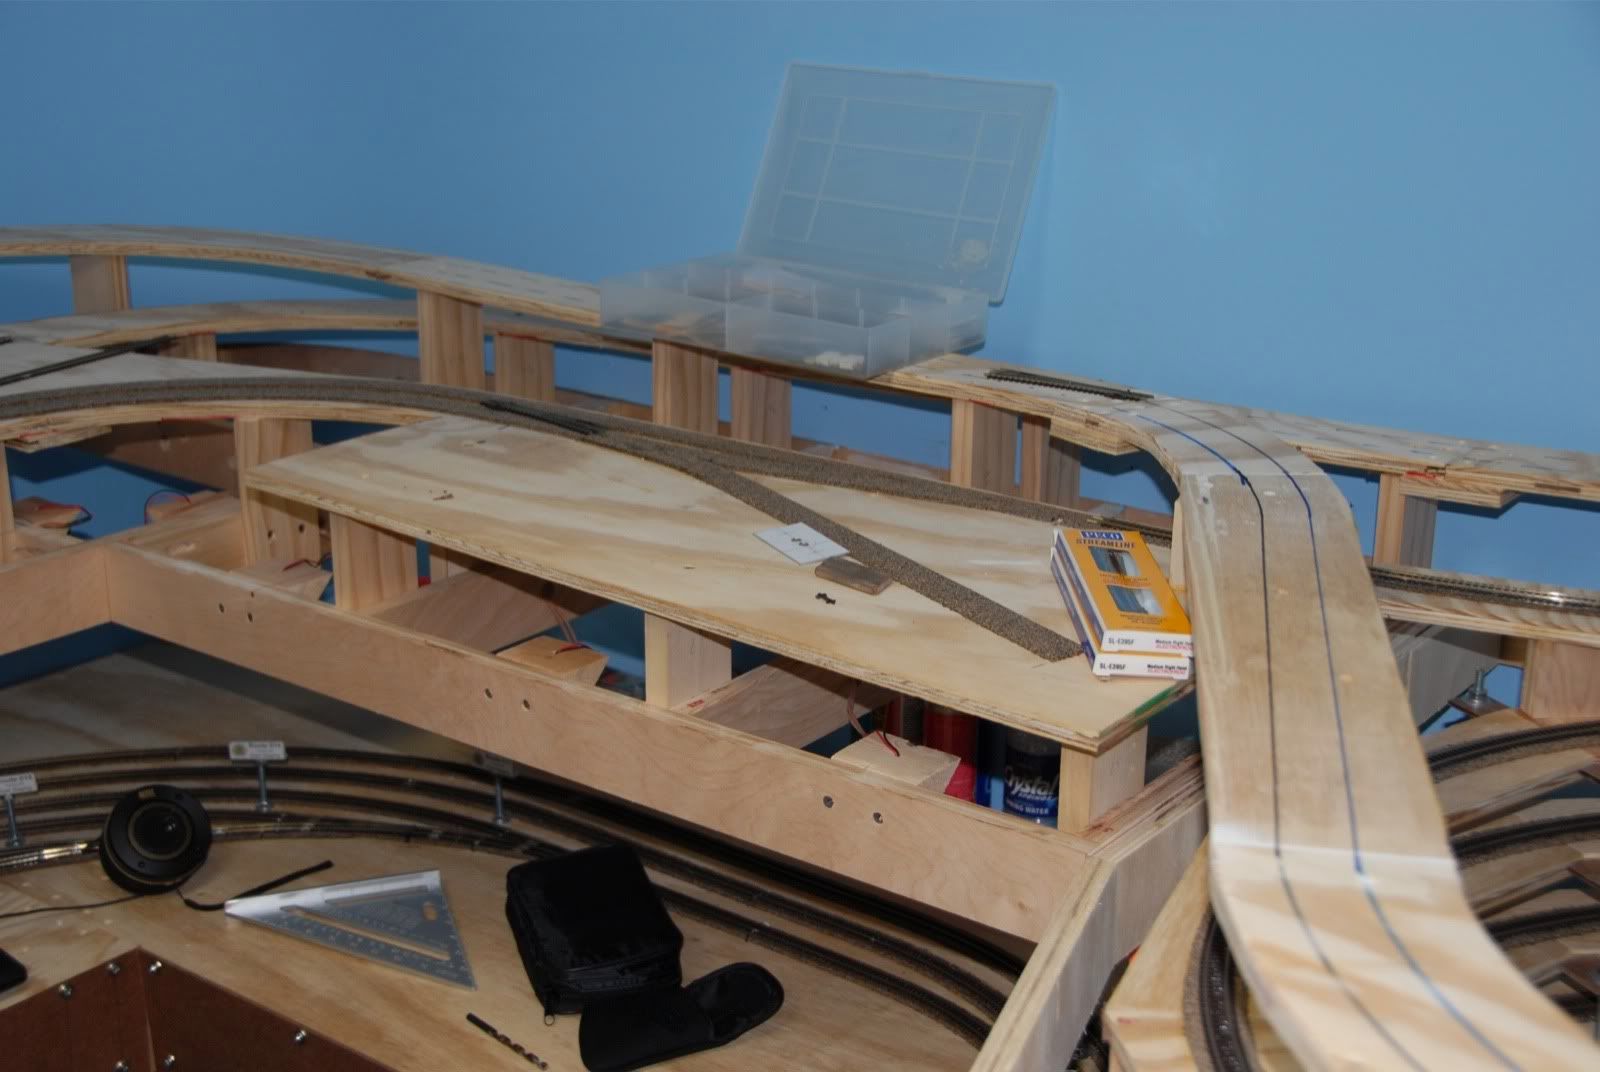
In the following picture the double mainline can be seen looping above the helix. Getting the elevations right for this loop turned out to be fairly since I had detailed elevation measurements from the trackplan. All the elevations on the trackplan were with respect to the top of the benchwork. I measured up the amount of the elevations above the benchwork on the wall, and made a mark. Next I broke out my self-leveling laser line level to match that mark. I then held a ruler above the actual location and was able to determine the exact height of the riser by where the laser line was hitting the ruler. After the risers were in place the wood subroadbed was cut and then put in place. The results can be seen below:
Here is another pic a little further down the benchwork. As you can see I have started the cork roadbed and getting ready for the track laying. I actually had to lay the track coming from the helix to the branchline before the benchwork for the double mainline in the previous picture was put into place.
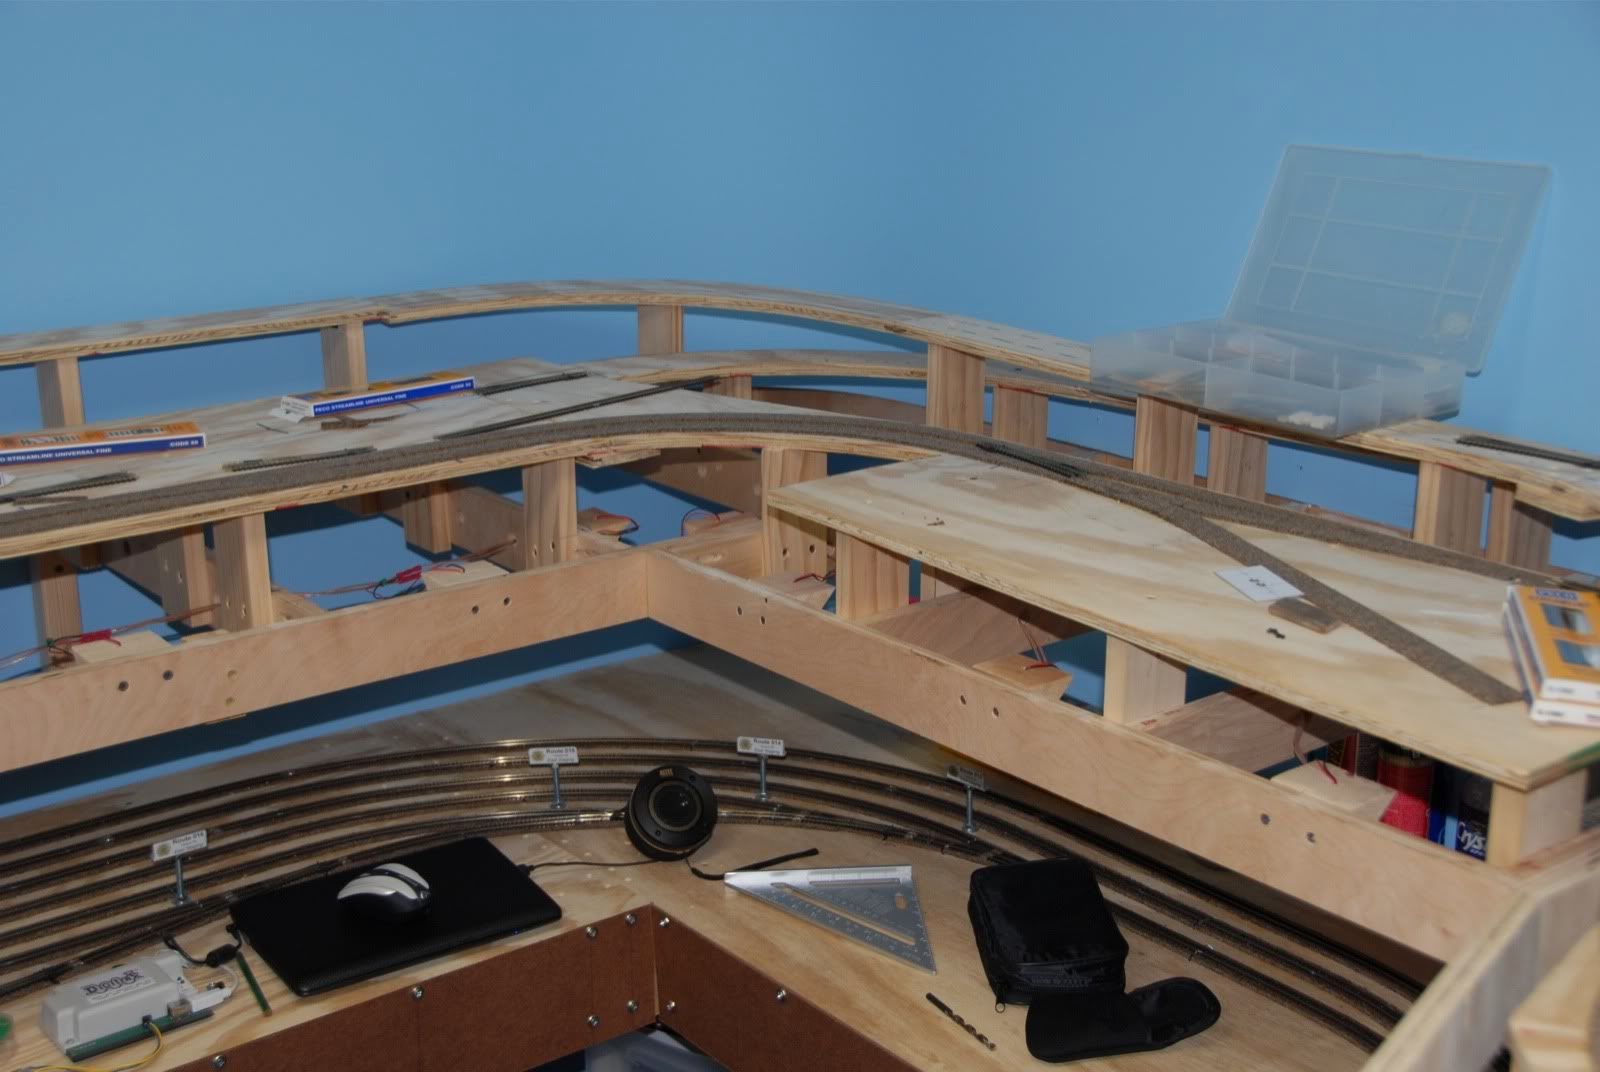
The following pic shows the some more of the complete main level benchwork. Also, if you look closely I have mounted the front fascia for the lower staging level to give things a more finished look. It will be painted green later on.
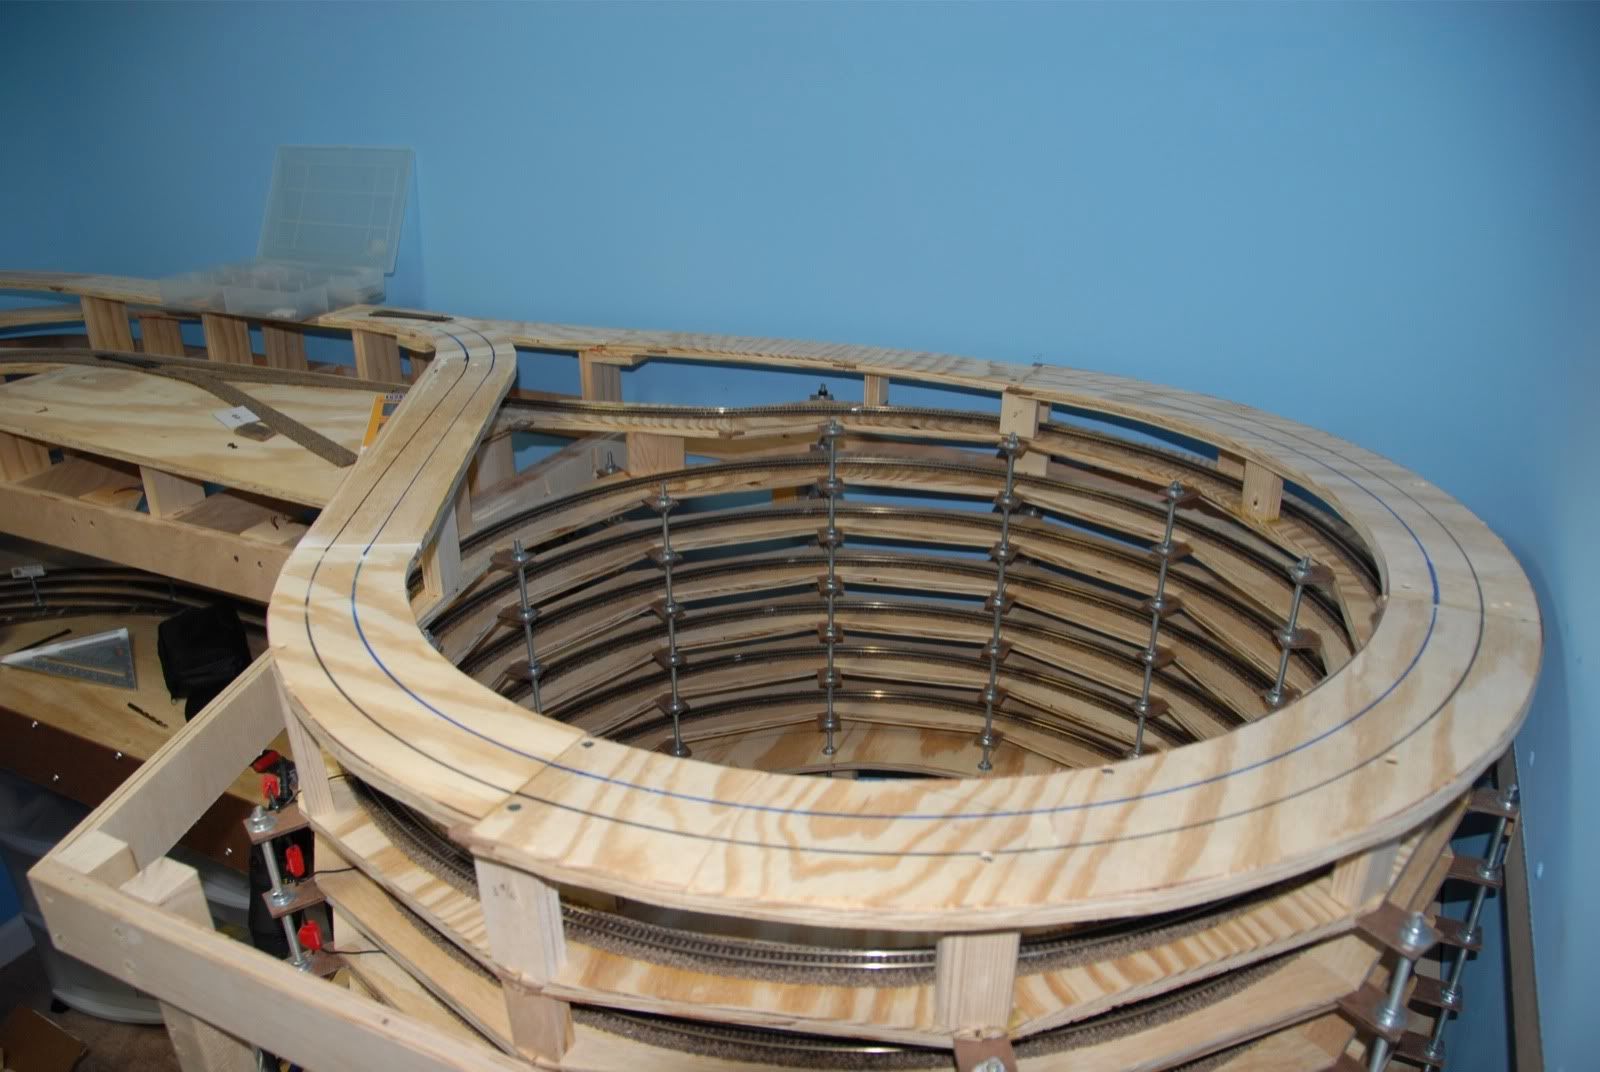
This picture gives you a closer look at the different mainline elevations above the helix. Couldn't imagine doing this without a detailed trackplan with exact measurements, be it a trackplan out of a magazine or book, or one drawn up on a CAD package.

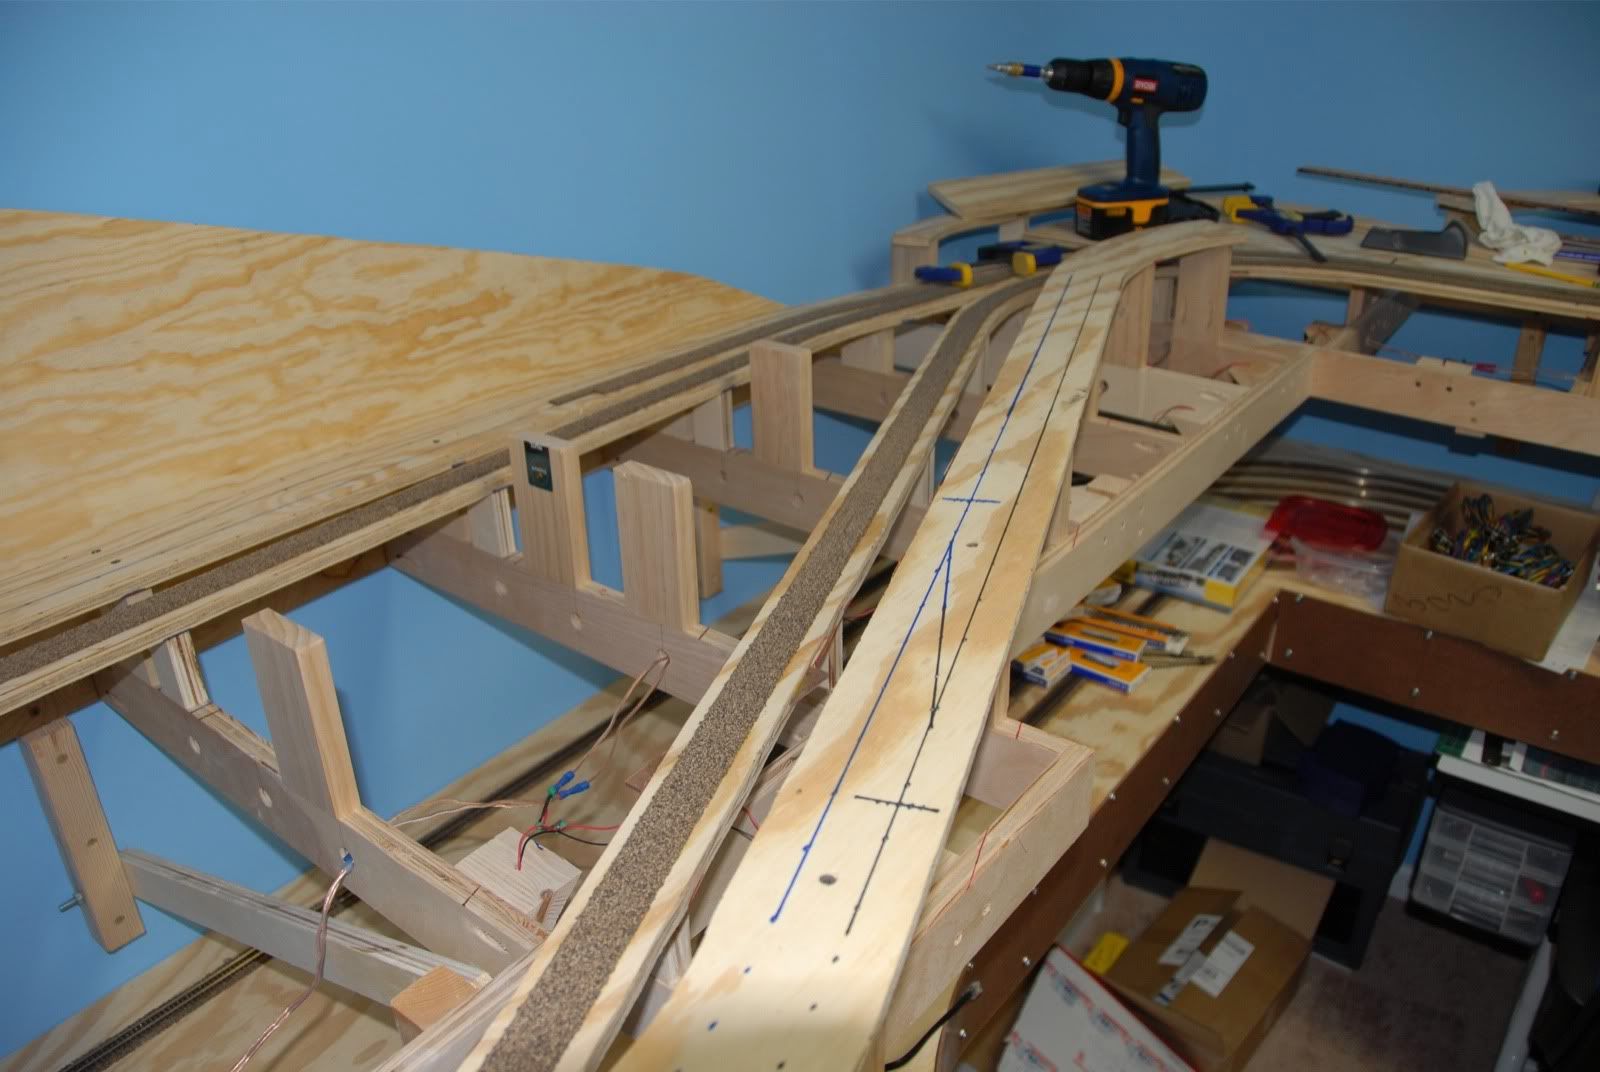
This final pic shows the rest of the cork roadbed in place on the branchline return loop. It will more than likely be up and running before the mainlines, as those will require some bridge construction that I haven't started yet.
Until next time.........
Hi,
ReplyDeleteI just discovered your blog, and as a fellow N scaler, I am very impressed by your well thought-out plan and level of craftsmanship. You really need more followers! Hope you keep us updated on a regular basis, although I realize that hobby time is always in short supply.
Your helix really impresses me, I was going to partially double deck my layout but shied away from it. The thought of cutting all those semi circles out of plywood and wasting the leftovers really wasn't doing it for me. Your design is simple and effective, with no waste.
Keep up the excellent work!
Frank B.
Dorval, Canada.
Thanks for your comment Frank! I do plan on updating the blog regularly, as I hope that my blog will help or inspire someone else, just as other blogs and websites have done for me. Wish I could take credit for the helix design, but I just took ideas from others and made them work for me. Now that it's built and I can look back, be sure you have a cheap source for the nuts and washers, as it uses a lot of them. Using small wooden spacers would have been cheaper.
ReplyDeleteSee you around!