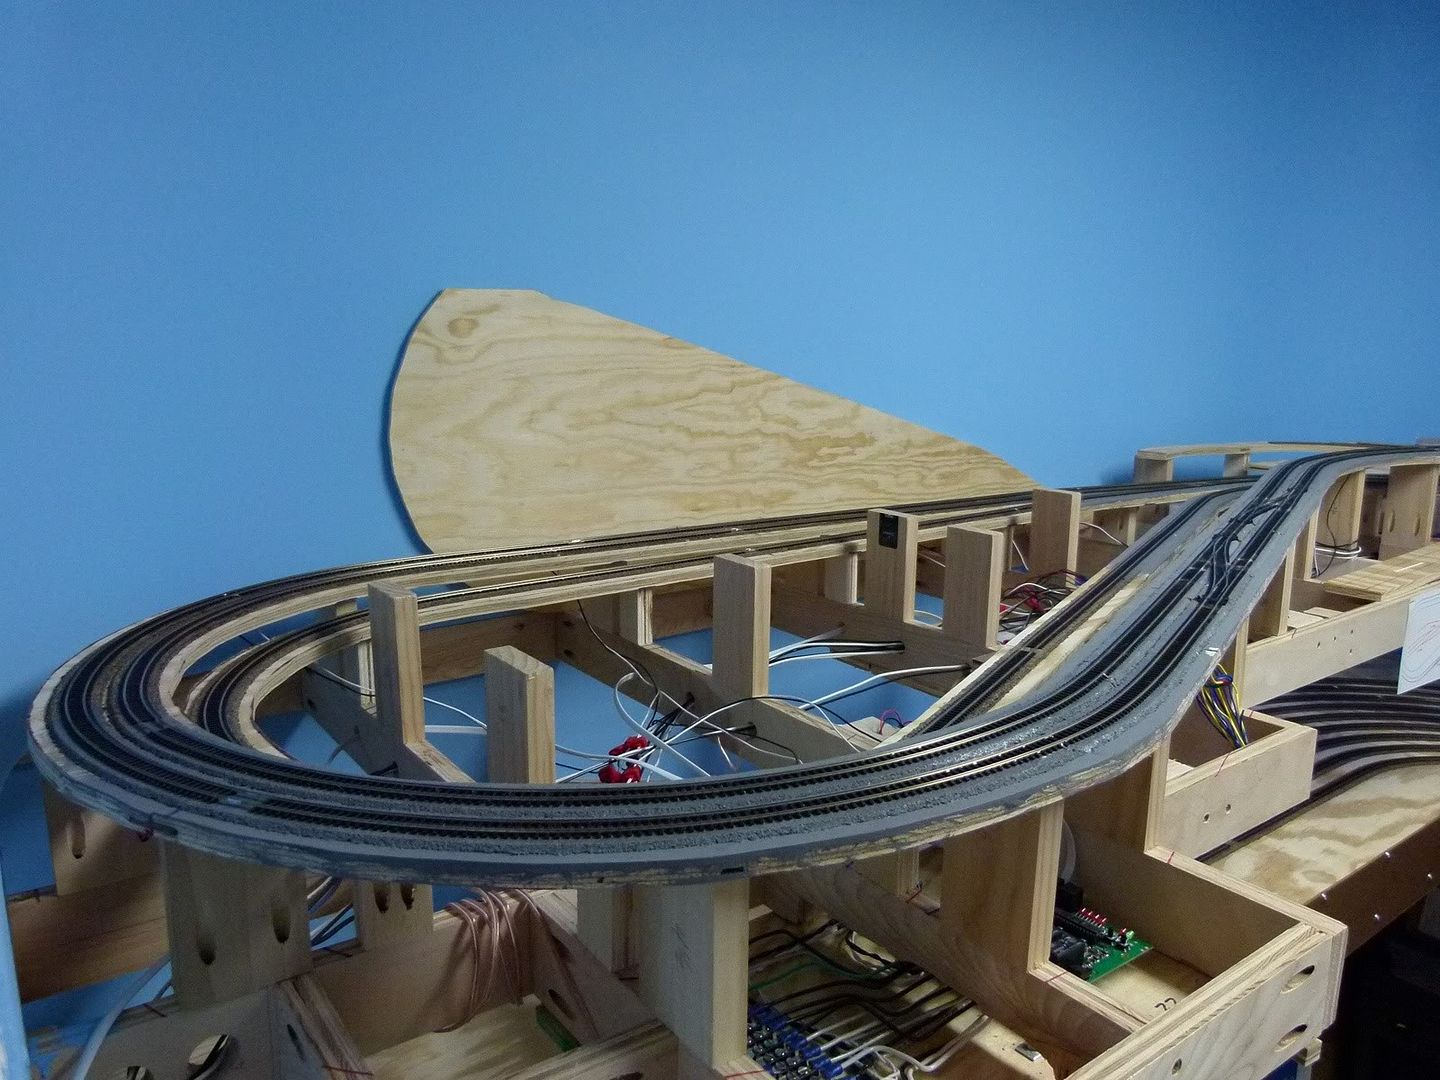
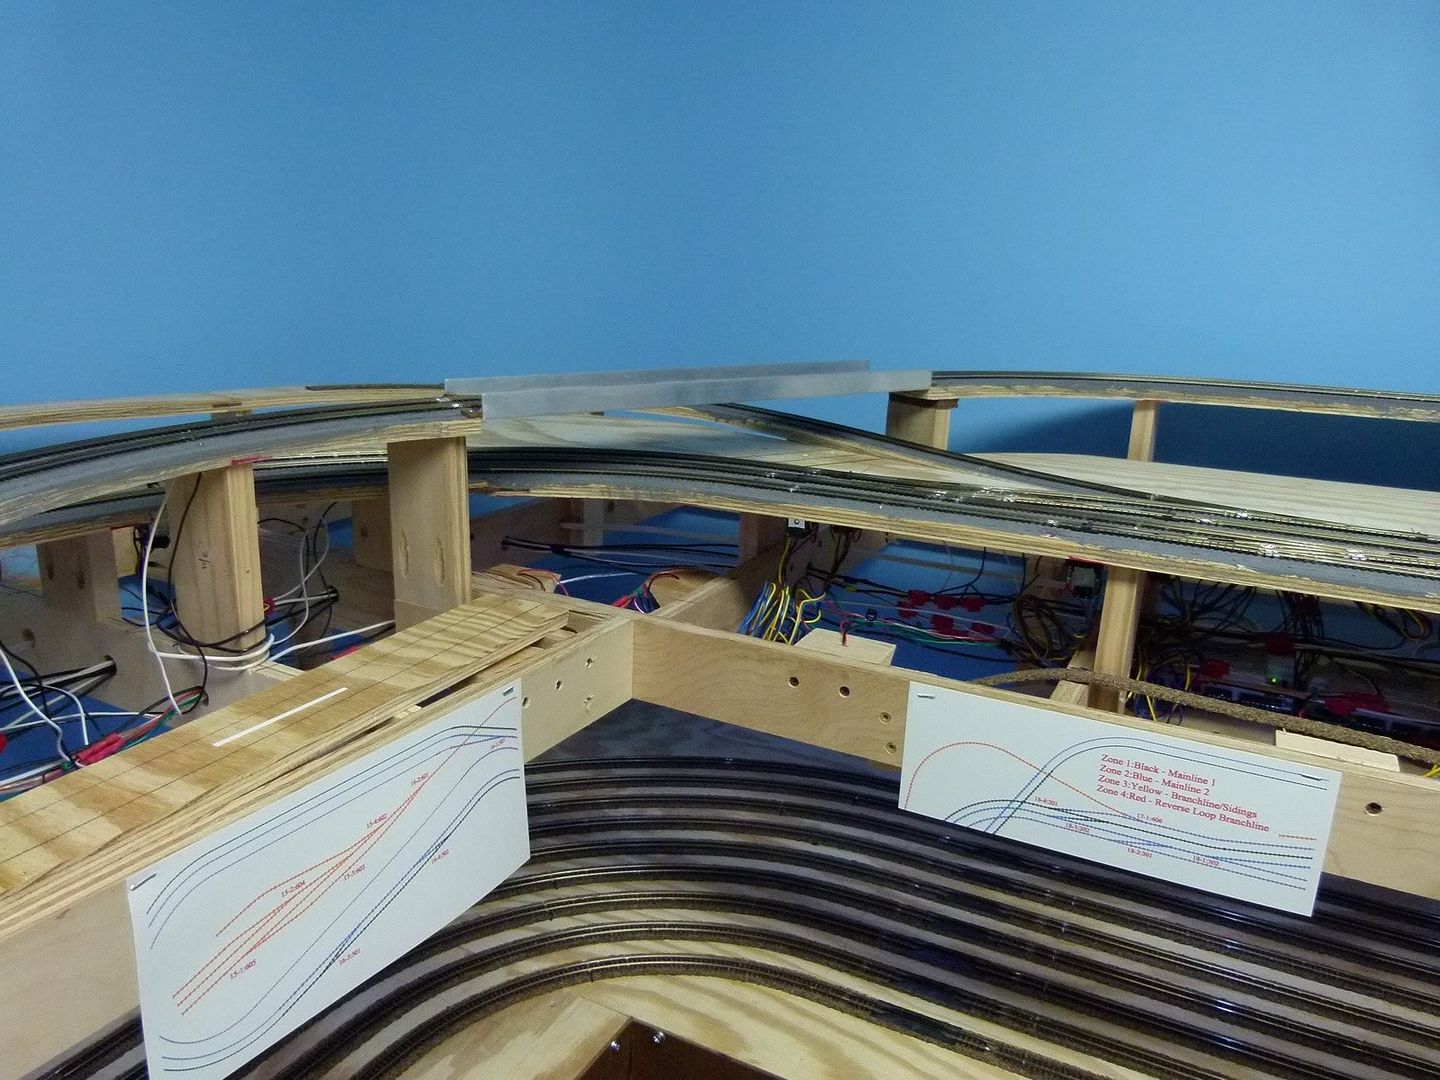
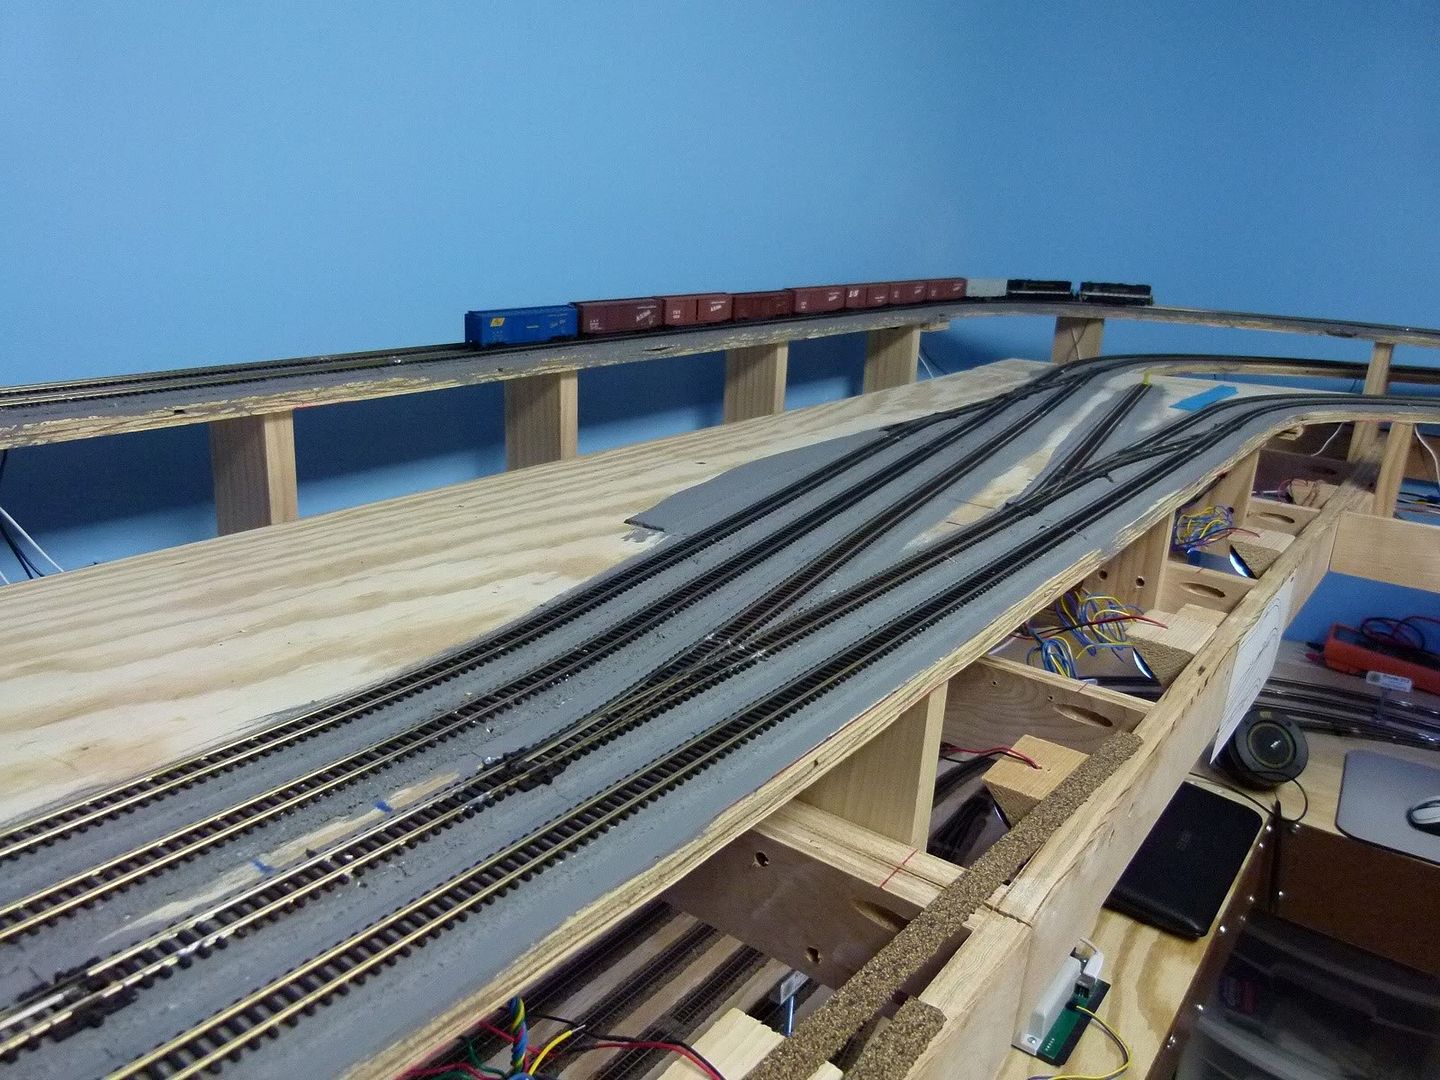
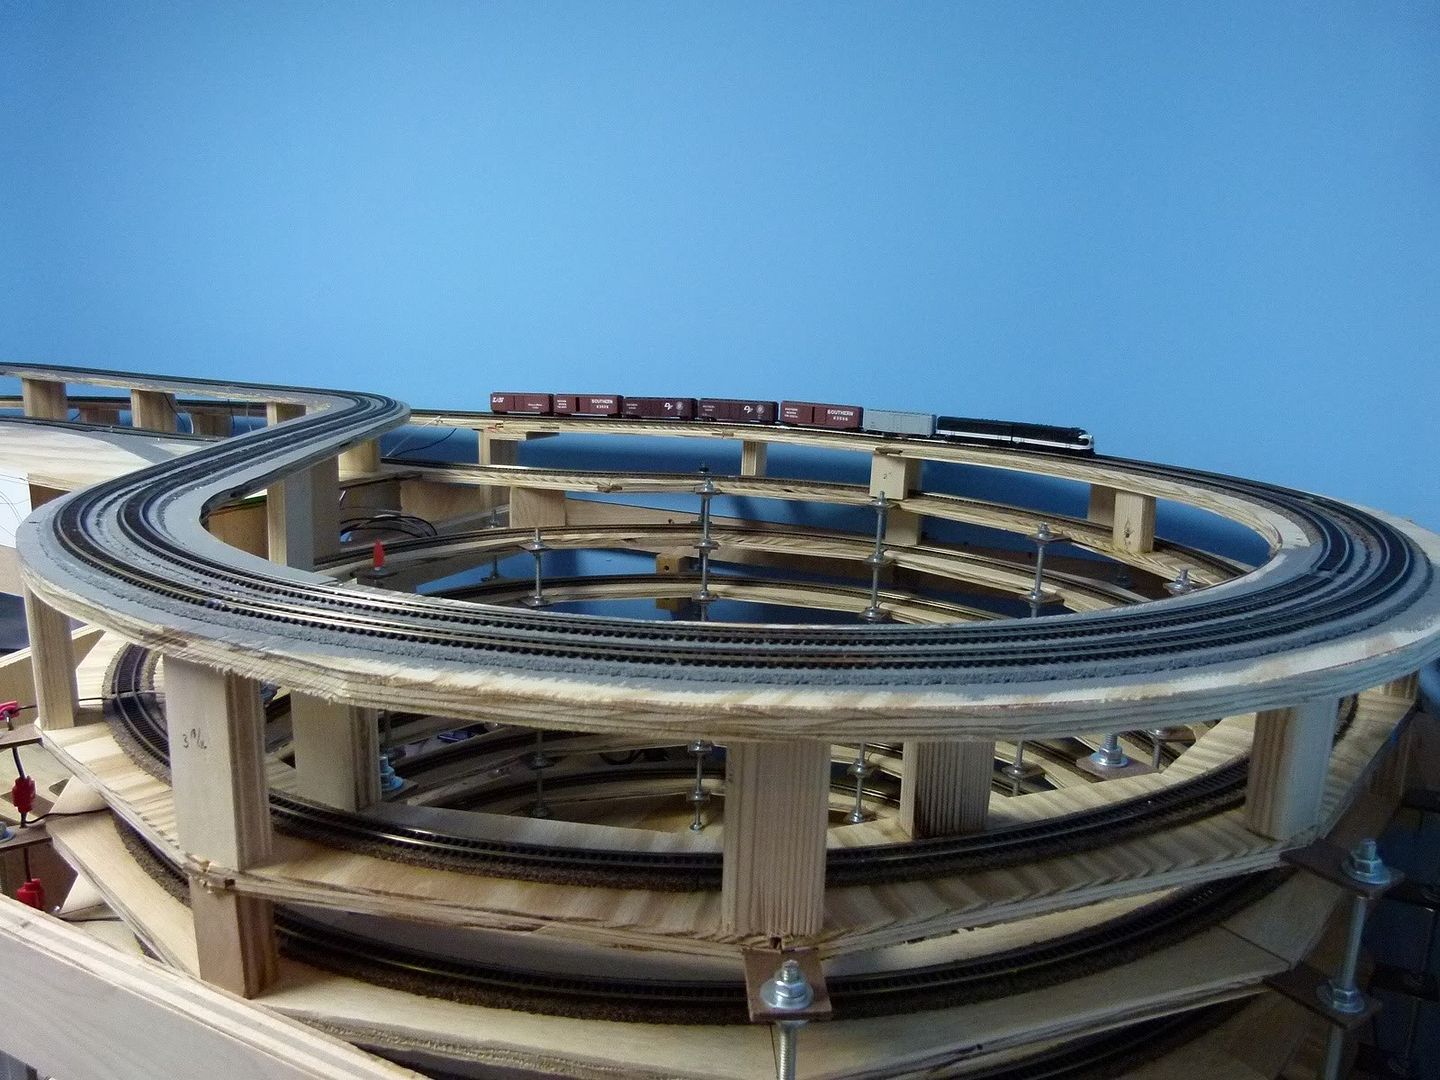
Well, the big day finally arrived on Wednesday, November 24th: Both mainlines' track was completed and the first trains ran on them on the main level, 327 days after the first piece of benchwork went up.......Hooray!!!! It's been a long haul so far, and the journey of this layout has a long way to go!
Here is a video showing the mainlines in operations as of this morning:
Here are some pics to look at things in more detail. First the loops around the coal mine area:
Next the area heading into the town (one of these days I'm going to have to start naming these places)....
A further look around the town area toward where the depot will be:
Continuing further east along the layout:
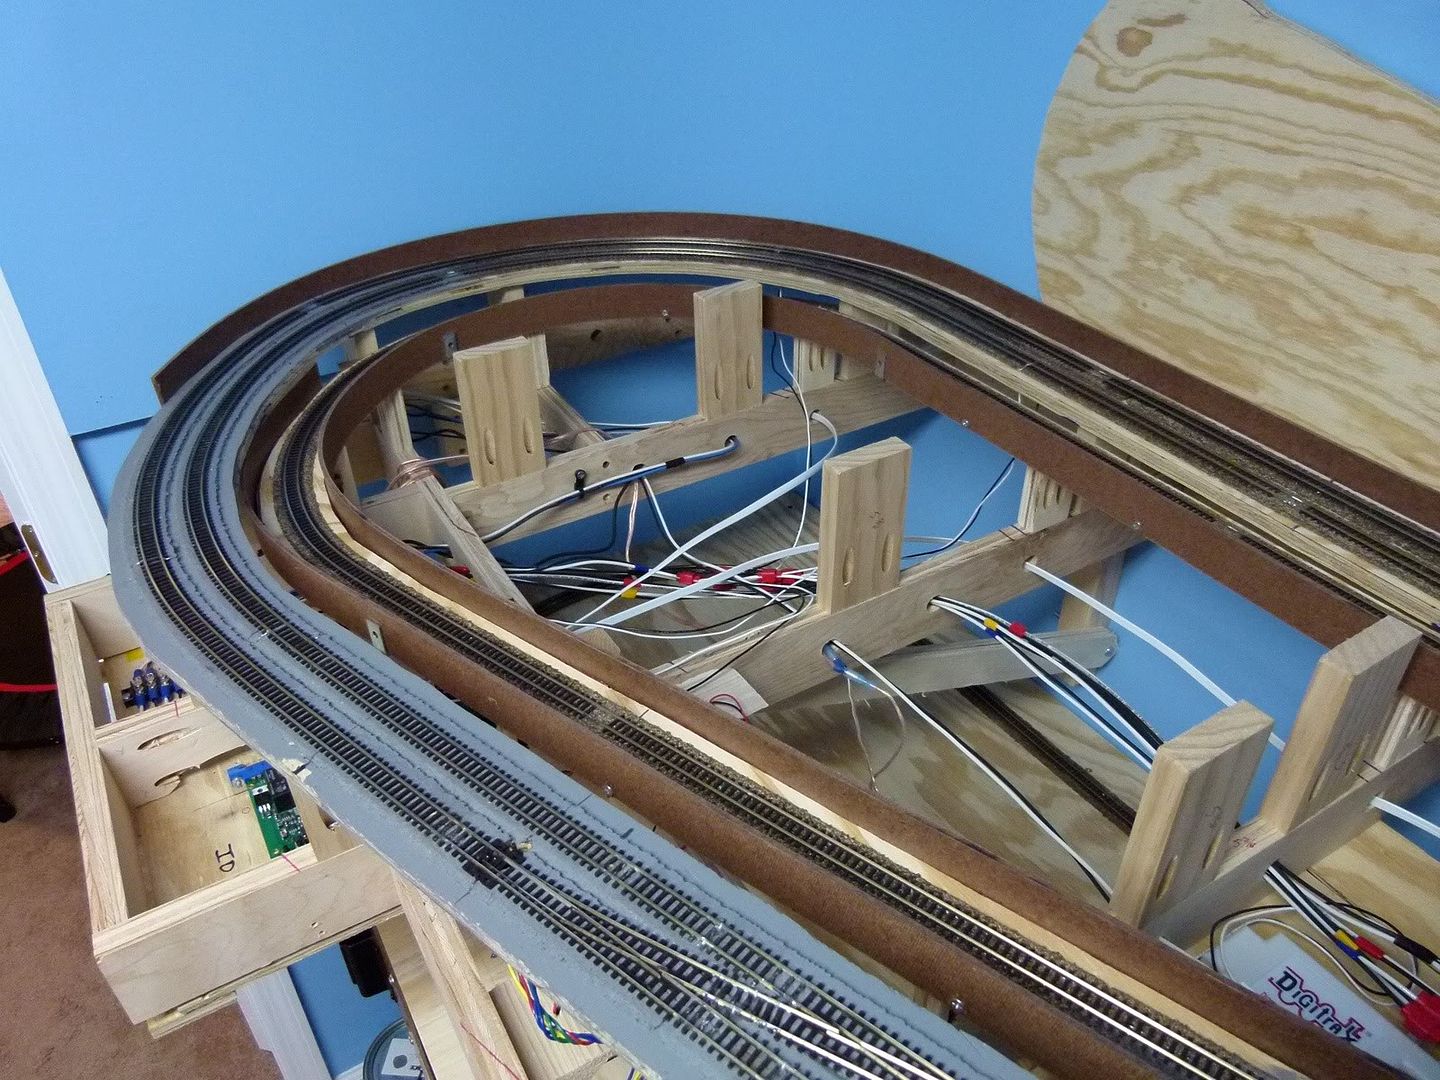
Finally the loop above the helix:
After the video and above pictures were shot, I began to work on some train protectors along the hidden part of the track. These protectors will help stop the engines and/or cars during a derailment from falling off of the roadbed on the upper level onto the lower level or, even worse, onto the floor. With the cost of rolling stock these days it only makes sense to do this to help prevent destroying the rolling stock. I'm only installing these on what will be the hidden track, as the visible track will have scenery around it to catch any derailments.
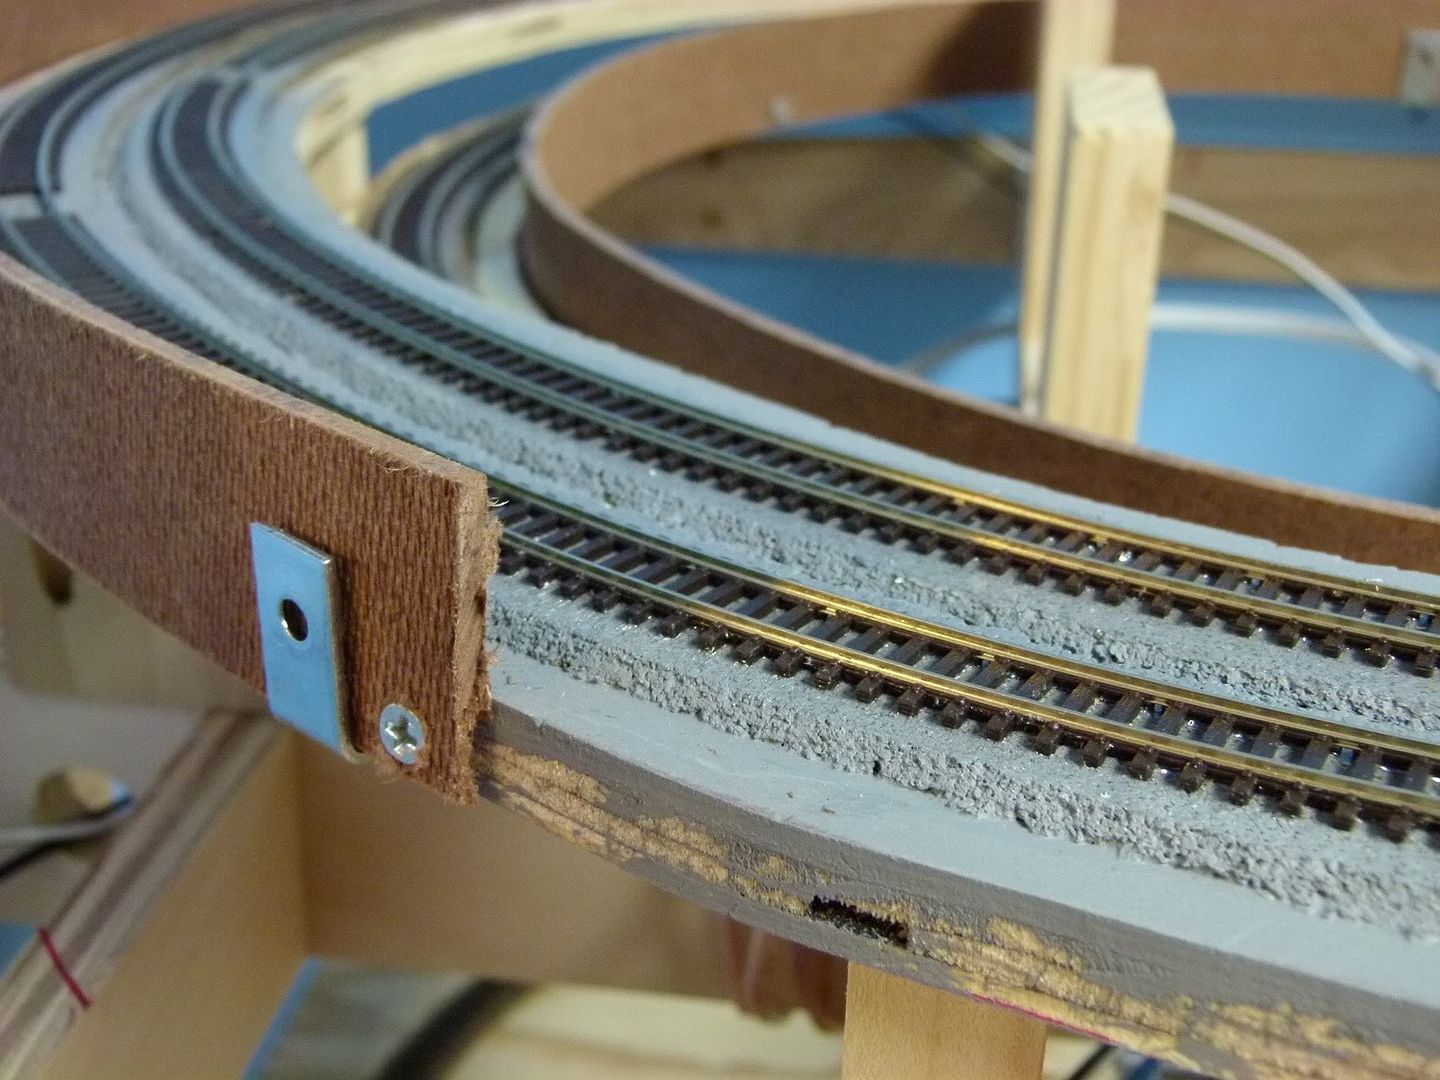
I'm building these with 1.5" wide strips of 1/8th inch masonite hardboard and some 1 inch corner brackets screwed to the bottom of the wooden subroadbed. Here is a closeup that shows how it is mounted:
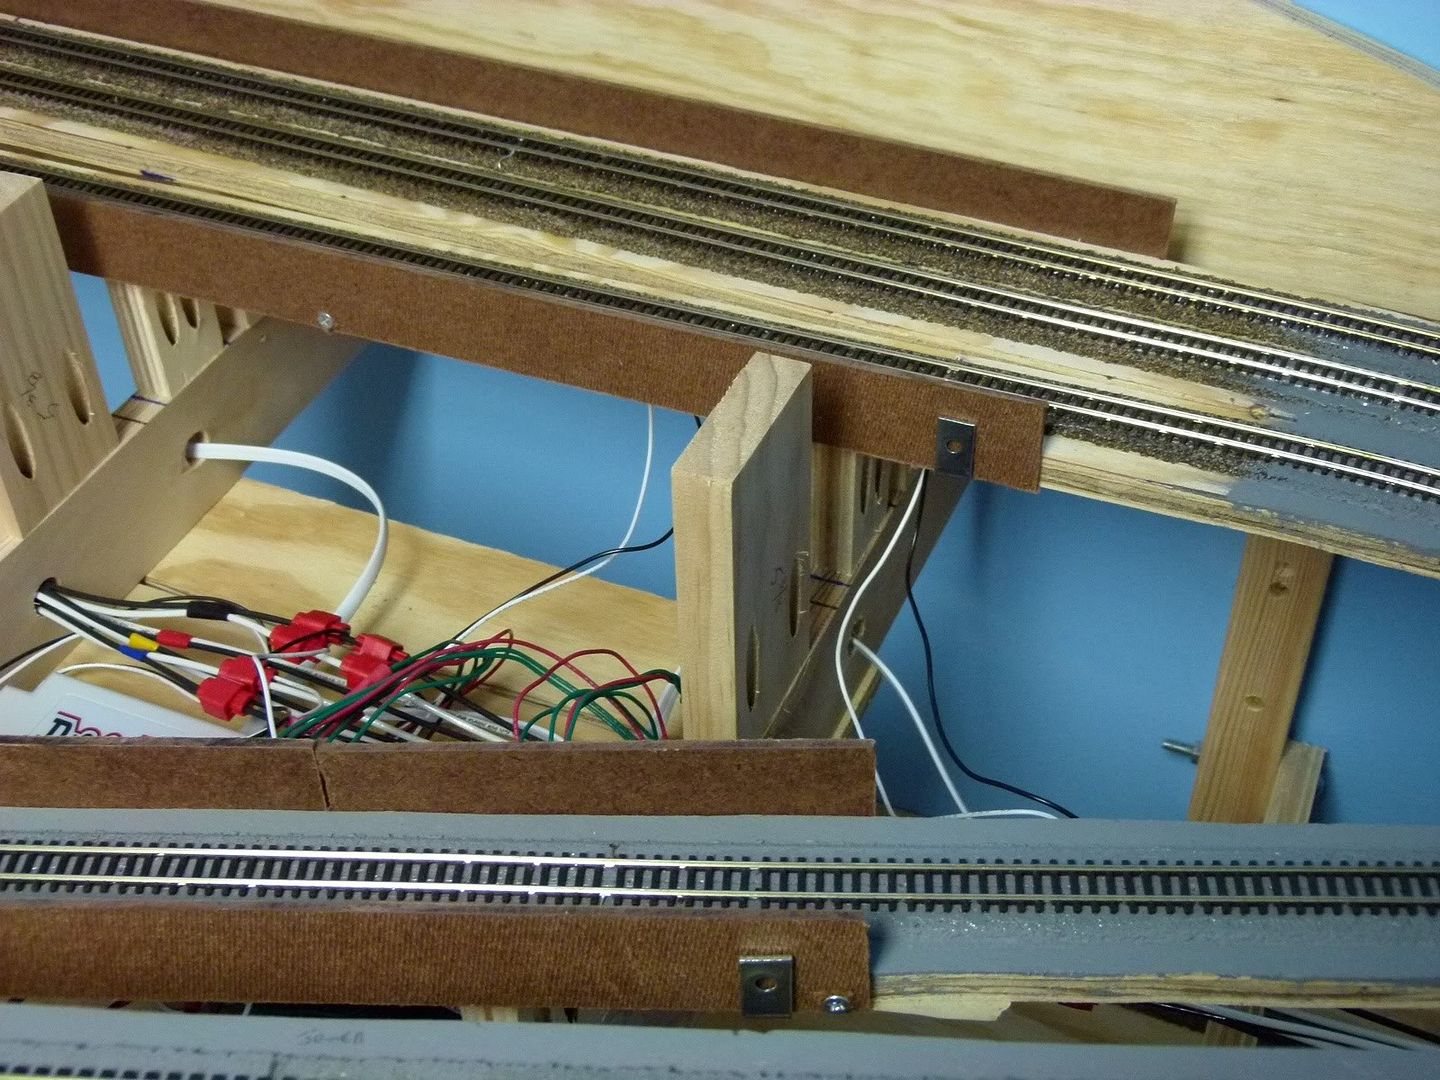
Here is another area showing some of the protector boards. As you can see, the corner braces hold it in place, with a few screws here and there to secure it. Doesn't have to be pretty, just effective:
Here is the coal mine part of the layout with all of the protector installed on that side:
Next couple of weeks things will slow down some, with the holidays approaching. I'll work on a few odds & ends during that time, mostly some DCC stuff like installing decoders and working on routes. However, I already have plans made for over the Christmas holidays to pick up some styrofoam sheets to start the scenery contours!!
One final video before we go. I shot this for our friends at N Scale website, a great resource for the N Scale Model Railroader. See y'all soon!!!
Saturday, November 27, 2010
Monday, November 8, 2010
Layout Progress Report #20 as of 11/08/2010
First off let me give y'all my sincerest apologies, it's been more than a week as I had planned for my next update, it's actually been almost 2 months!! Ouch!!! Life and priorities have gotten in the way of updating the blog, however work on the CSR has progressed nicely.
So when we last left the CSR the track had been laid for the branchline on the main level. Next was the powering of that track, which meant the track sections had to be isolated due to reverse loops and the Peco Electrofrog turnouts that I'm using. Using Peco Electrofrog turnouts require that the diverging sections of the turnout be insulated from the next track sections on the frog side of the turnout. This can be done with insulating joiners when joining the track to the turnout or by cutting insulating sections into the track. I prefer the latter, as it is much more stable and secure than insulating joiners, as they flex and deteriorate over time.
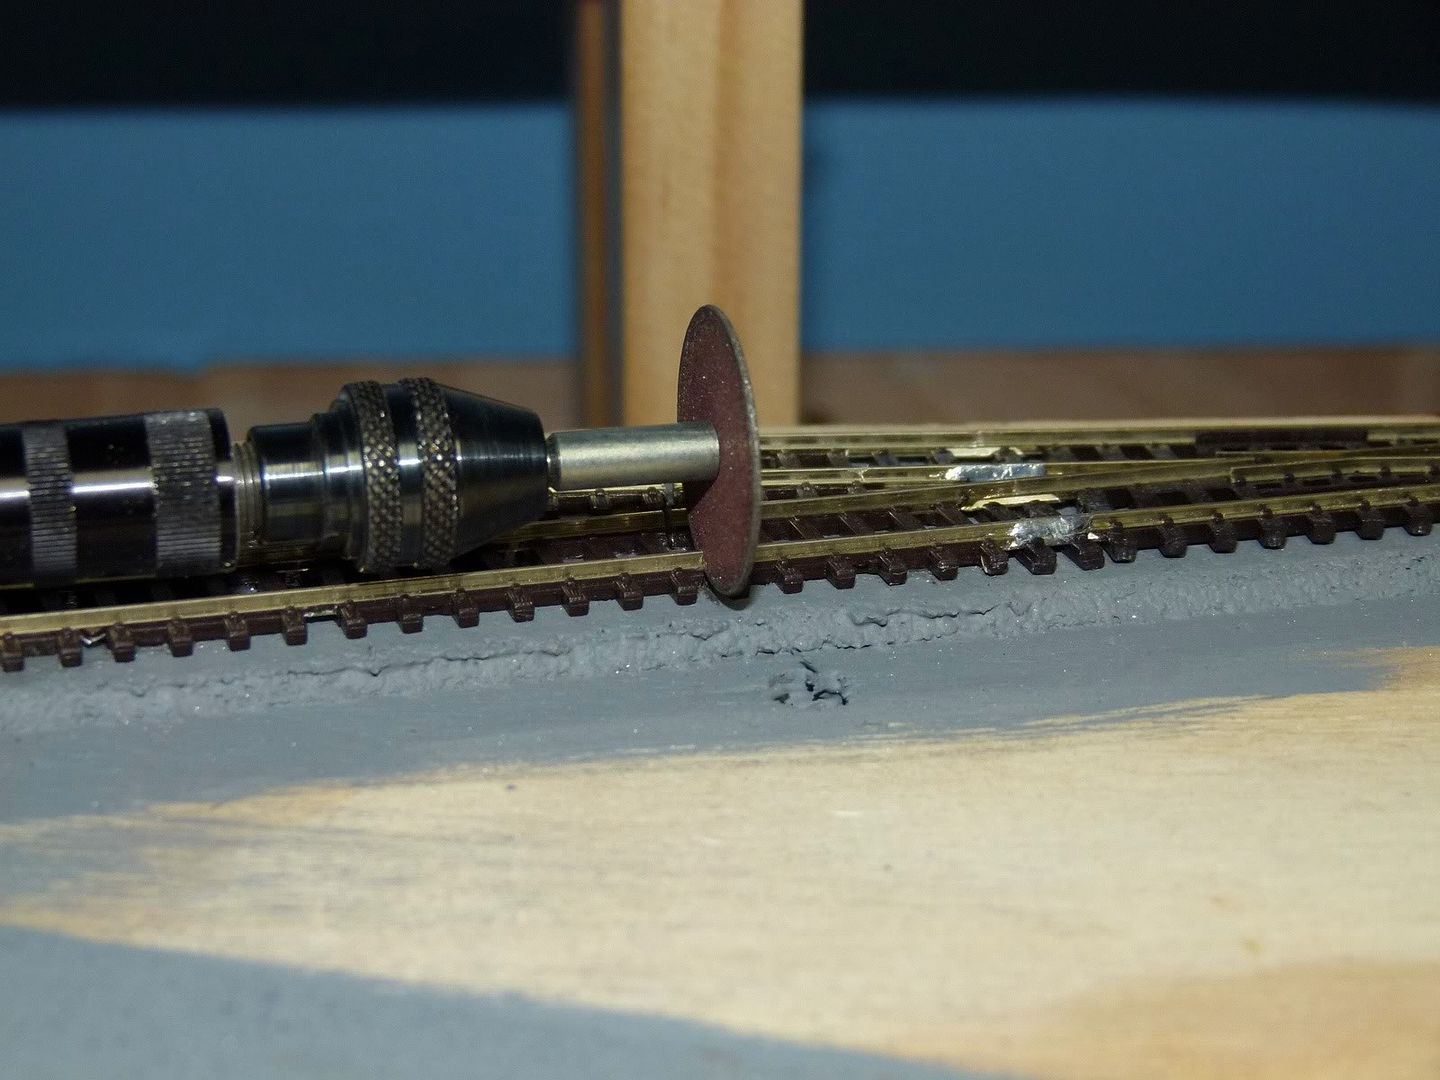
Here is the tool I use to make the insulating cuts into the track: A Dremel with a Flexshaft attachment with a #409 cutoff wheel attached.
There are other ways of making this cut including with a razor saw, however a cutoff wheel on a Dremel works best. The flex shaft is not a necessity, however it makes it much easier to cut a nice perpendicular cut into the rail as shown in the next picture. Note that the track on either side of the cut has been glued down, thus the rail will still be supported by the glued down track, something that would not happen if I had just used an insulated railjoiner.
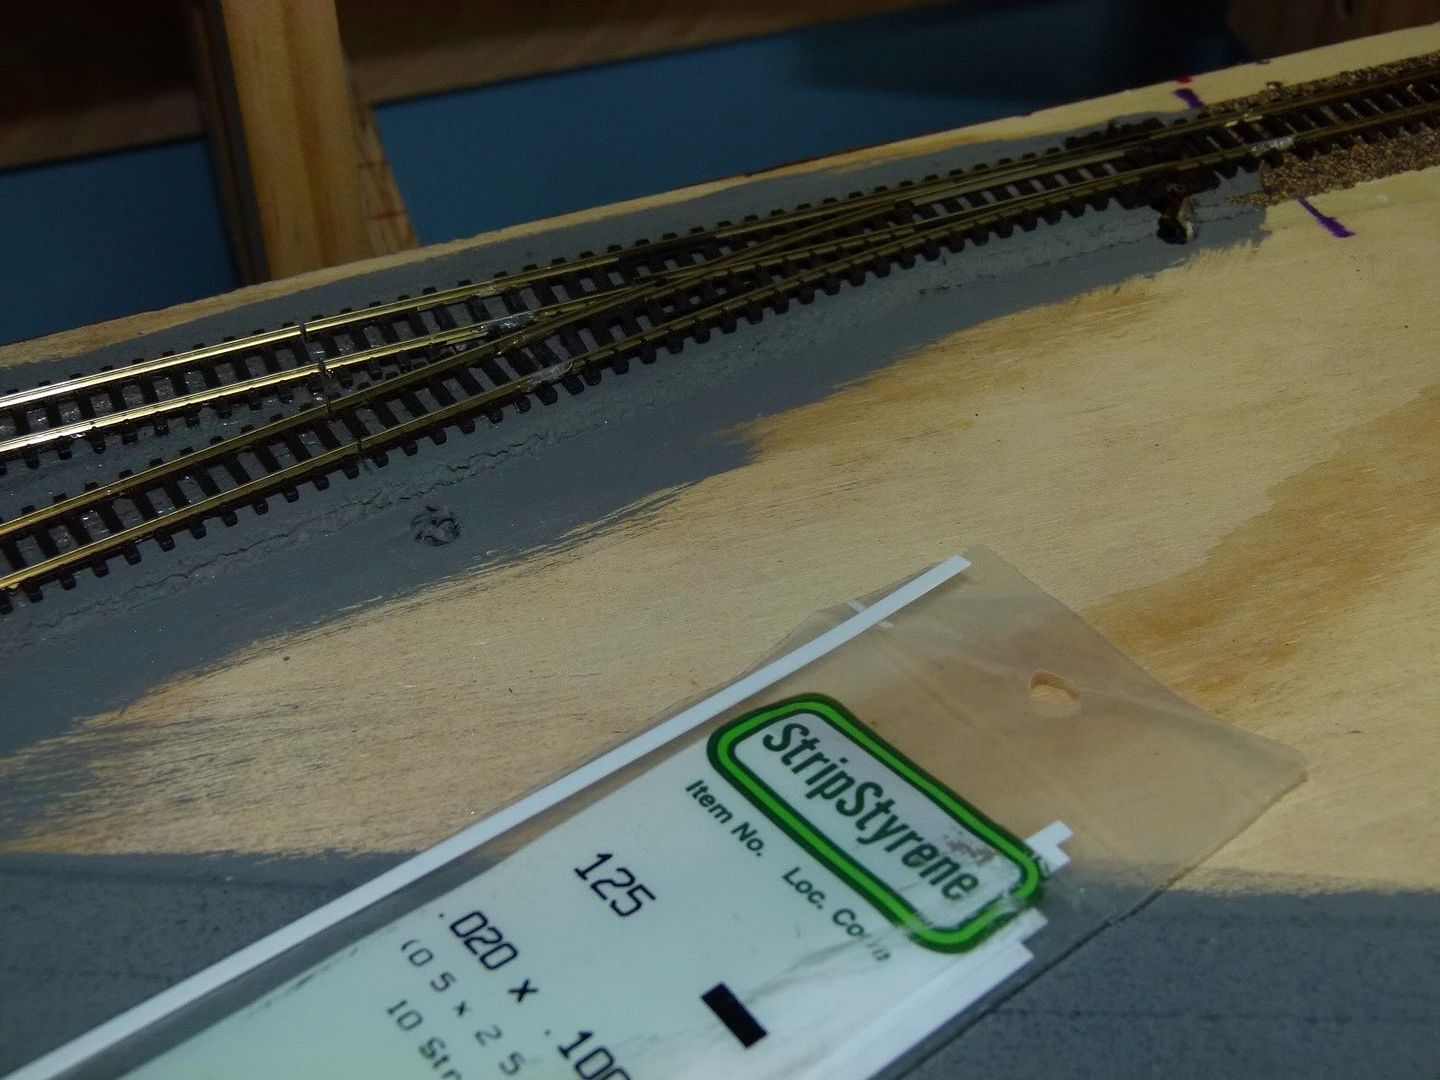
After the cut has been made I use some .020x.100 strip styrene to help insulate the gap that has been cut in the rails. The gaps can be seen in the track above the styrene.
The strip styrene is put into the gap and then cut off as shown.
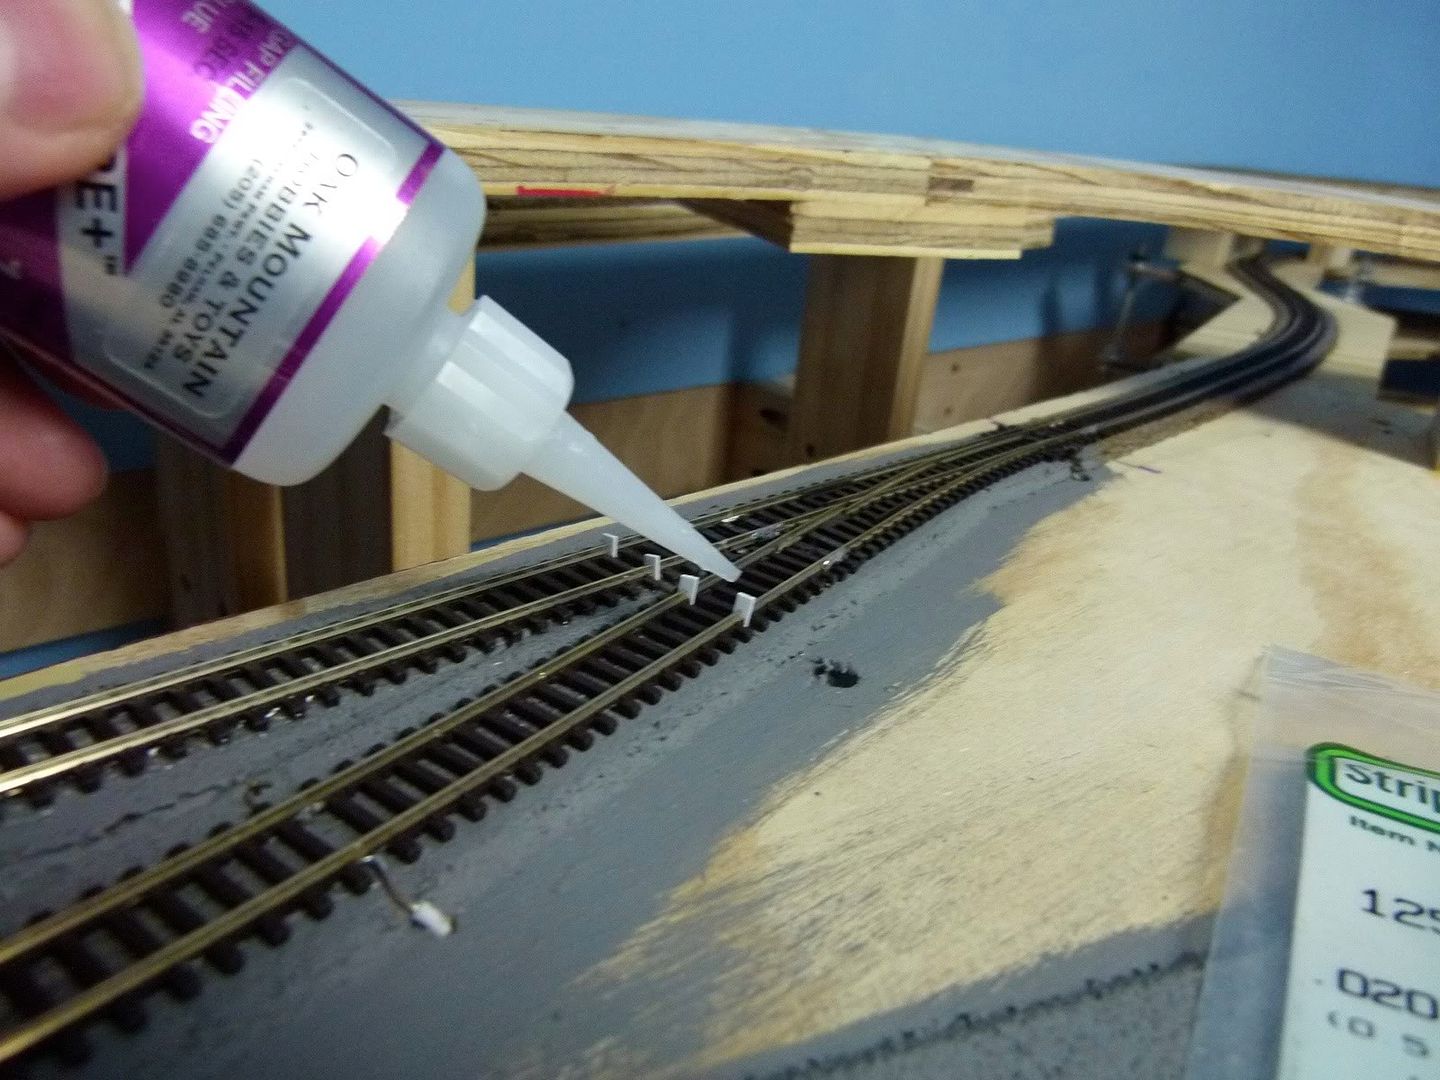
After the styrene is in place some gap filling Cyanoacrylate (CA) glue is used to glue the styrene into place in the gap.
Here you can see three sets of them glued into place, waiting for the CA to dry. I usually like to wait at least a couple of hours. CA glue dries quickly when it is applied this, but when a whole drop is put into place it takes longer. I also do not use an accelerator as the joint it produces will not be as strong as one without.
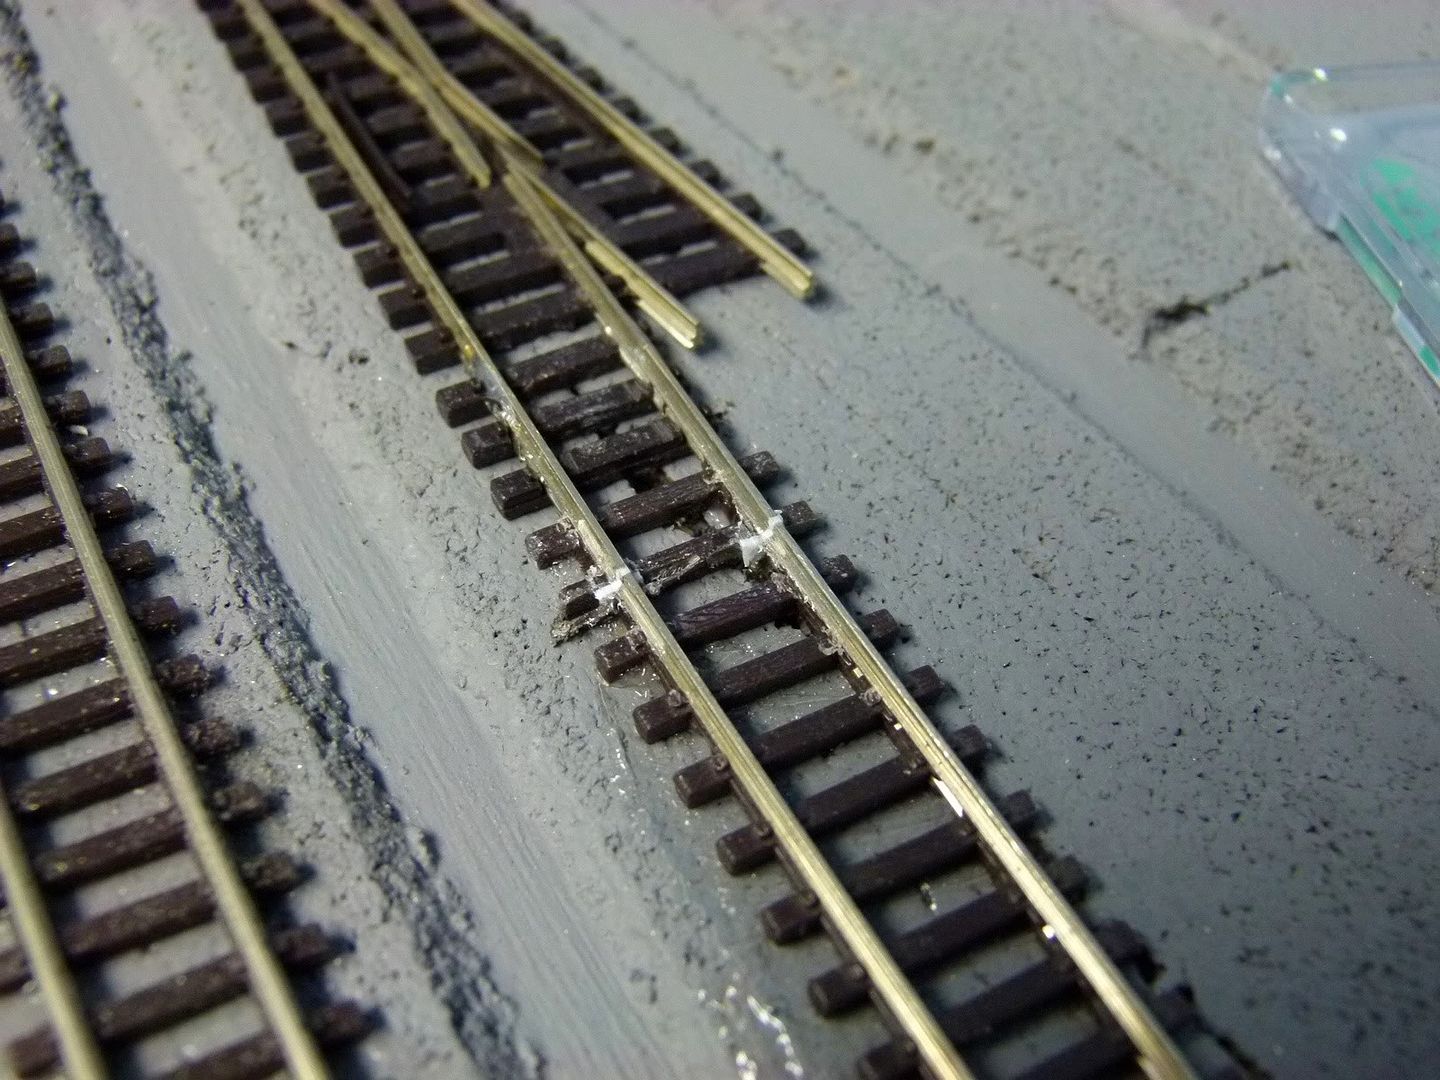
Once the glue has dried I then use a small needlefile to file the styrene into the shape of the rail. The final result then looks like this:
Electrical feeders were attached to the flextrack before it was put in place, as shown in Progress Report #5. Once that piece of track is in place I drill a couple of small holes next to the track and pull the feeders thru the holes as shown.
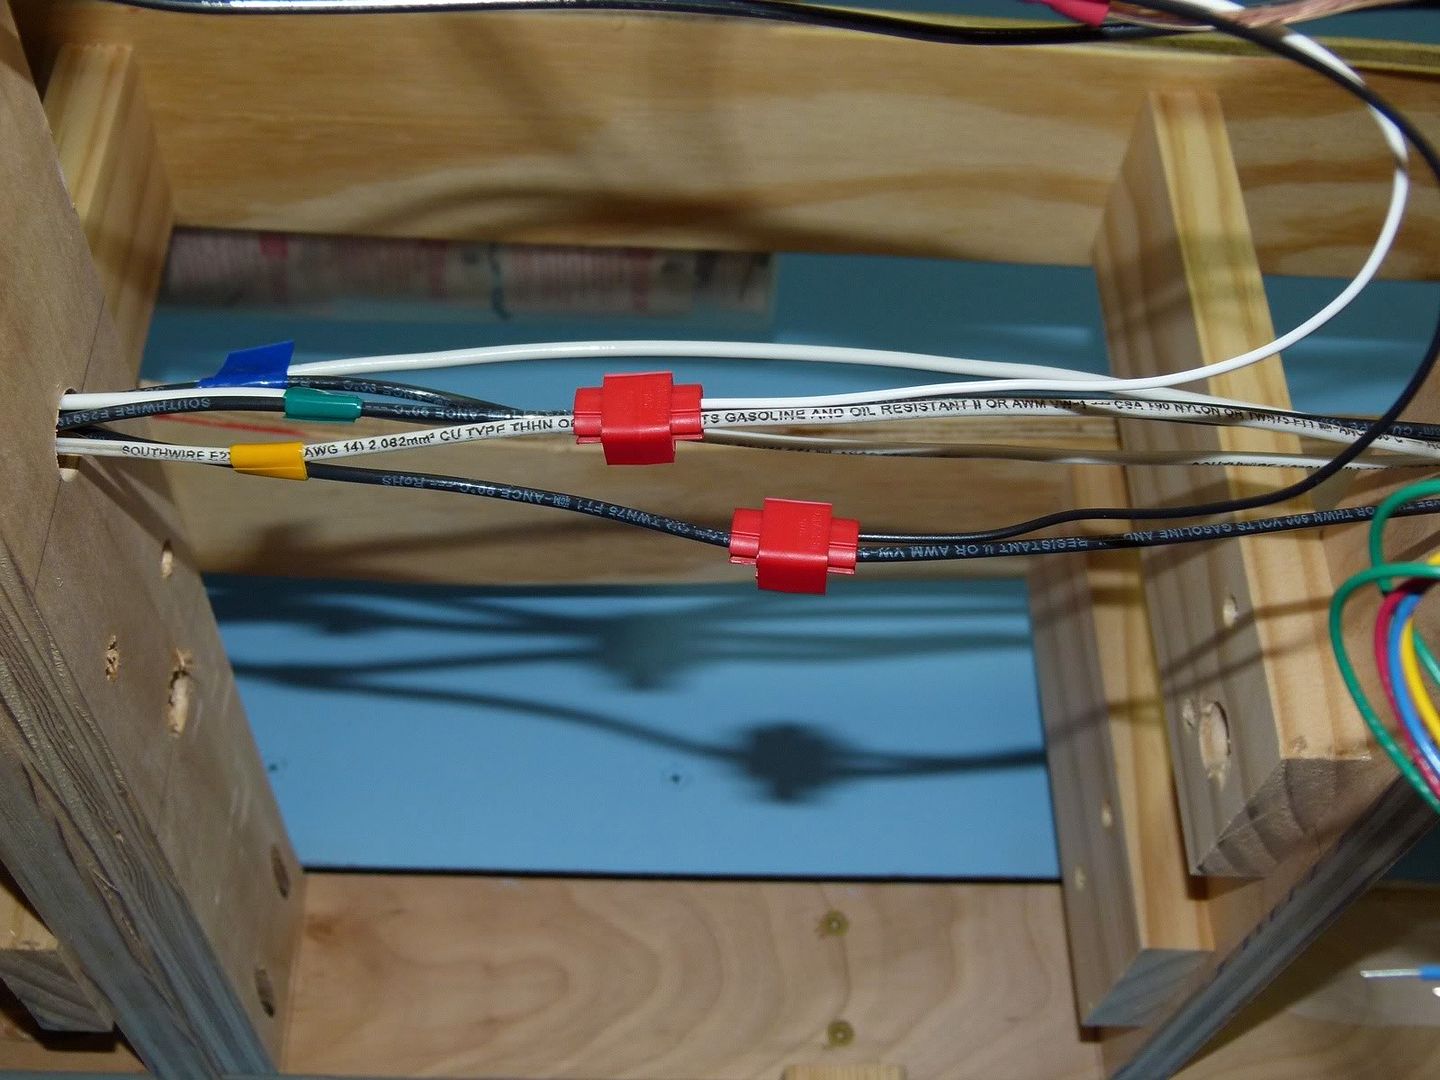
Here are the feeders shown from below the benchwork, coming thru the wooden subroadbed.
I then attach the feeders to the DCC buses underneath the layout with red 3M Scotchloks for joining the 20ga feeder to the 14ga bus wire. Some people have had problems with intermittent connections using wiretaps like this and I have as well, but only when I was using a knockoff cheapo brand of wiretaps. I have never had a problem with a 3M brand Scotchlok failing on me. This is one place not to cheap out but to buy only the best name brand stuff.
As you can see above there are 3 sets of DCC power buses running underneath this section of the layout, each of them color coded with electrical tape. These feeders are coming from the branchline, which is being fed by the yellow DCC power bus. Color coding and labeling things will make troubleshooting electrical issues easier, both in the present and in the future.
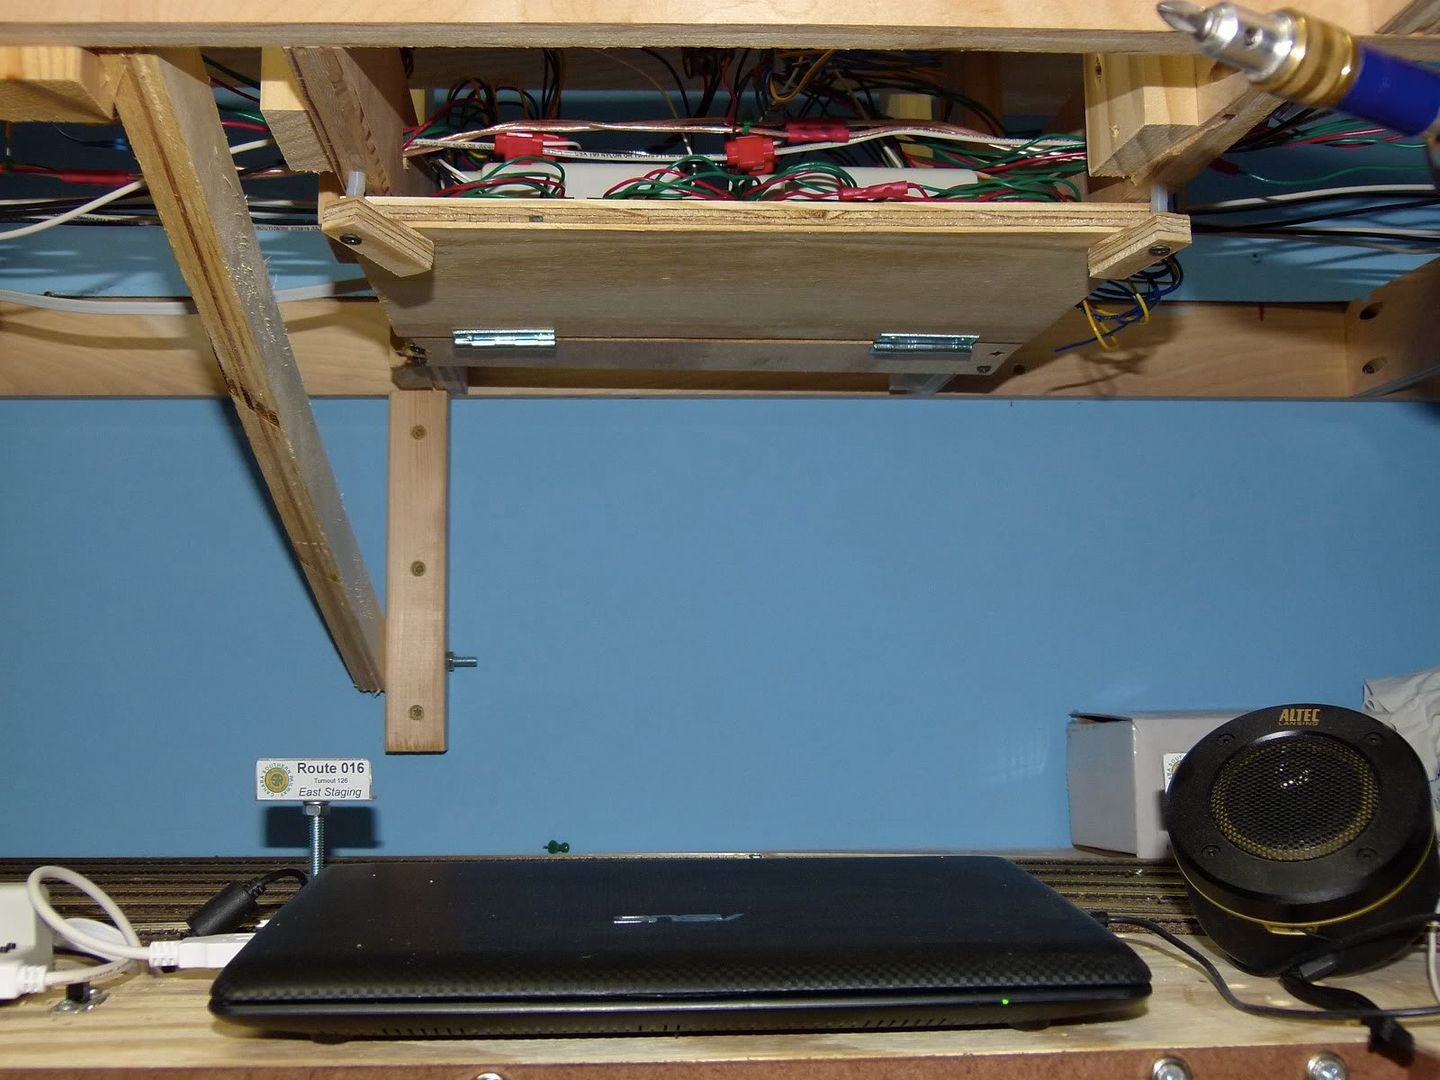
I've also put in all 6 of the Digitrax DS64 stationary decoders for the upper main level of the layout. As I was laying track on the upper level I determined it would be easier to go ahead and have the decoders ready to power the turnout machines, attaching them as I was going along. I used some scrap plywood and some hinges, mounting them underneath the layout in strategic locations. Here you can see 2 sets of decoders mounted under the layout.
Here is a closeup of one of the mounting boards, with the decoders all wired up and ready to go.
The boards fold out of the way and are held in place by a couple of strips of wood attached with some spacers and screws. Simple, cheap and effective...
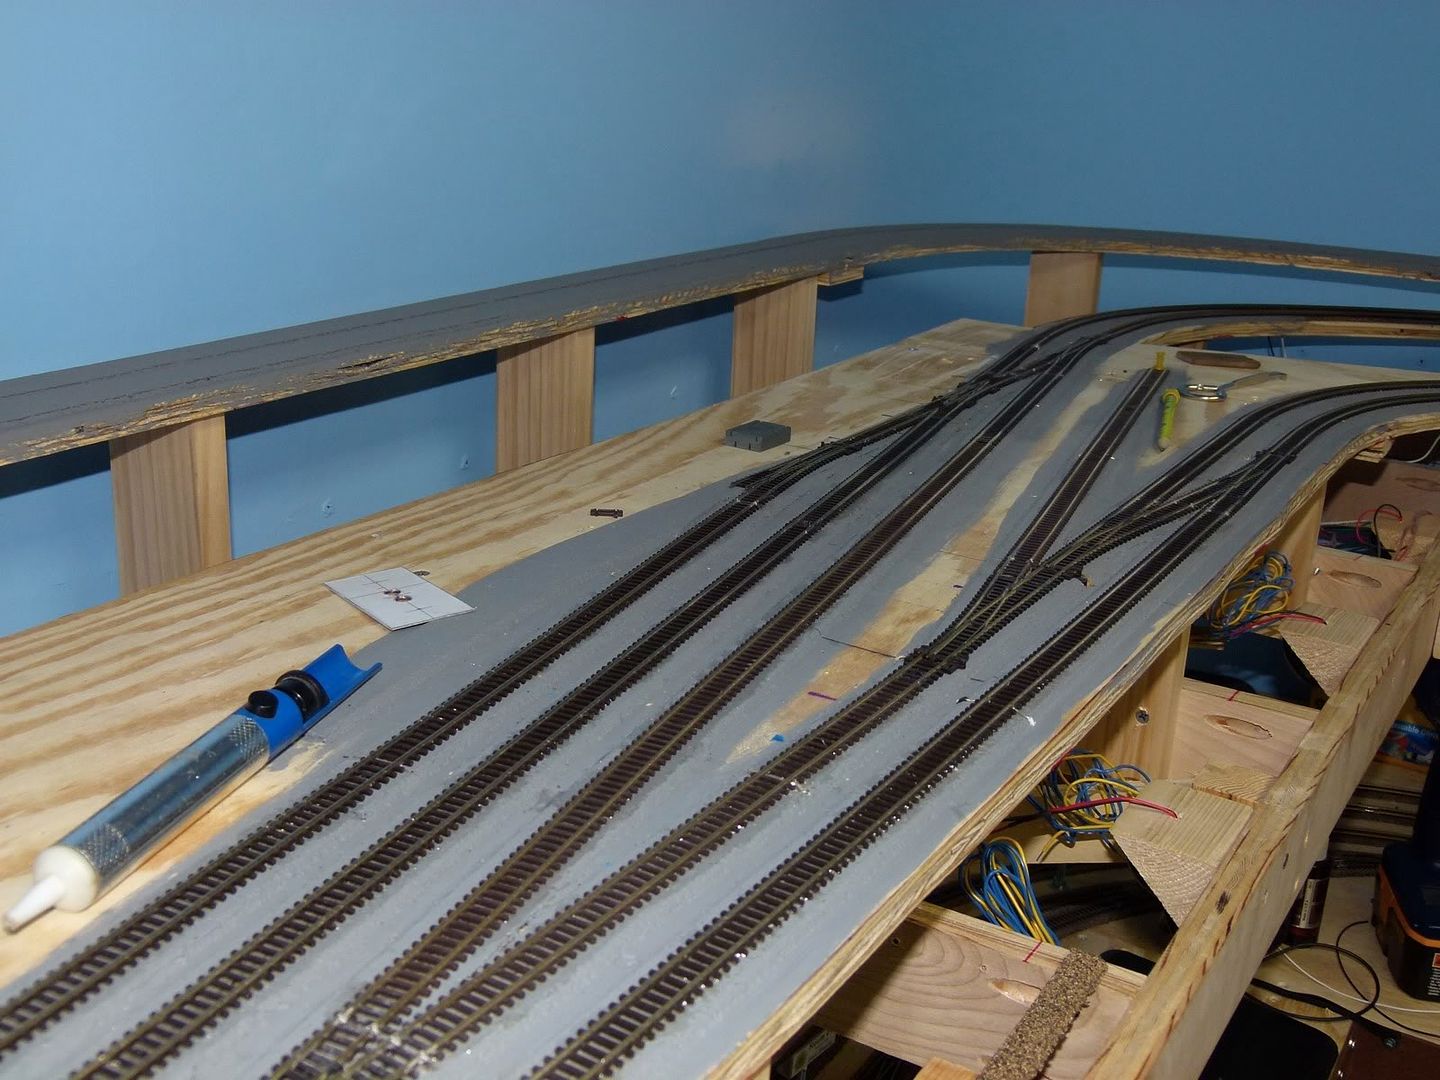
So once the decoders were in I got busy with the track laying. All of the track in the main town area of the layout is in, with all sections powered and operational, with all turnouts operating remotely thru DCC as well. Here is the east side of the town area, with the branchline closest to the edge, the 2 mainlines heading up and away:
Here is the west side of the town, with the branchline once again closes to the edge, the 2 mainlines further inside, heading out underneath the temporary bridge.
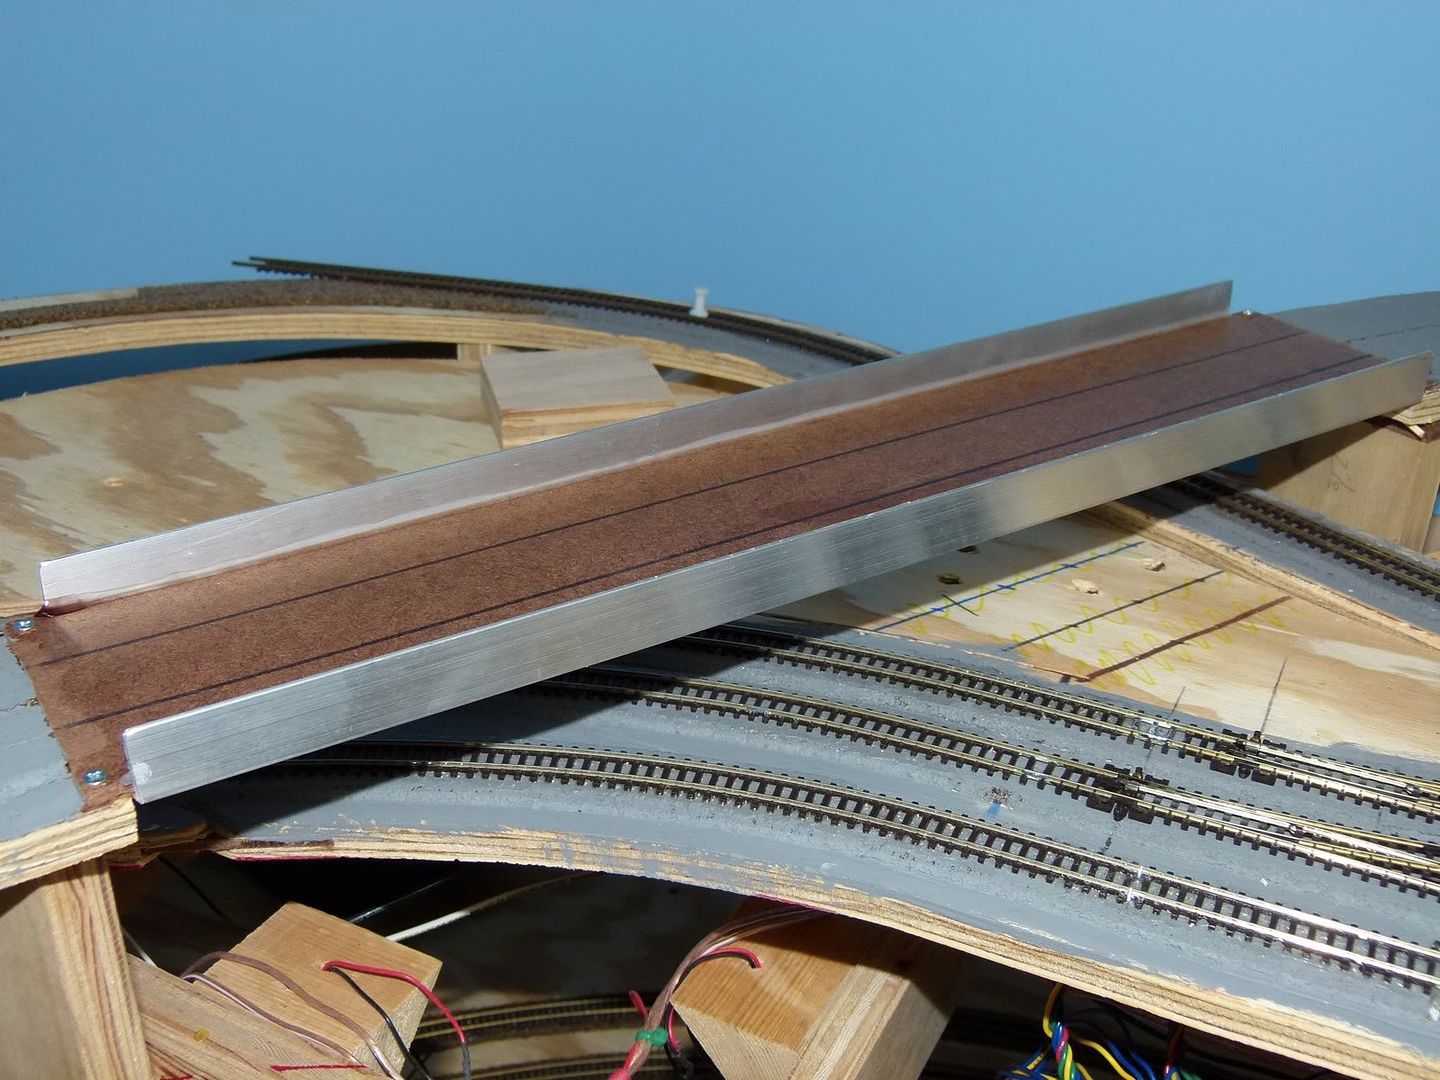
Speaking of the temporary bridge, I built it as a place holder for the 2 bridges I had shown in a previous section. They will be put into place as the scenery progresses. In the meantime this temporary bridge built from masonite and l-shaped aluminum glued together will be the placeholder.
Next step is to tie the mainlines together, and that day when the trains can run continuously is getting close......until next time!
Subscribe to:
Posts (Atom)
