"WELL I BEEN WORKIN' IN A COAL MINE
GOIN' DOWN DOWN
GOIN' DOWN DOWN
WORKIN' IN A COAL MINE
WHEW ABOUT TO SLIP DOWN..."
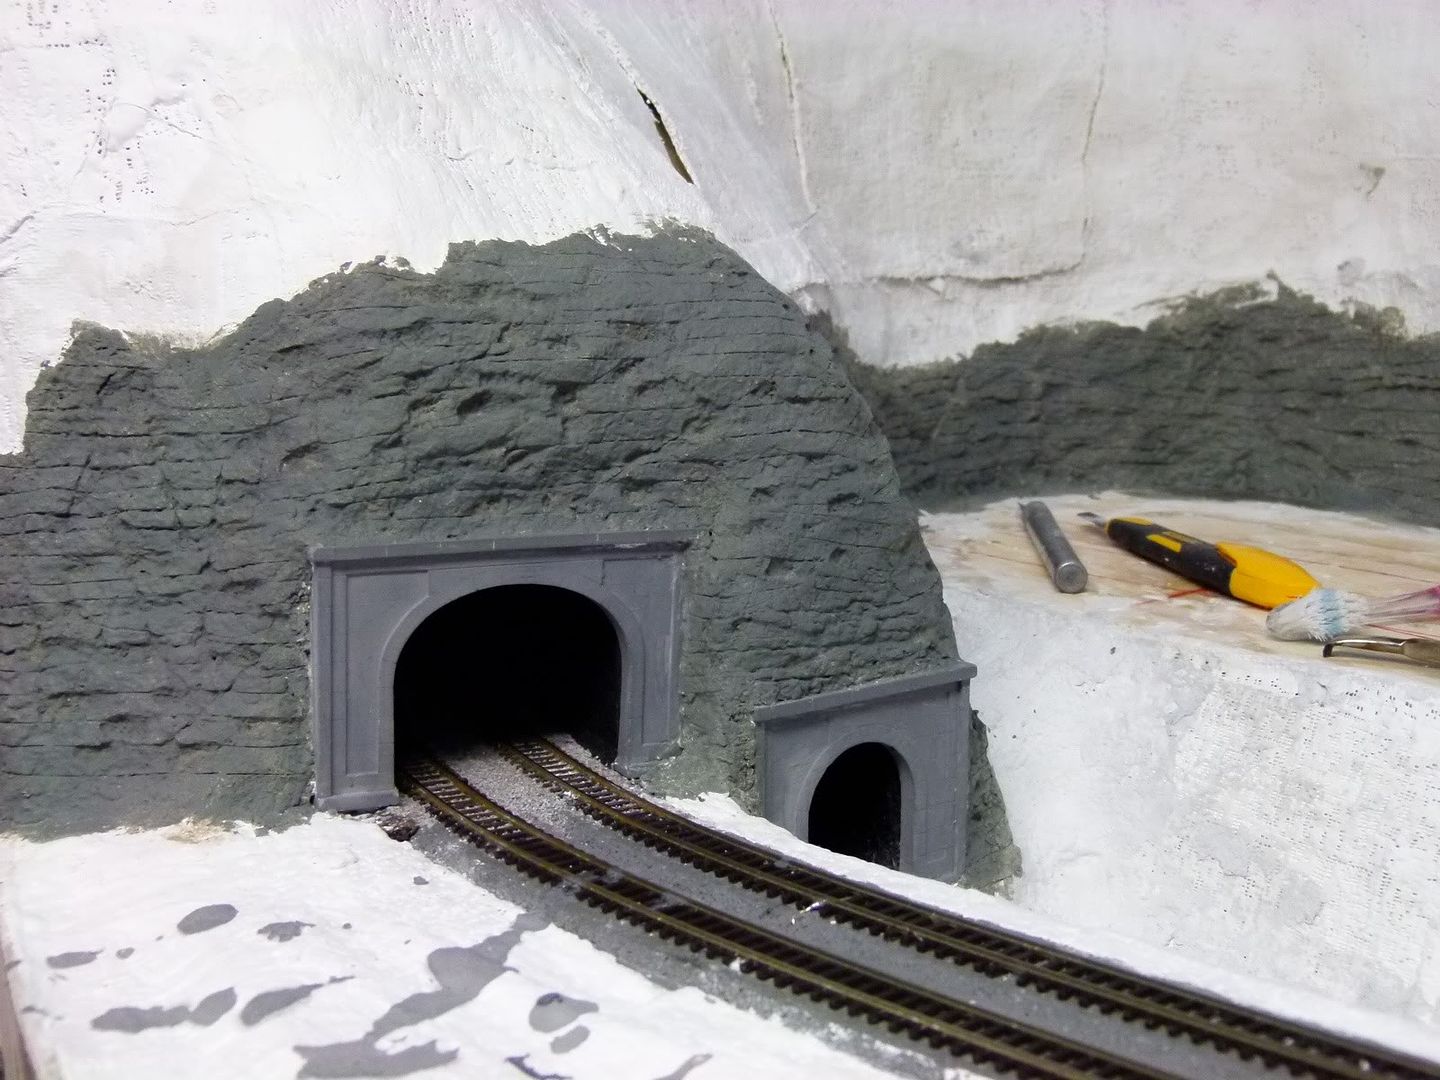
Well, with all respect to Devo, I have been working on the scenery in the Susan Bee mine area of layout, and I'm starting to see some results. Here is where it is today:
As you can see, some of the rock faces are visible, and the first set of tunnel portals have been put in place. Here is a little closer view of the tunnels:
The tunnel portals are Woodland Scenics concrete portals, glued to the mountain base. I painted them with grey primer for now, they will be weathered later for a more realistic look. You can also see the rock work that I carved from Sculptamold around the portals and then painted, as well as some paint drips that will serve as a reminder to cover the track when doing scenery. Luckily those will cleanup and not be seen after I weather the track.
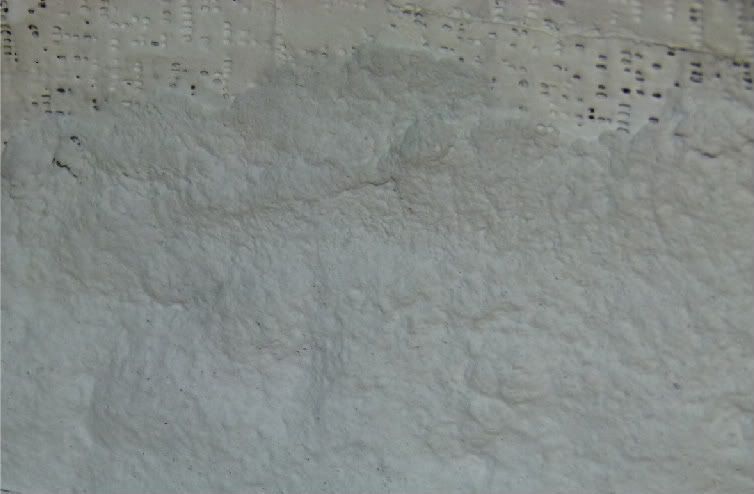
Let's take a look at how I did the rockwork: Mix up some Sculptamold to the consistency of firm mashed potatoes. You want it to be spreadable and not runny. Take that and apply to the area where you want the rock face using your bare hands. Spread it out about 1/4" thick, then smooth it out some, however don't make it perfectly smooth. You want some undulations and waviness in it. Once that is done let it dry for a couple of days until it is completely dry. Here is what it should like:
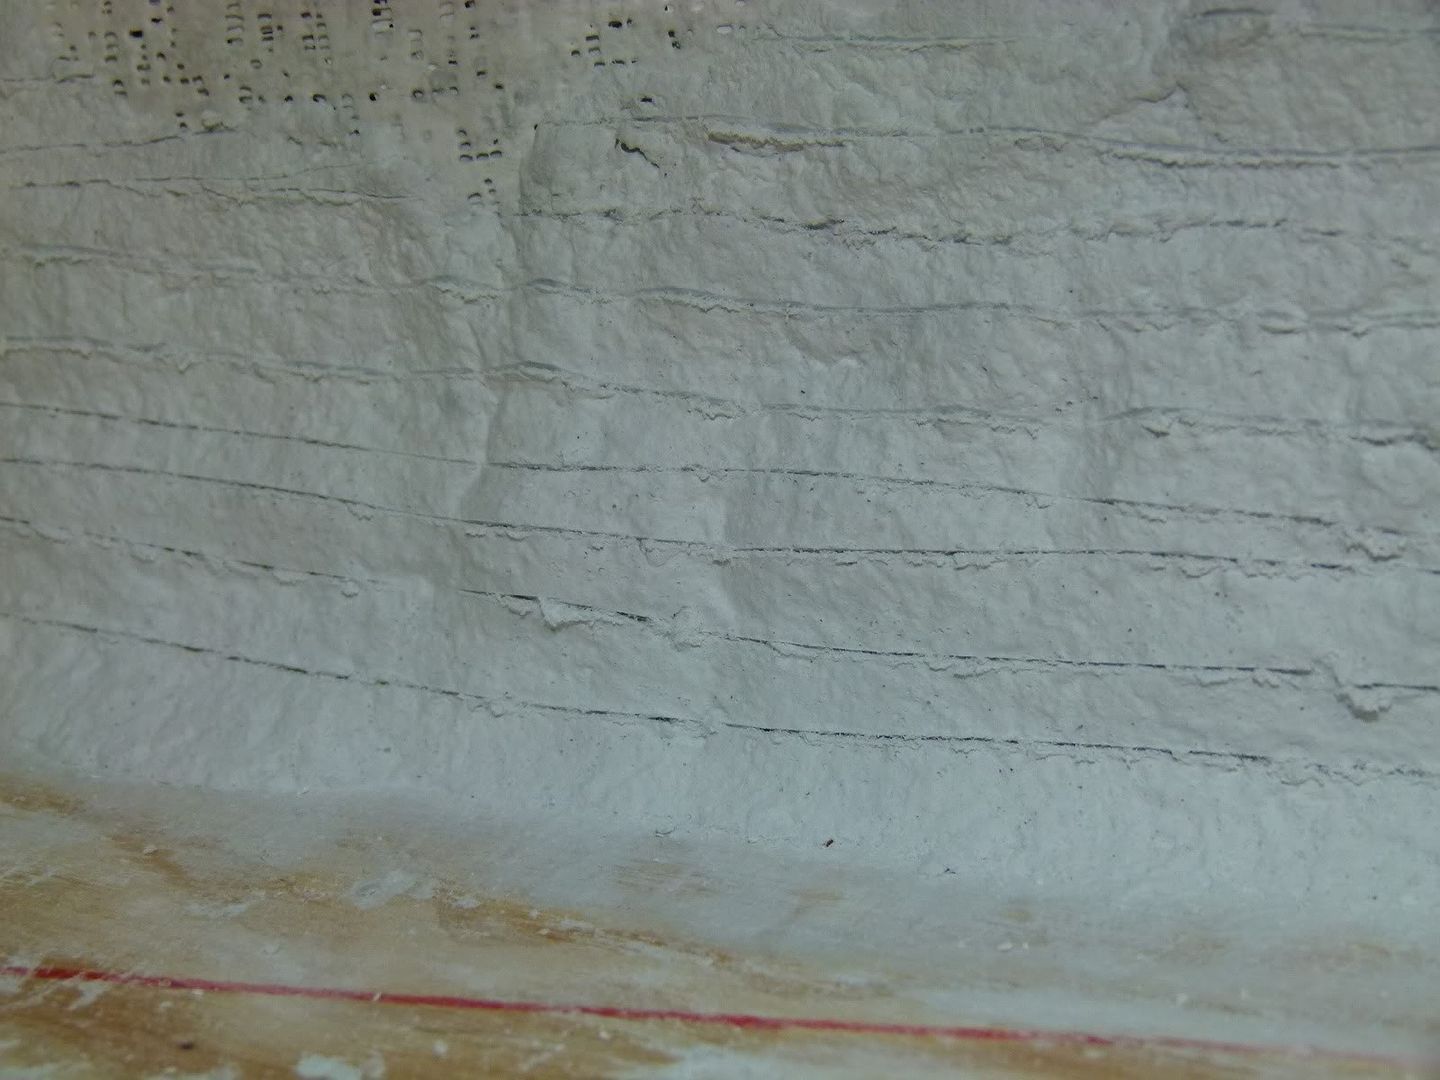
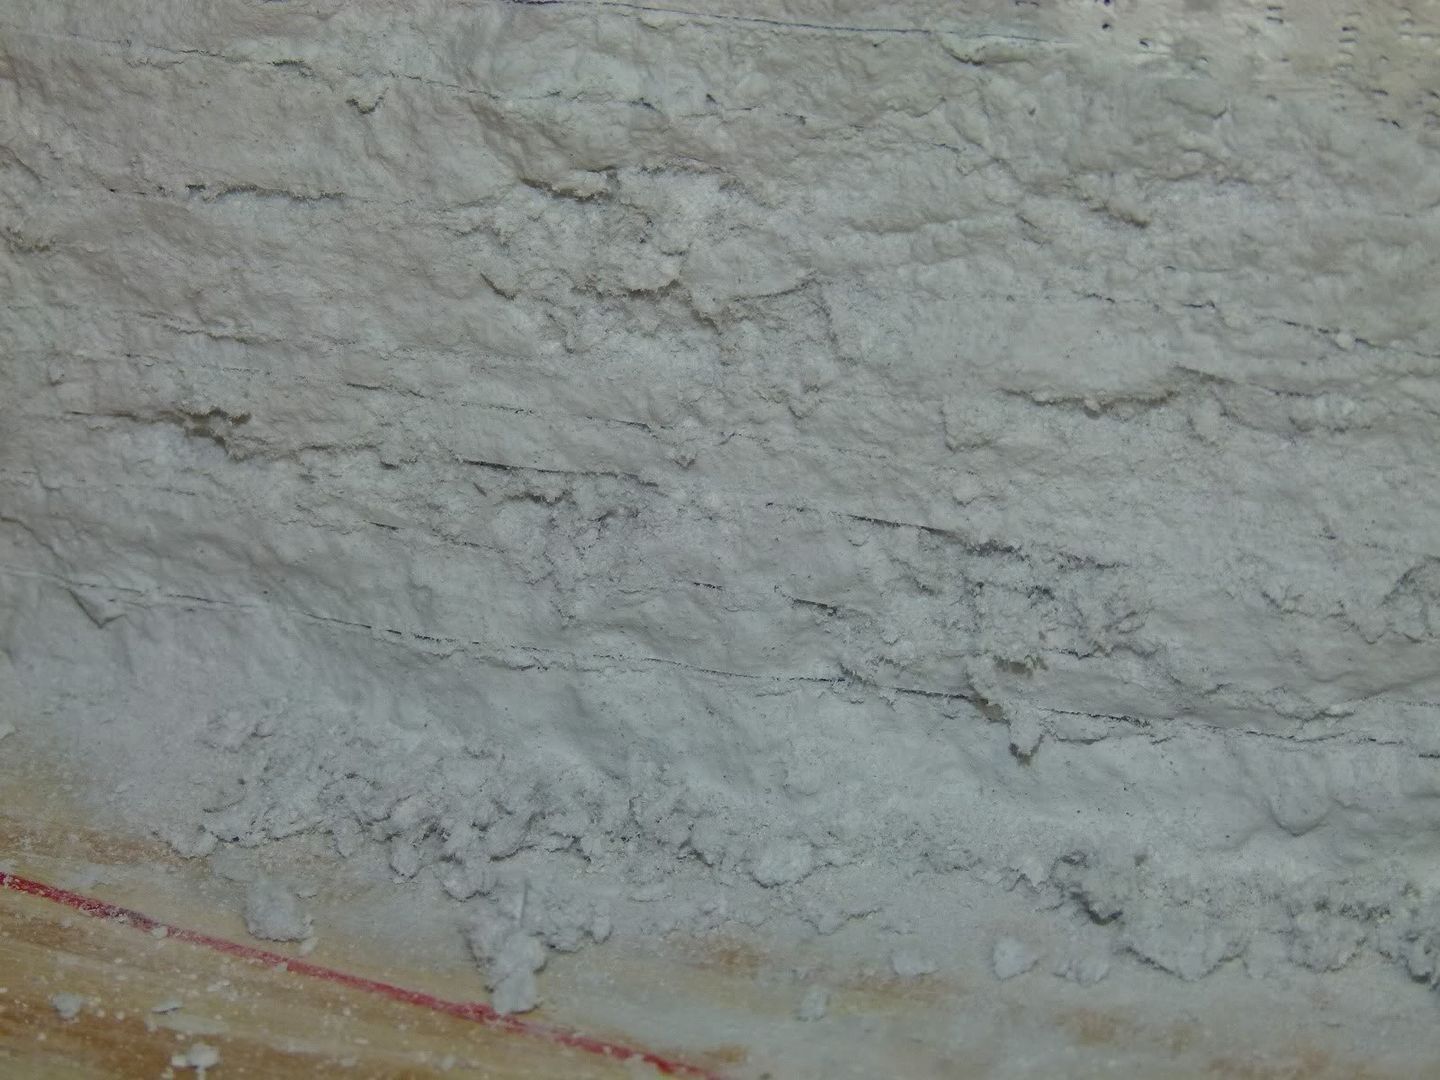
Next take a hobby knife and scribe some horizontal lines into the Sculptamold at irregular intervals, about 1/8" to 3/8" of an inch apart. You don't want them too perfectly spaced...
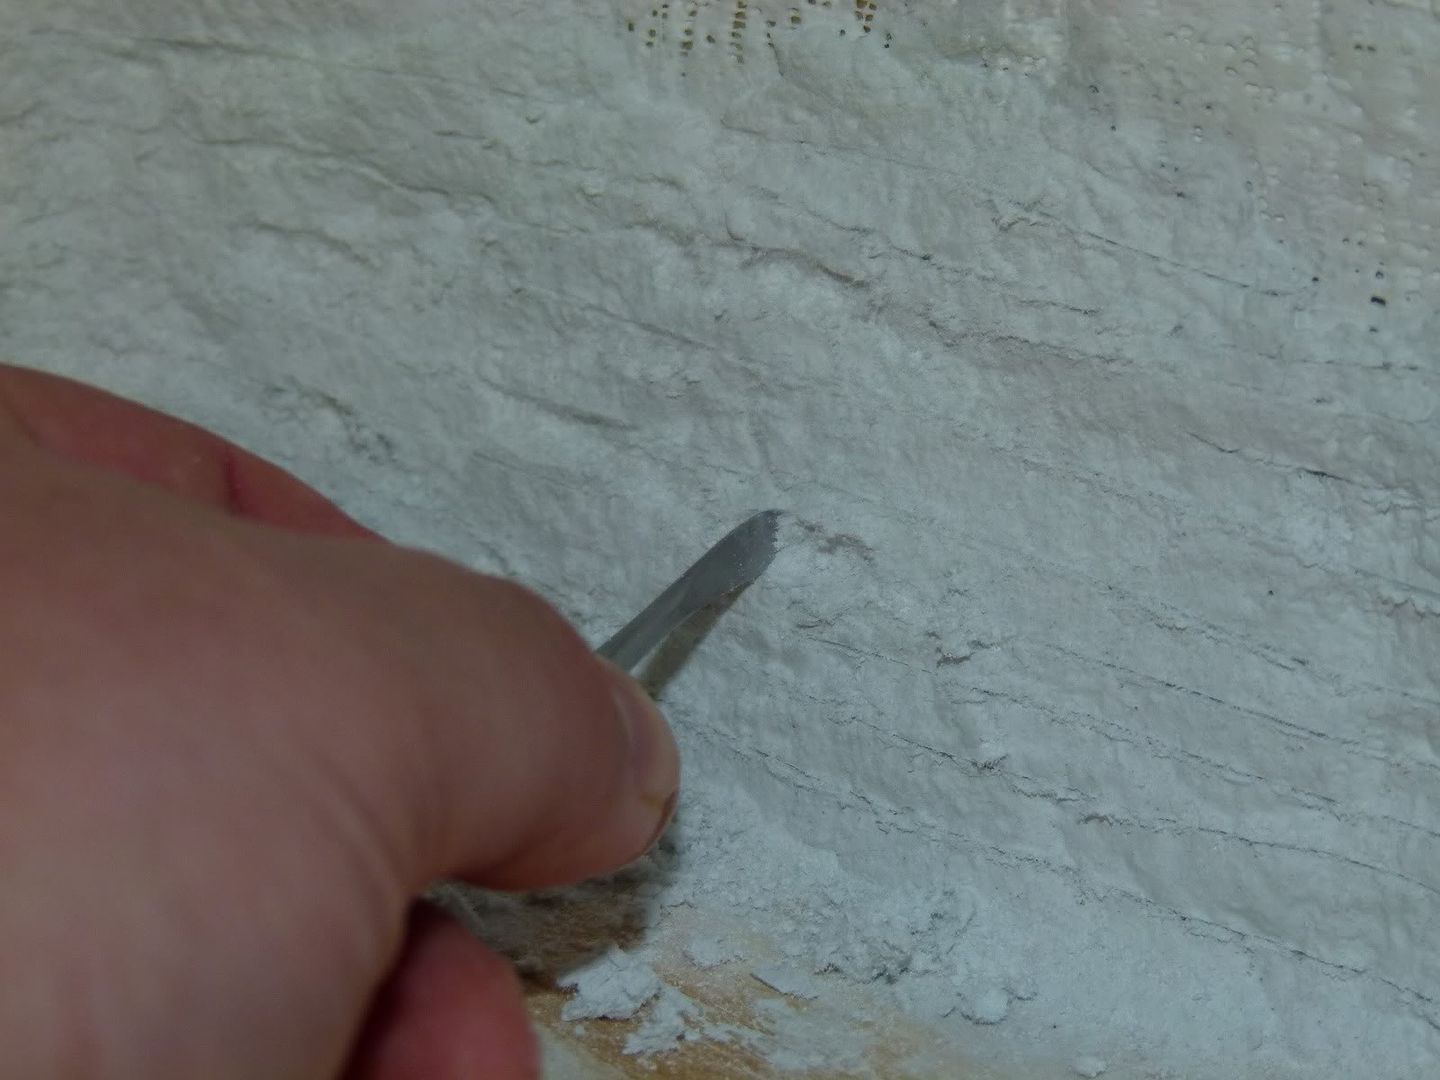
Next take a small carving tool (a small flat tip screwdriver will work as well) and start making small gouges into the Sculptamold. Once again, the more irregular and randomly spaced they are, the better.
Here is what it should look like after the gouging.
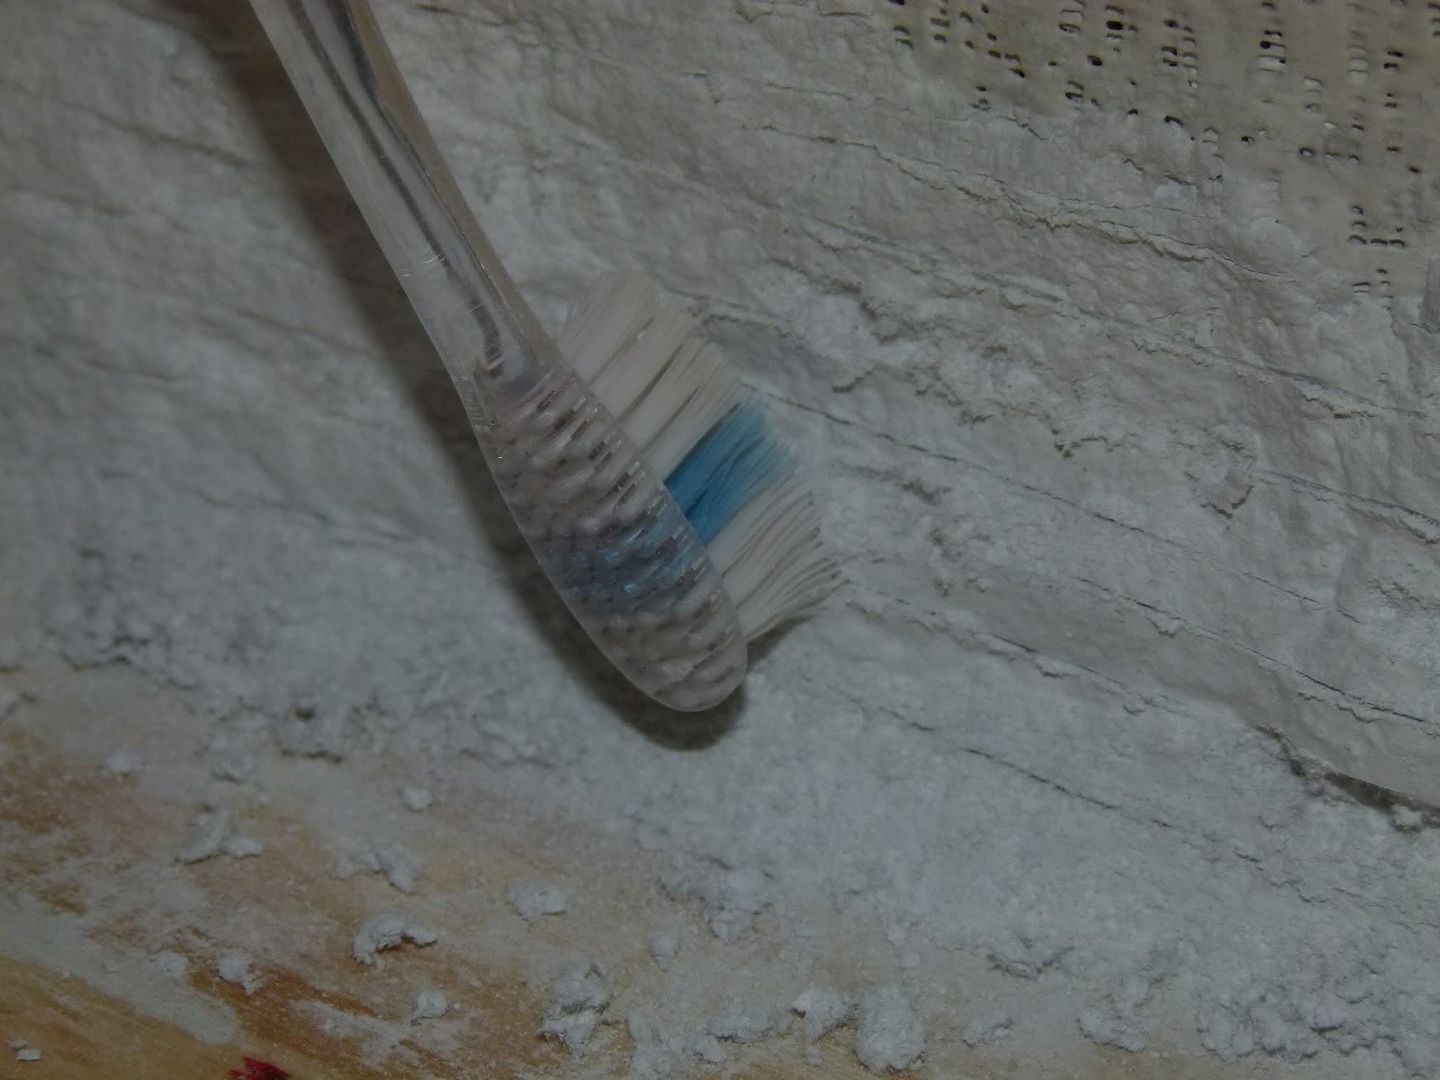
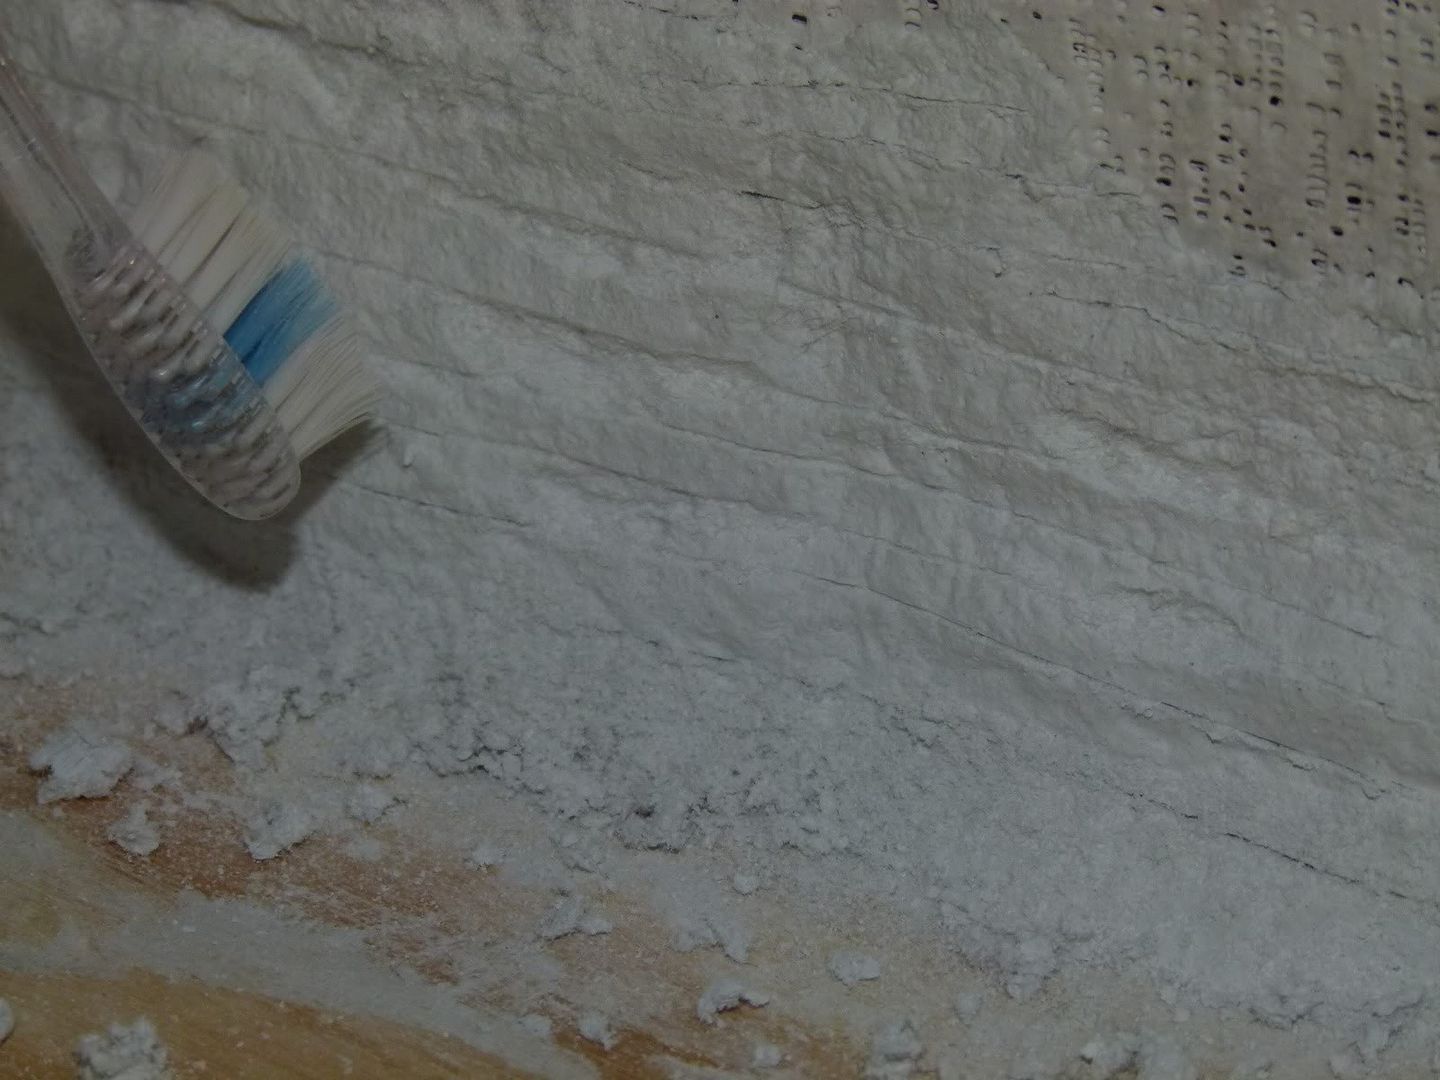
Next take a soft well worn toothbrush and smooth out any small loose pieces & fuzz from where the Sculptamold was carved.
Here you see some of the debris from the brushing. Go ahead and vacuum it away.
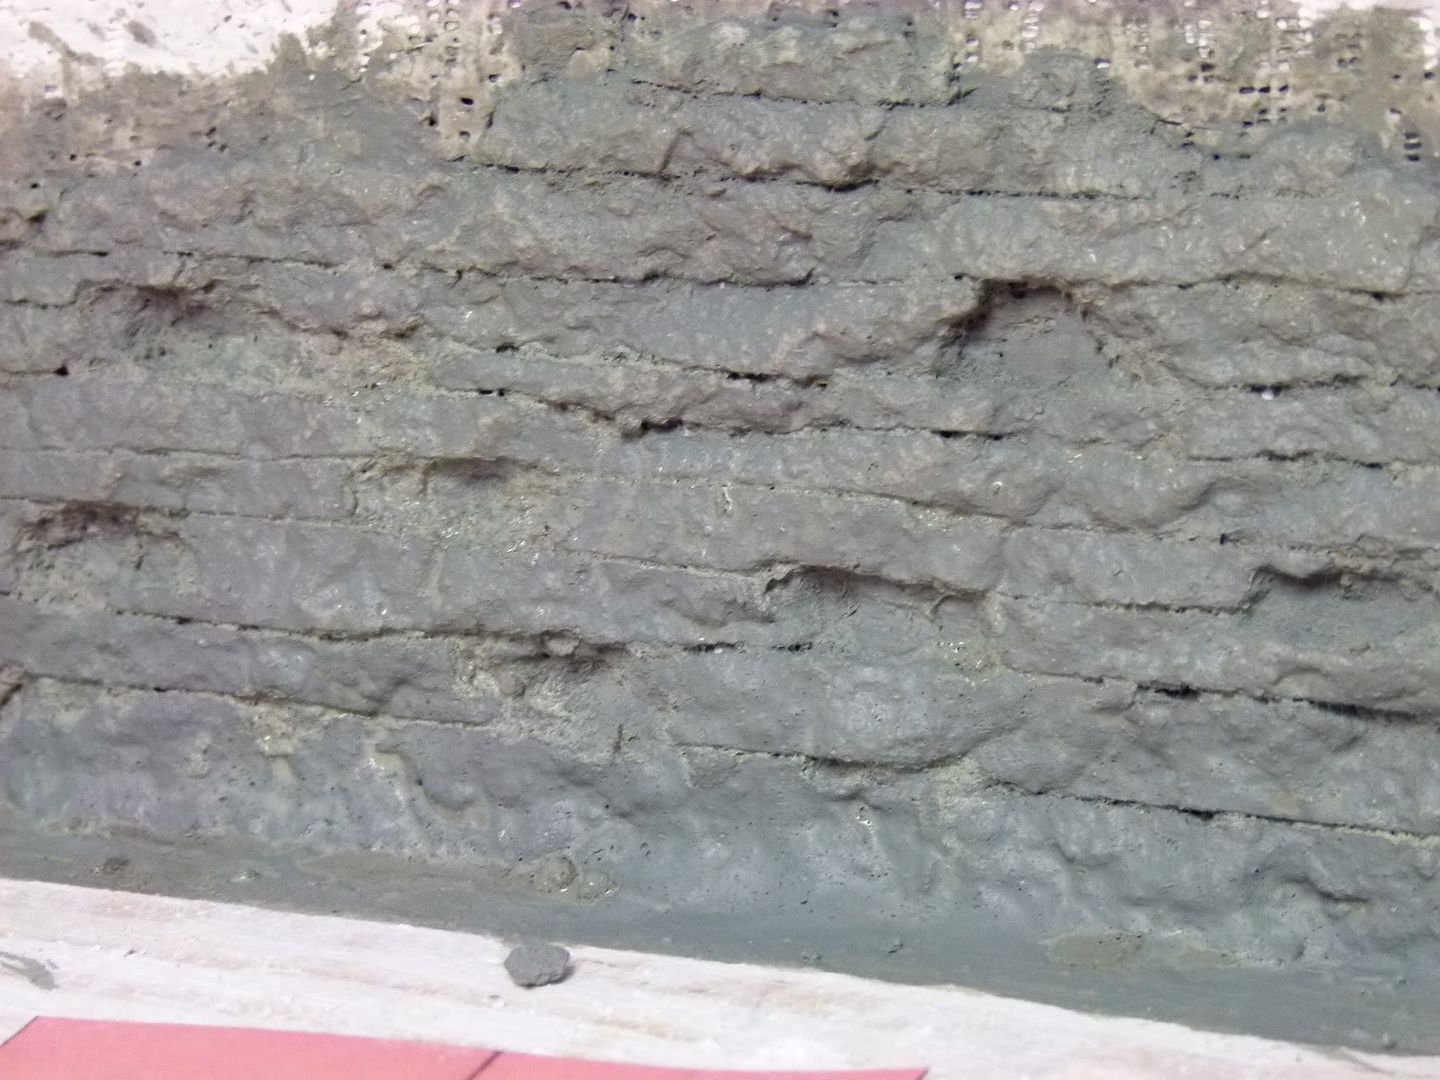
Now it's time to put the basecoat of paint on to the rock faces. I'm using grey acrylic water based craft paint, purchased at your local Wal-Mart or Arts & Crafts store. I mix it with some water, ratio 2/3rds paint, 1/3rd water. You don't want it going on too thick, it will hide the details.
After 2 coats with a foam brush it will look like this:
...and a more closeup look:
That's the basics of how the rock work was done. The look I was trying to capture is typical for the northern Alabama, Georgia and Tennessea area, horizontal strata rockwork of the southern Appalachian mountains. It will look even more realistic later after some black washes and drybrush weathering of the rock faces is added, as well as the weeds and plant life.
Until next time.....



Hi, Nice post. Would you please consider adding a link to my website on your page. Please email me.
ReplyDeleteThanks!
Joel Houston
JHouston791@gmail.com