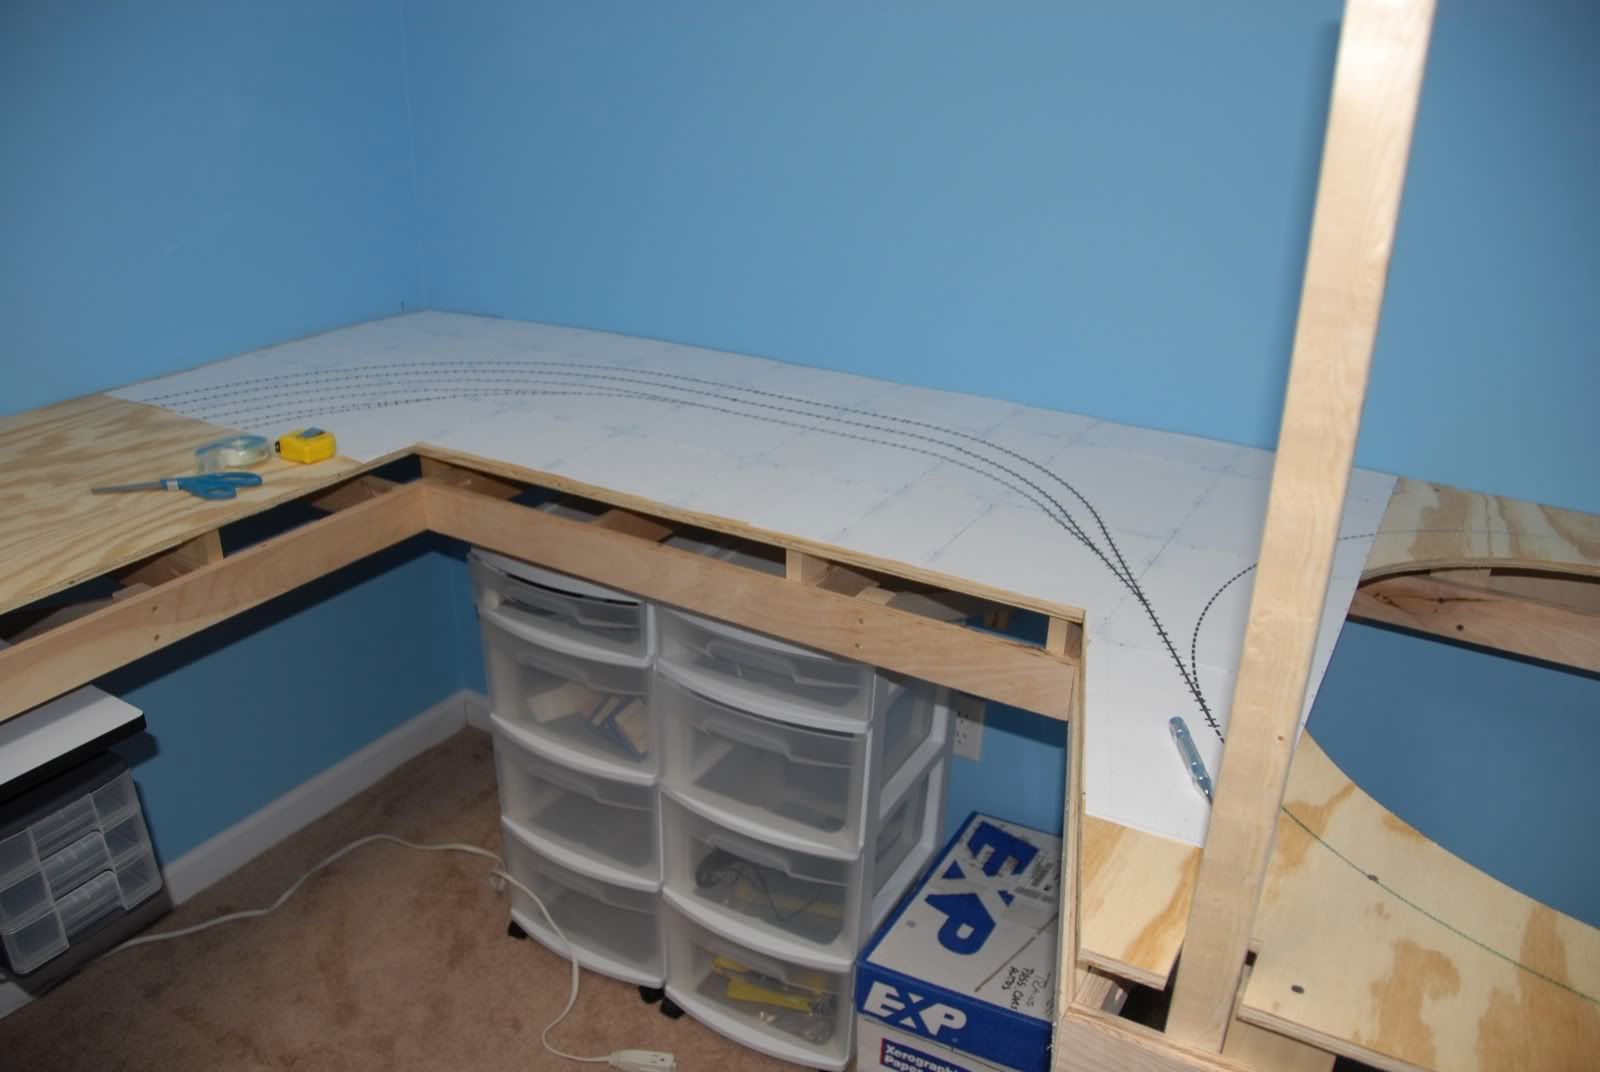
1) The room and therefore the benchwork is not 100% square.
2) Even laser printers aren't exact in their printouts.
The first I expected, the second I didn't. Turns out as the laser printer prints the guide wheels are effected by the grippiness of the paper, causing some minor slipping of the paper as it feeds thru. Just had to work around it and made the best of it, and the results were as good as I had hoped for.
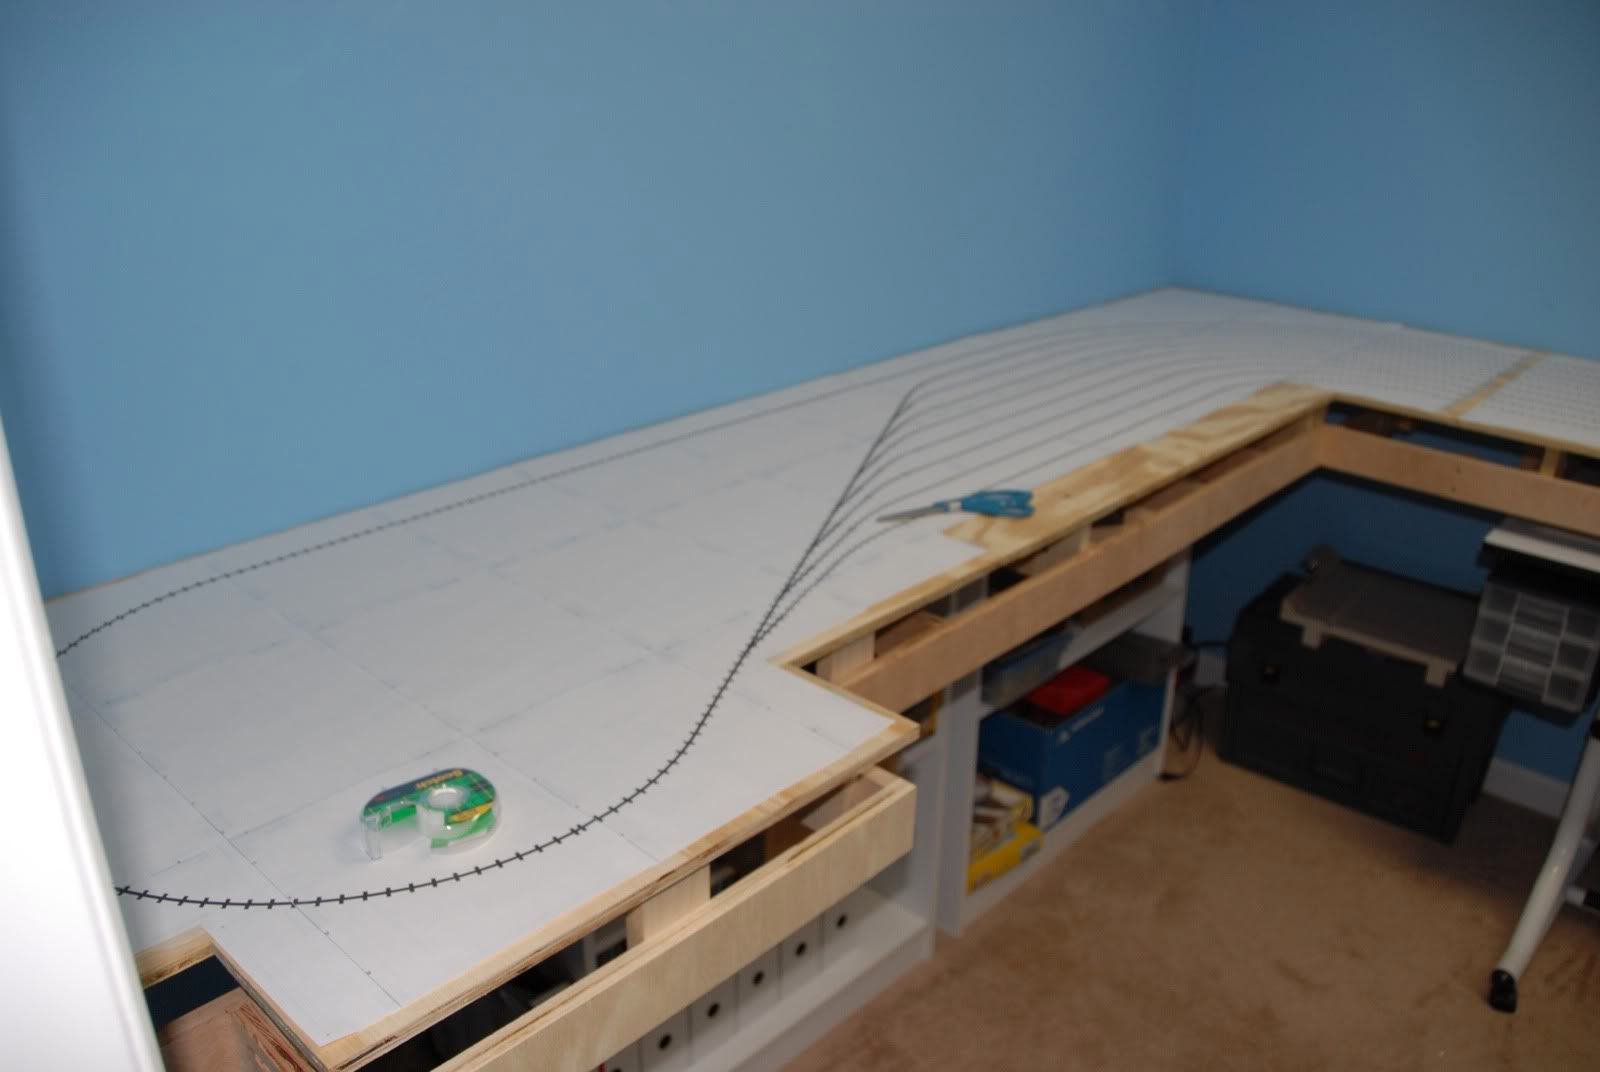
Started out at the helix, as I already had a reference line, i.e. the helix circle drawn on the wood. Also visible is some new storage containers that fit perfectly under the layout.
As we work around the room you can also see my new worktable, a drafting hobby table that has rollers allowing me to store it under the layout as well.
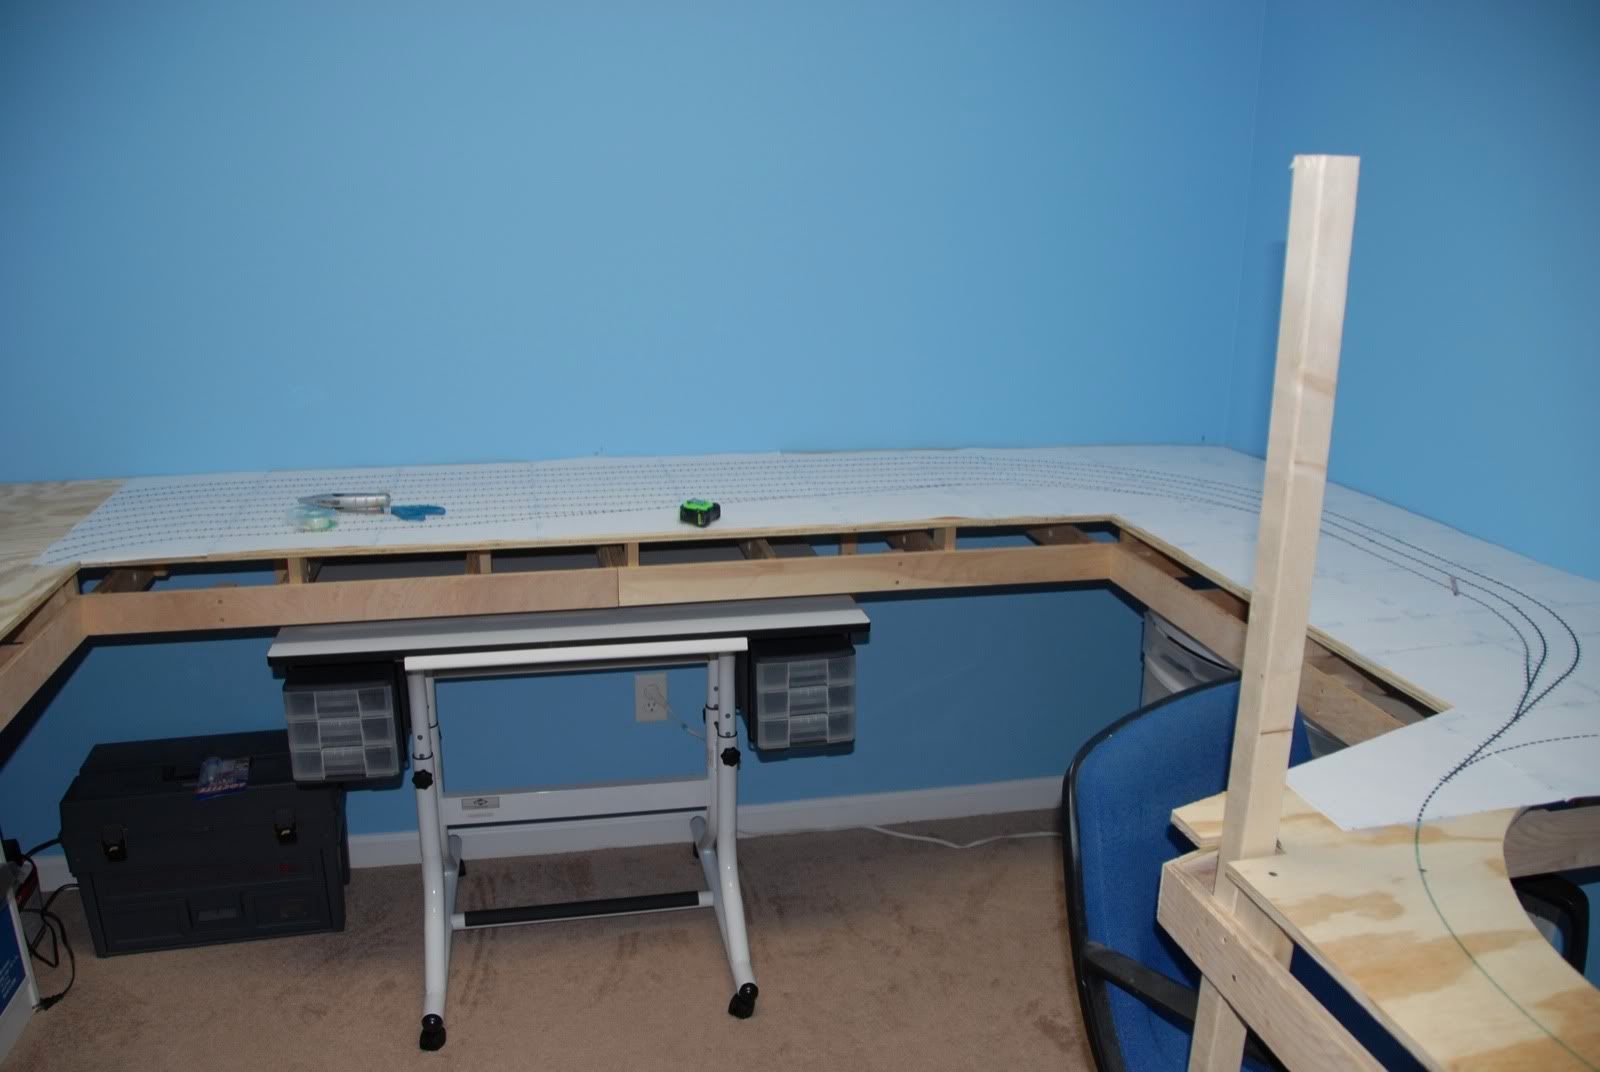
Here the unsquareness of the room came out here. I made the best of it by extending the straights in the staging yard.

Whew!! That was a lot of paper and tape but made it all the way around. Highly recommend using a paper cutter.
Now how do I use this taped down trackplan?? I've seen some other layouts where the paper is glued to the benchwork, and then the cork/vinyl roadbed is glued to the paper. The more I thought about it, the more I didn't like it as I was worried about the things coming unglued. I decided to do something different: Punch small holes in the paper into the wood and then color the holes. The next picture show the automatic centering punch I used for this. Put holes in about every inch in curves and 2 inches on straights.
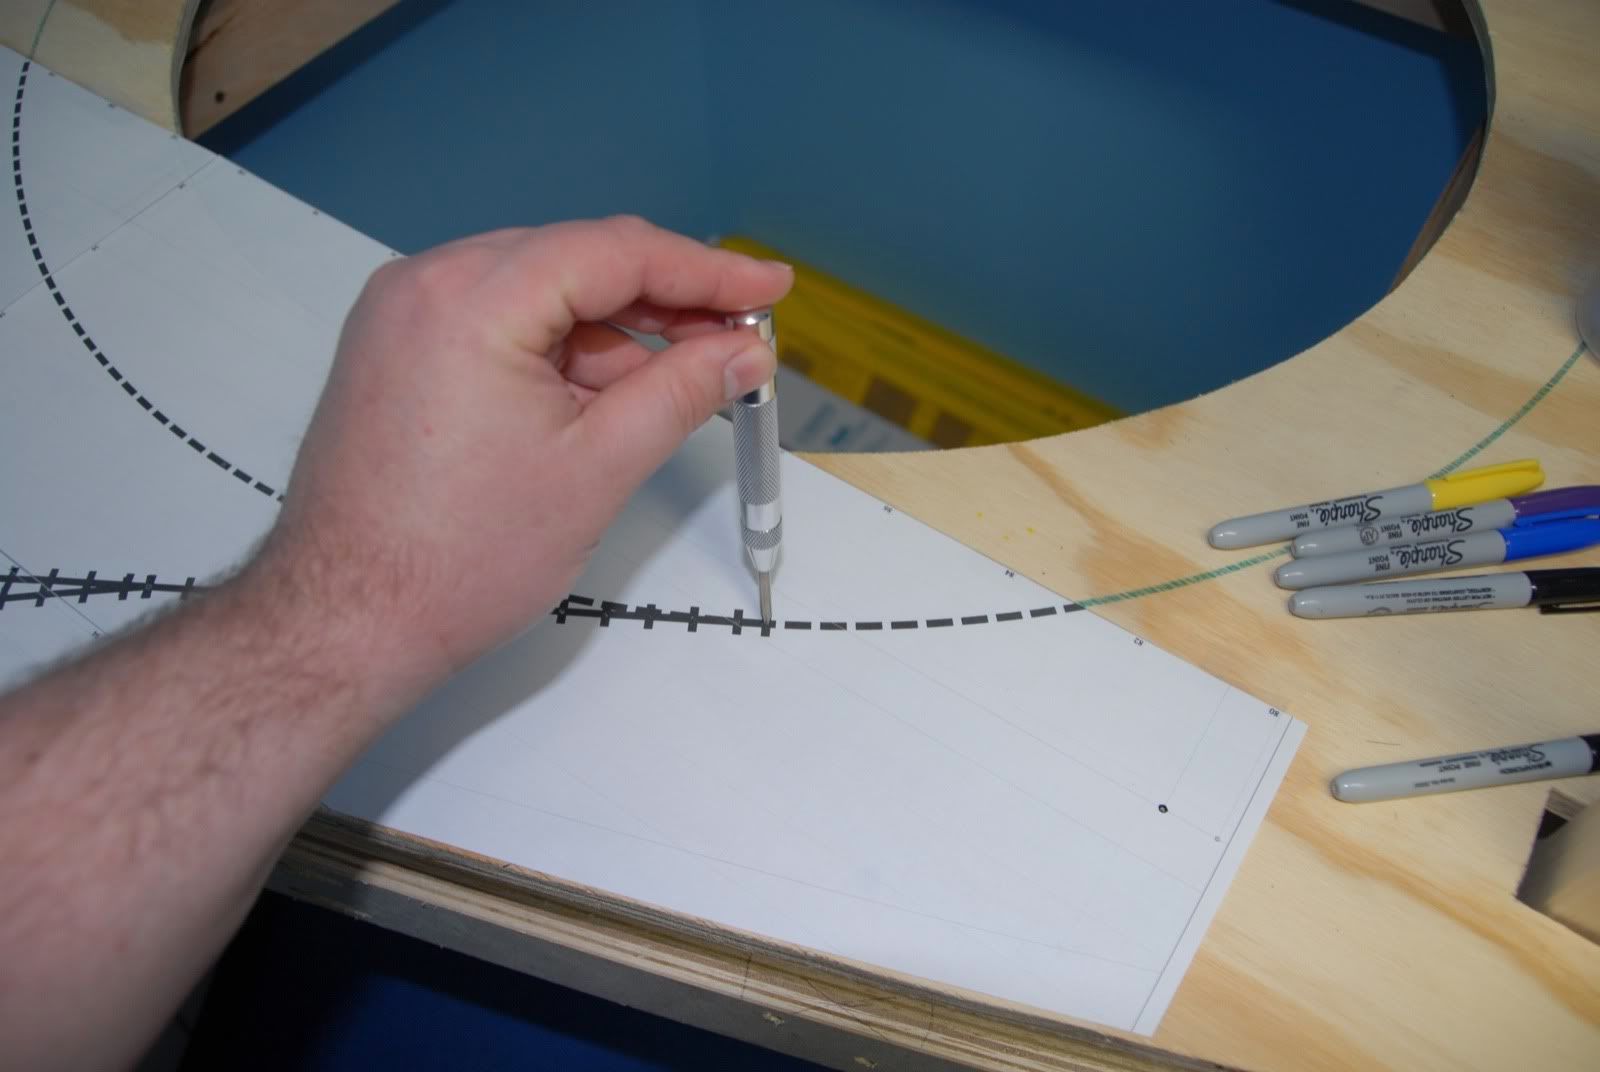
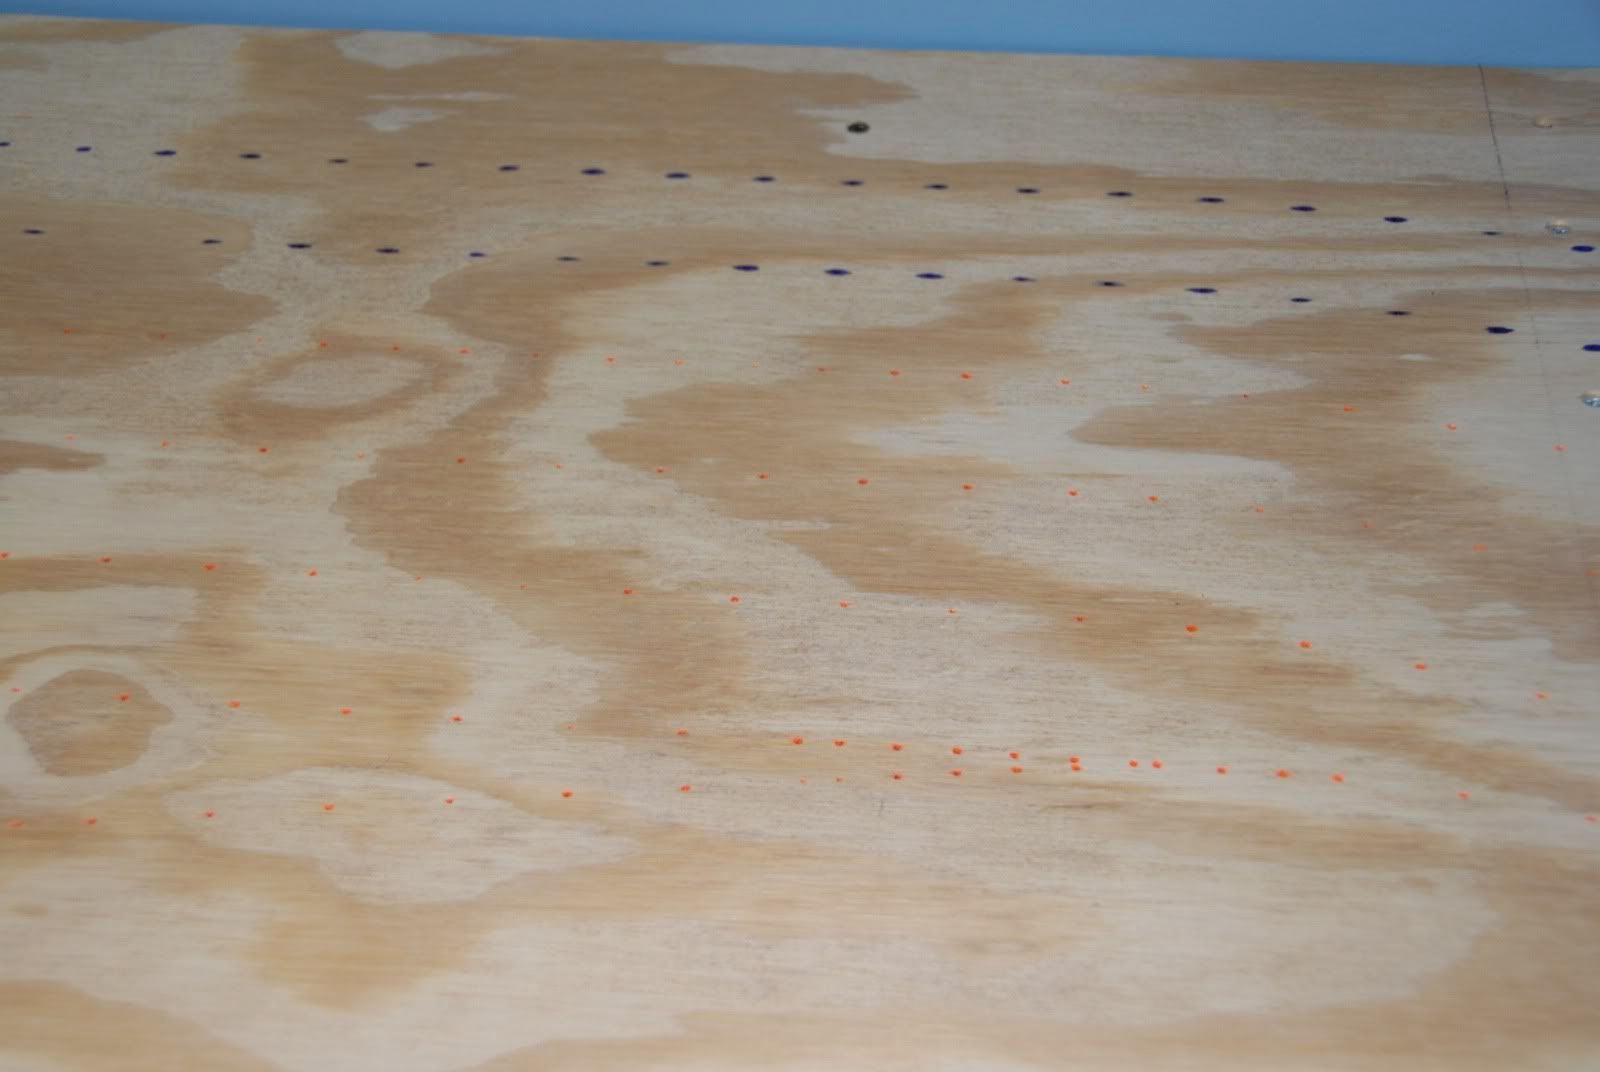
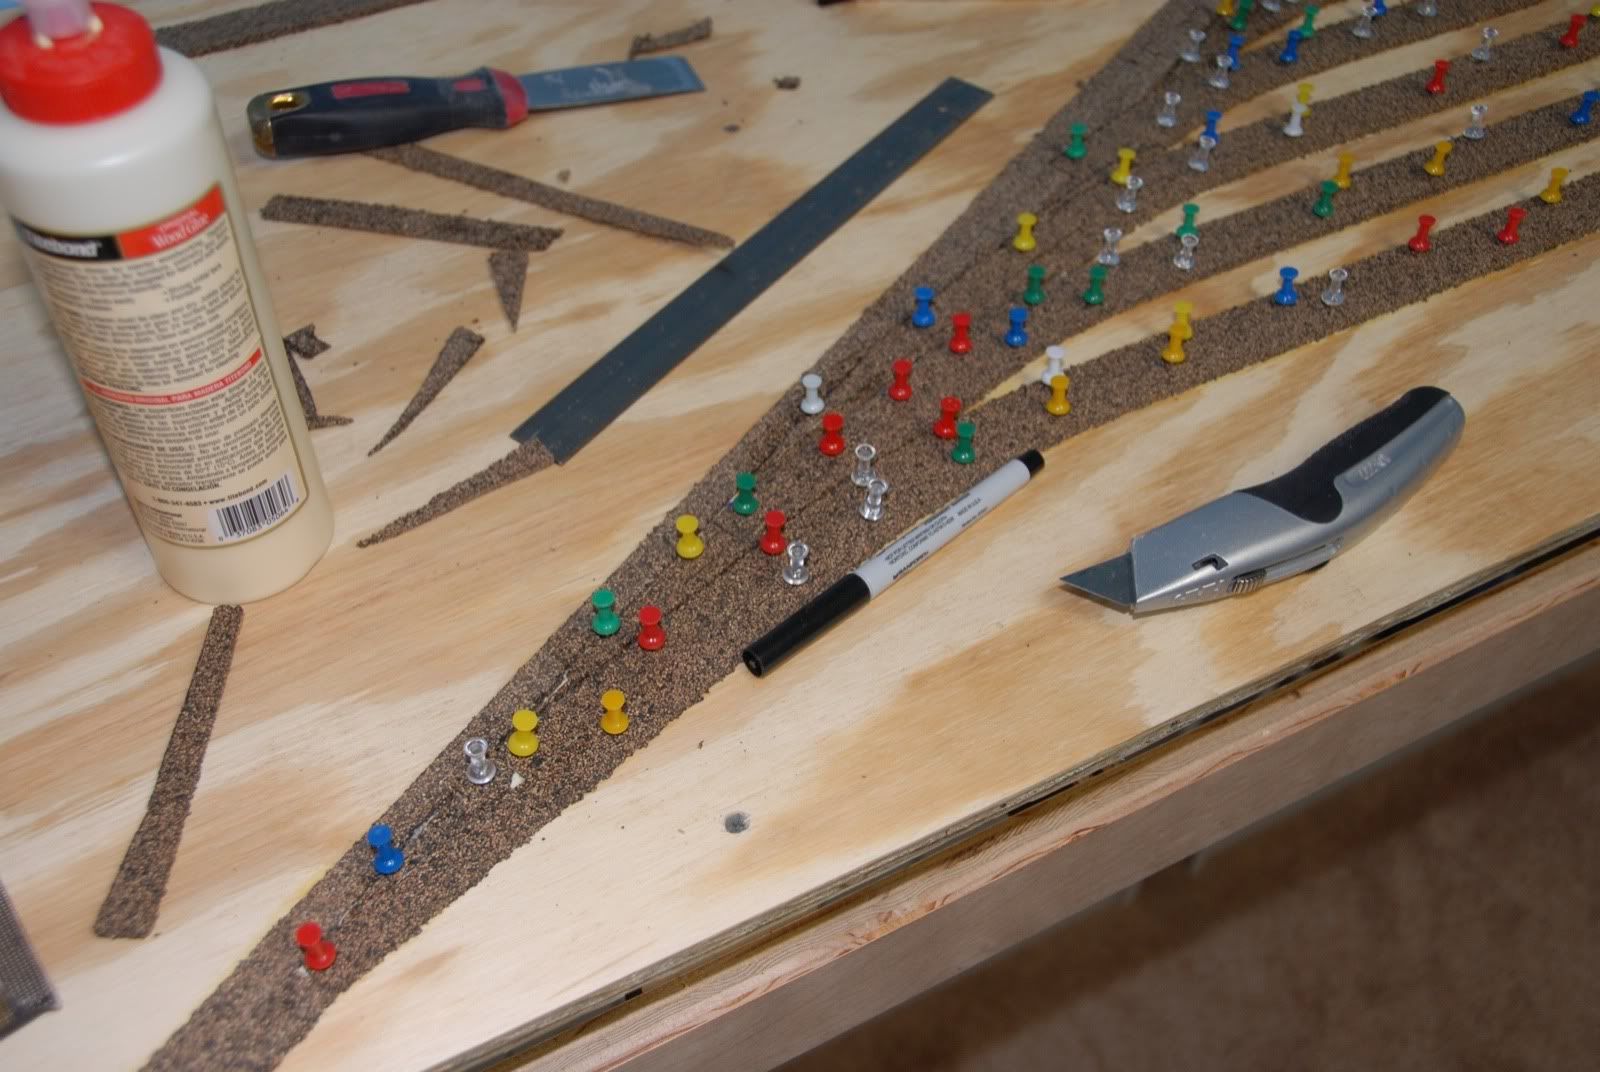
Once I had the holes punched (2 hours later) I followed up with some colored Sharpies to match the colors of the trackplan. Results are visible in the next 2 pics, purple is the loops, orange is staging.
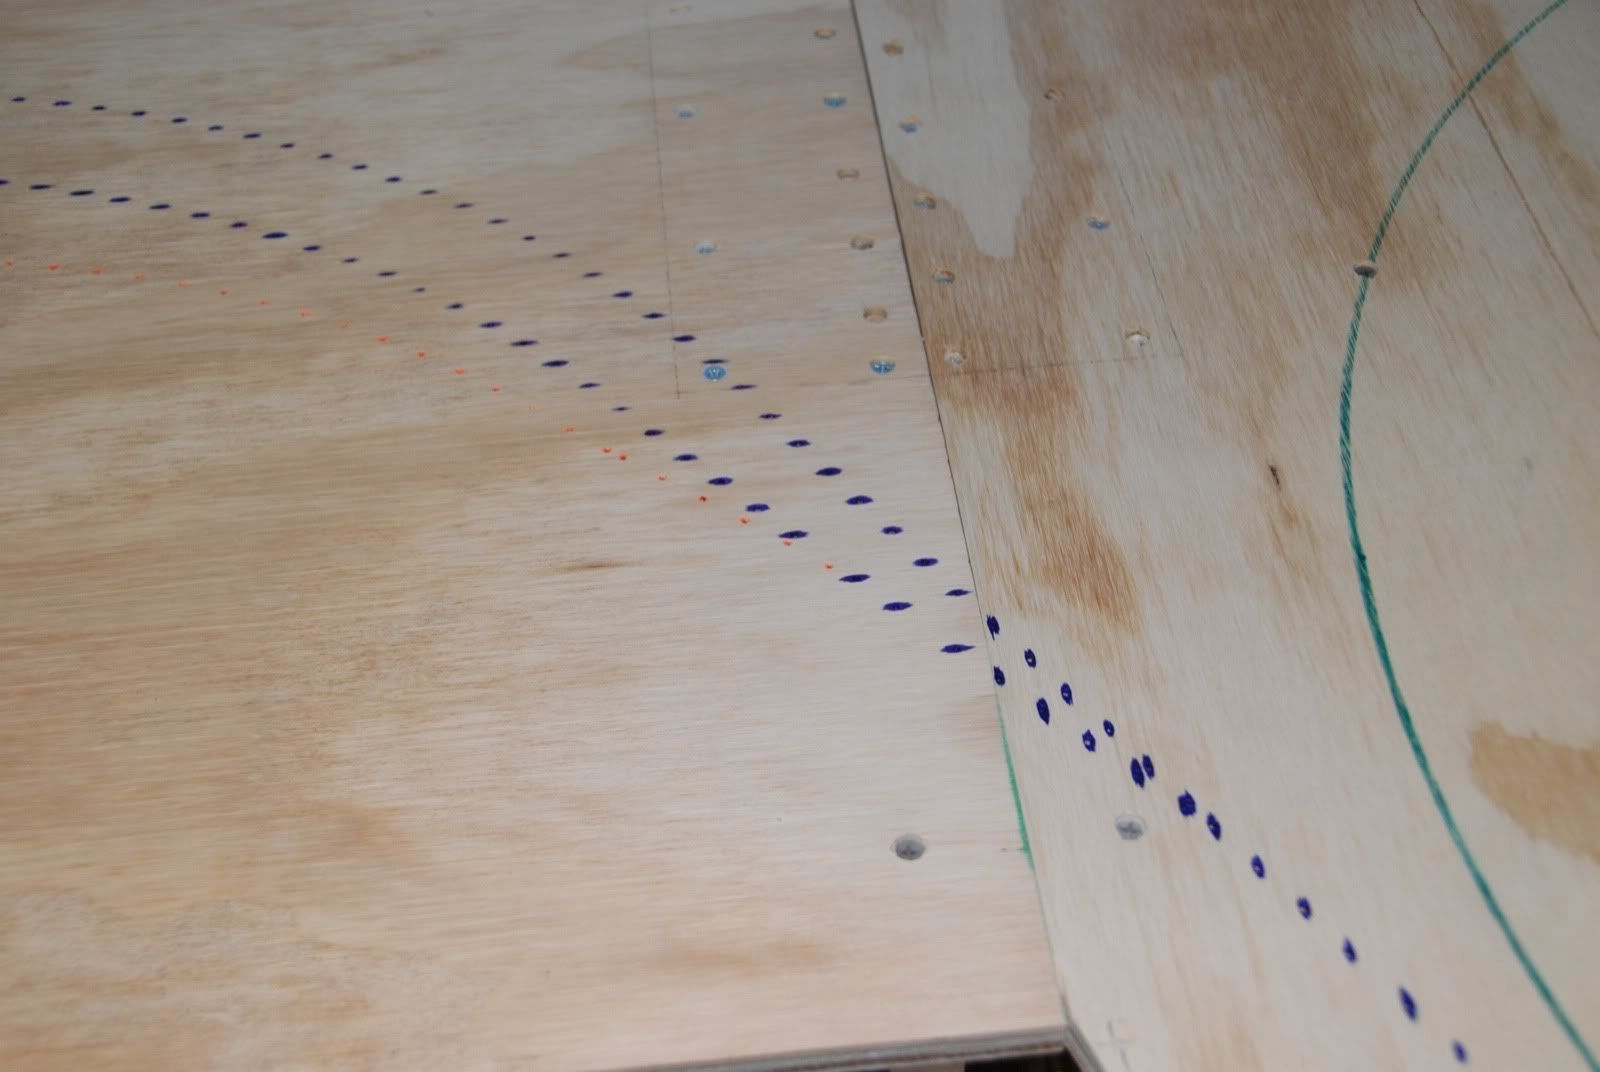
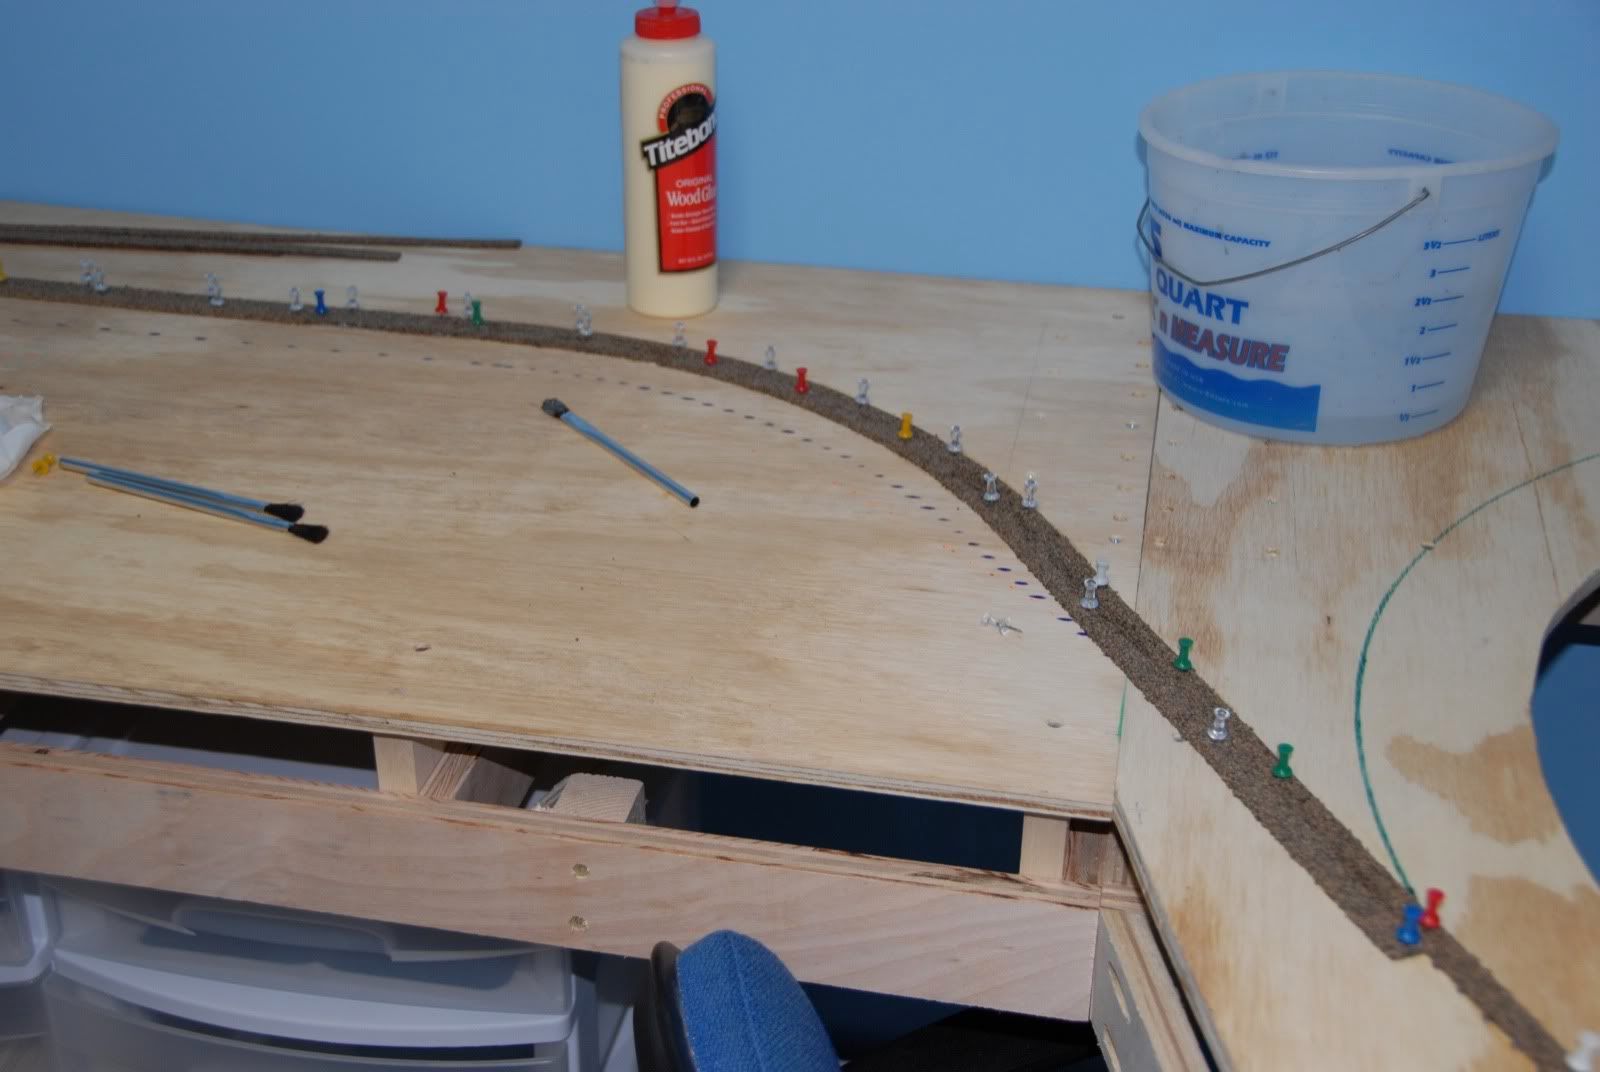
The colored dots became the centerline for the cork subroadbed, glued down with yellow wood glue and tacked in place until the glue dries in about 30 minutes.

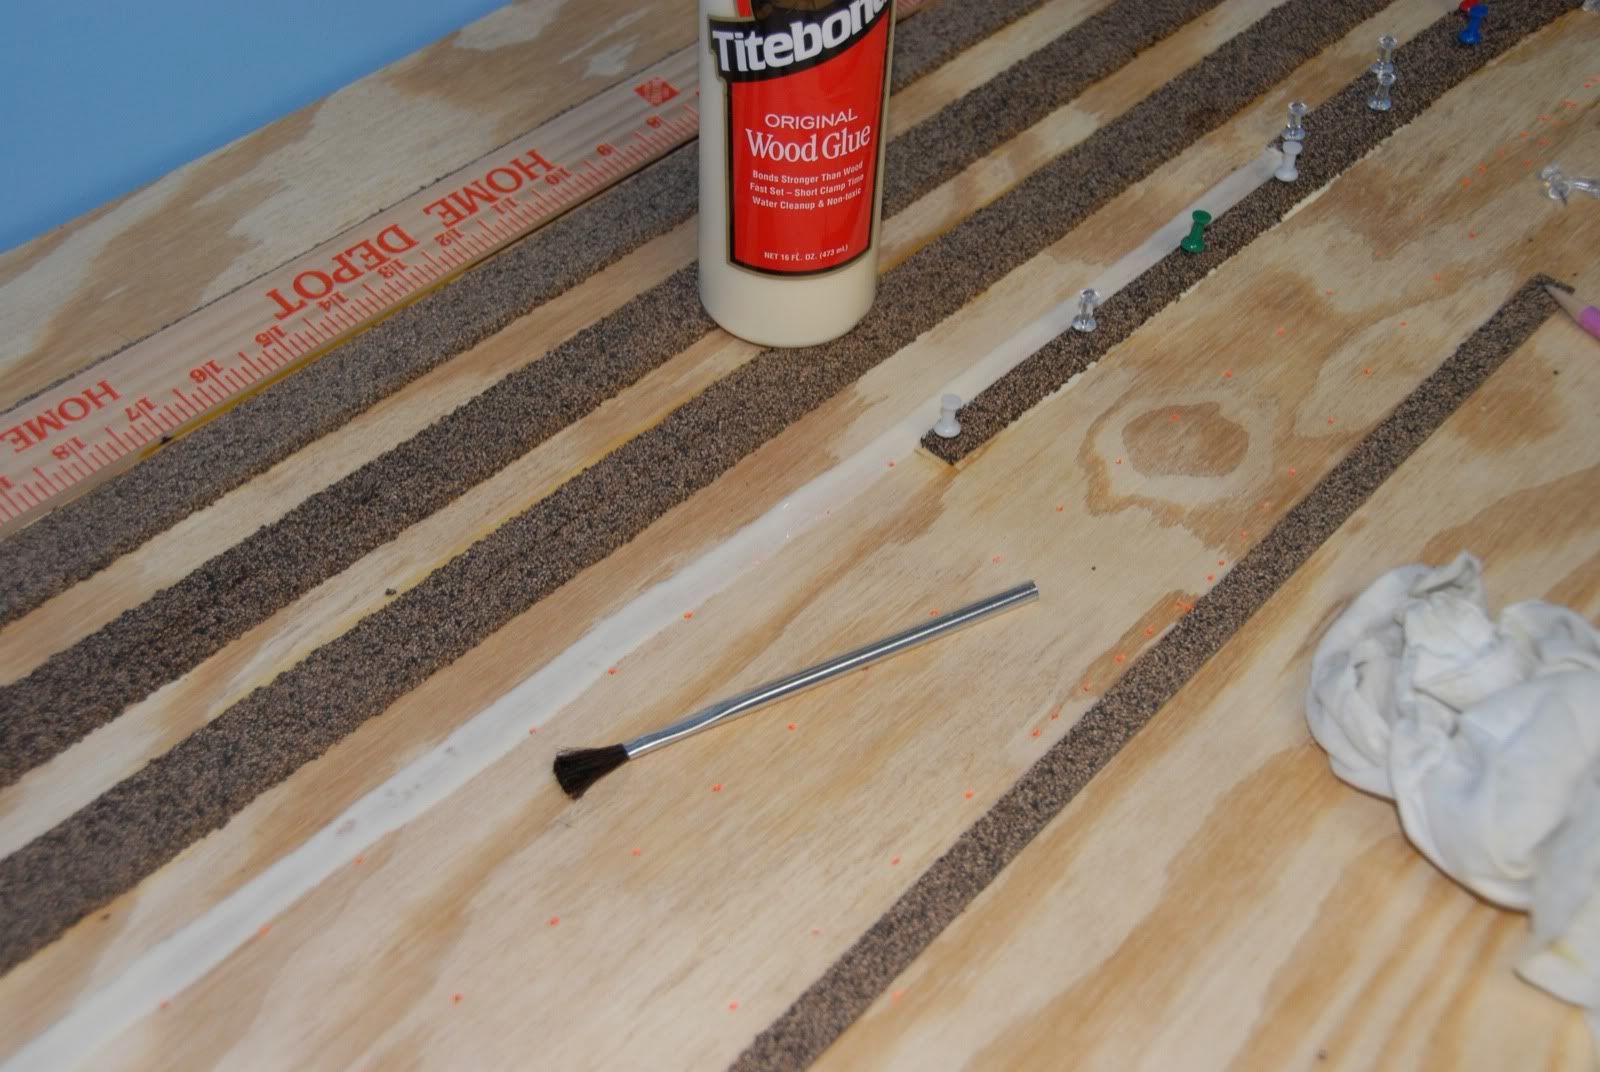
In the next few pics are some more details of how I glued down the cork. First lay down a bead of glue:

Then using a small disposal brush spread out the glue about cork width to help with even adhesion. Lay the cork on this, making sure you press down firmly the entire length, tak it down, and remove any glue seepage with a damp cloth.
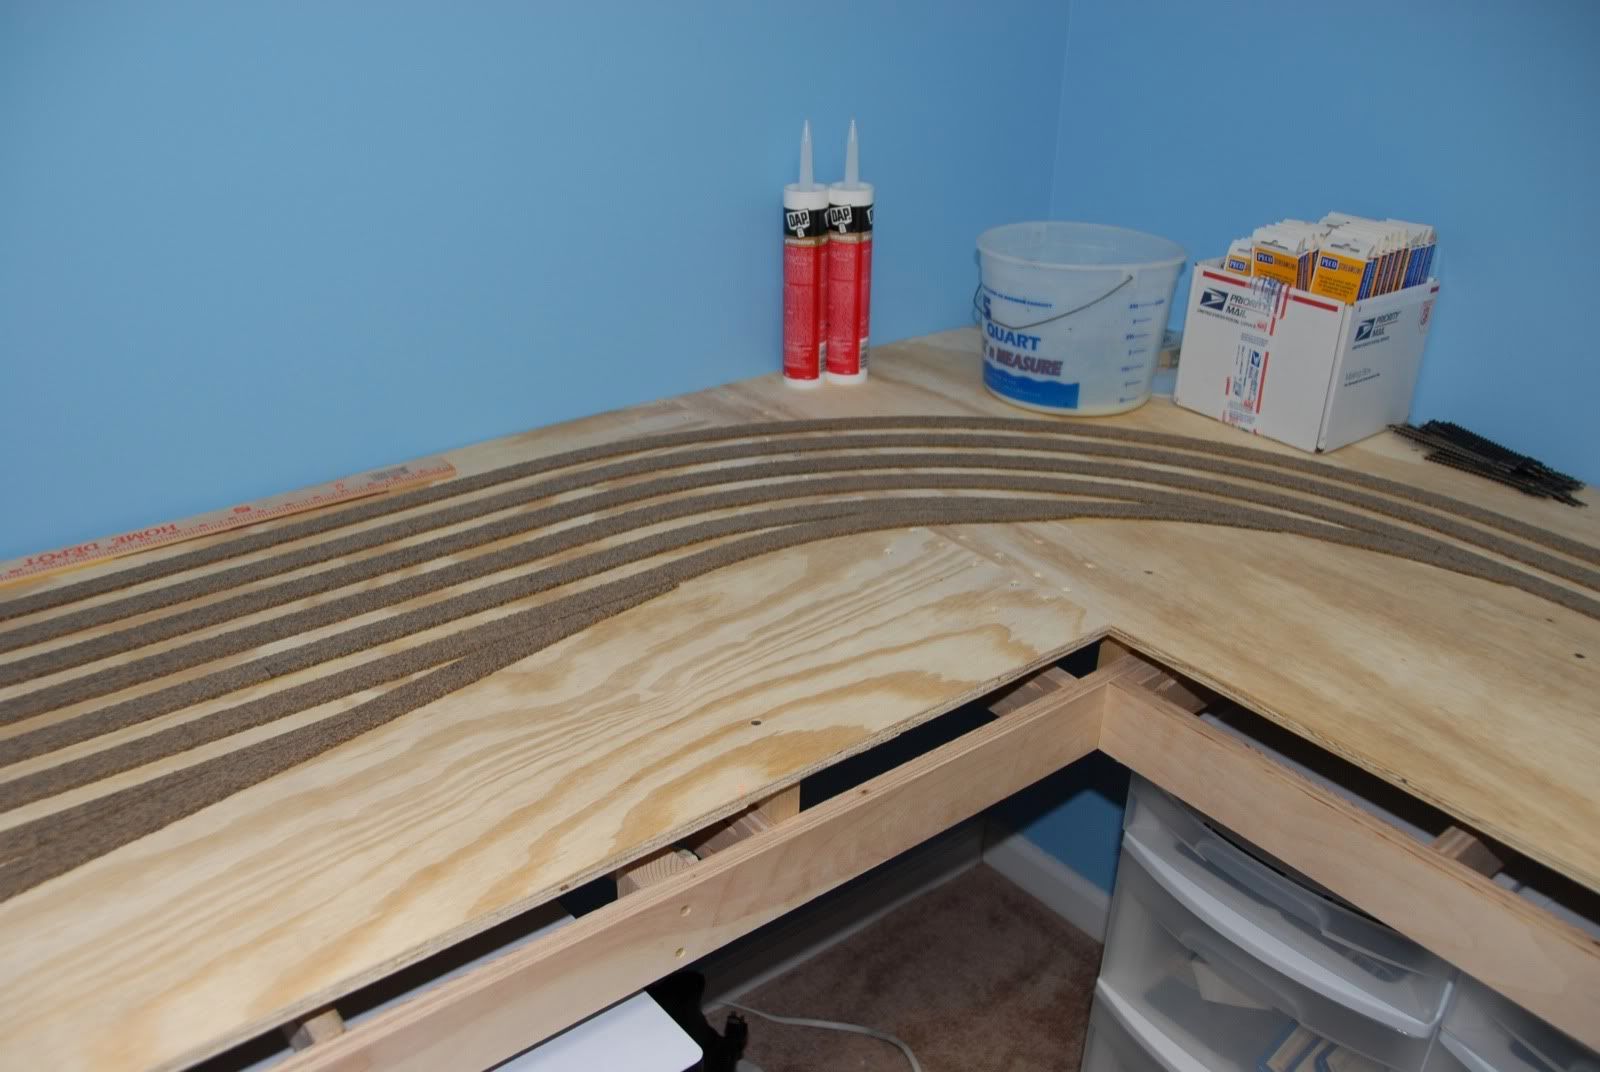
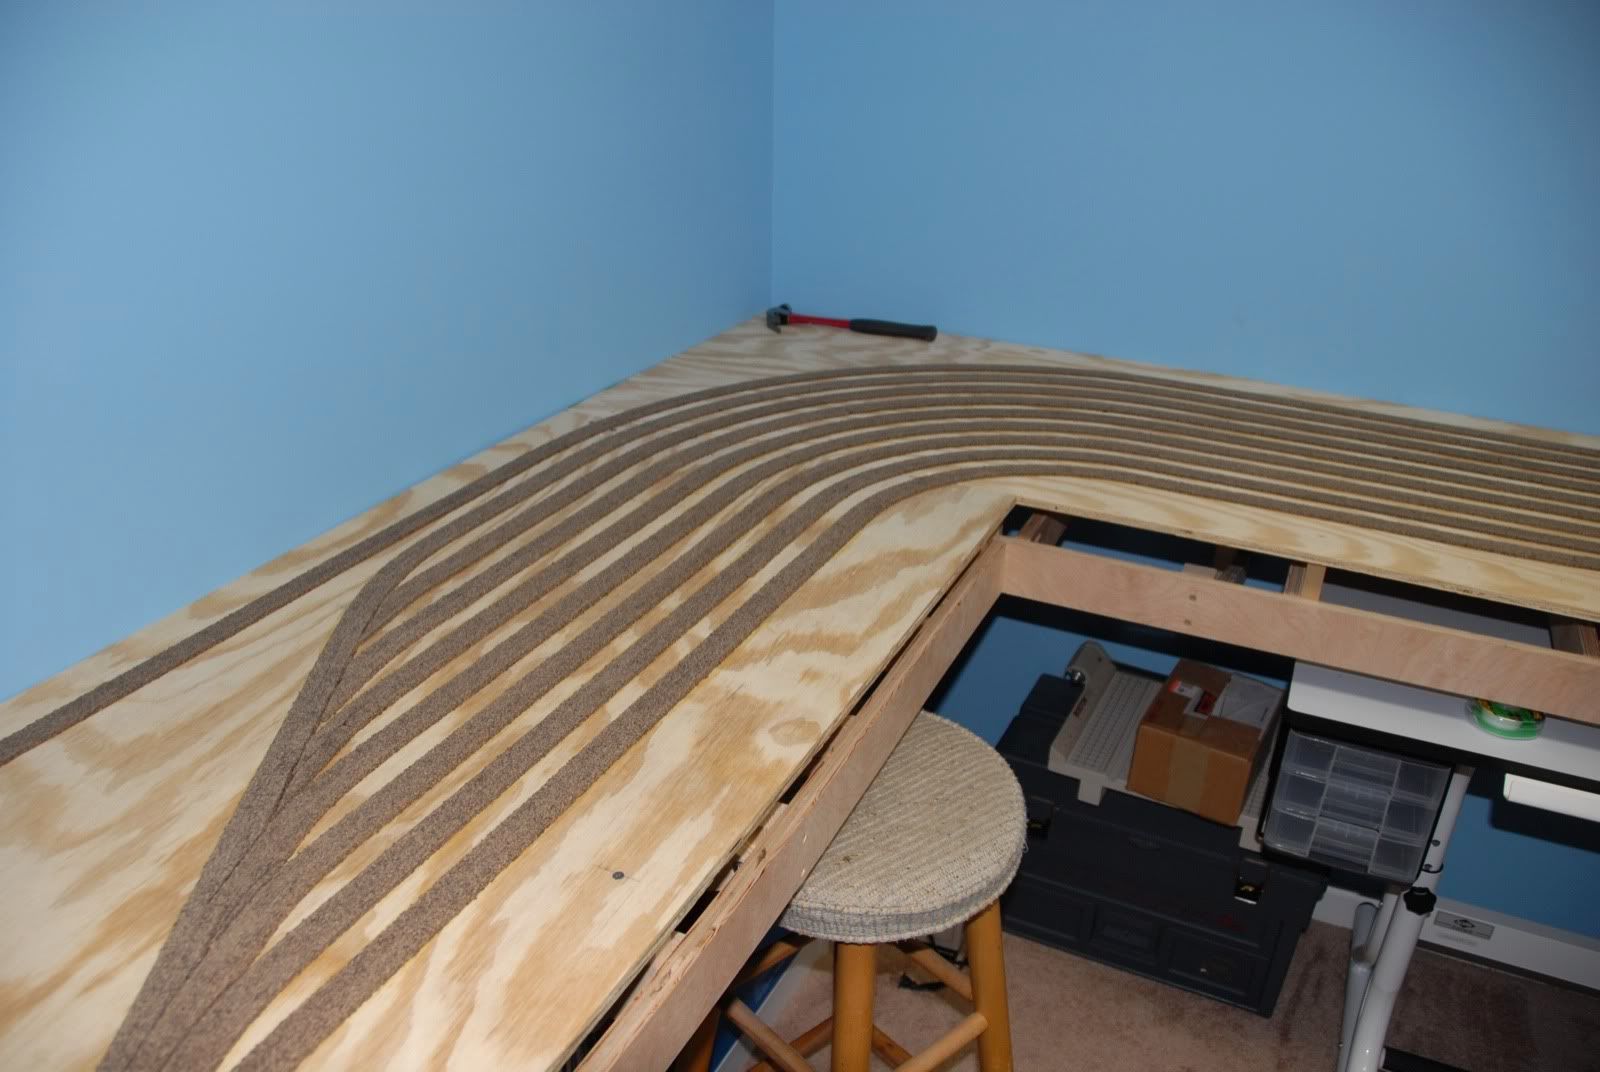
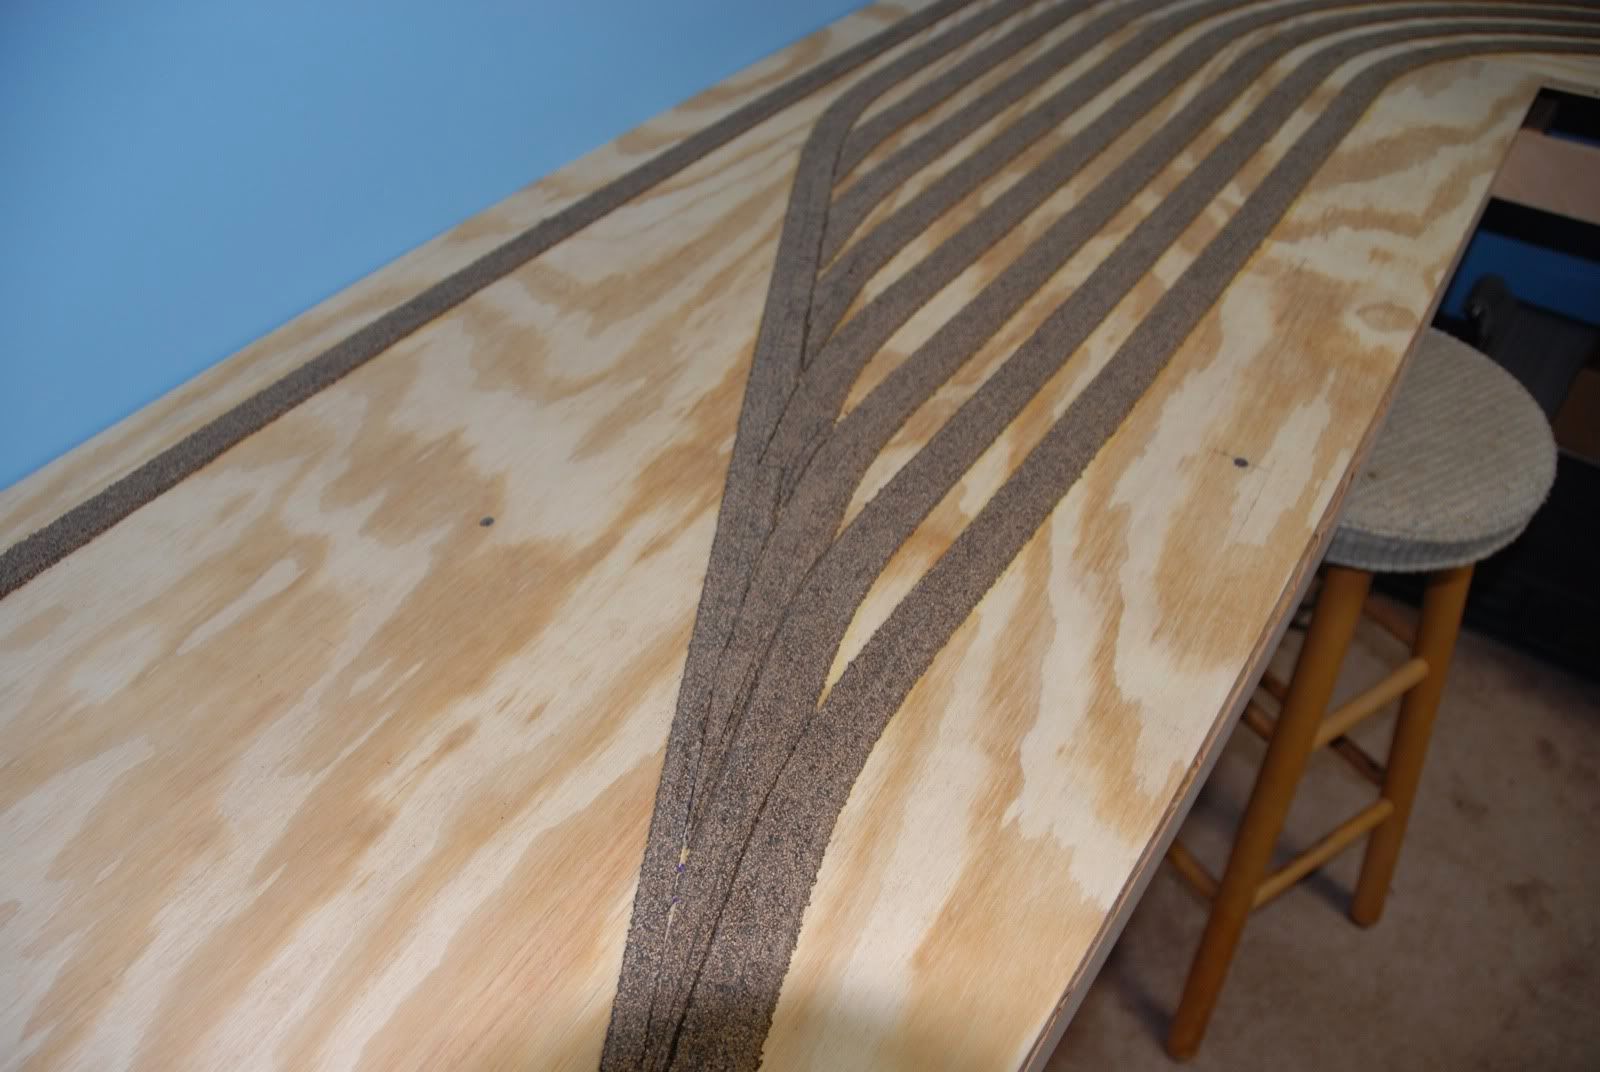
Here is some of the trickier cork laying around the yard entrance. Make sure to have plenty of tacks on hand! This section took a couple of hours by itself!
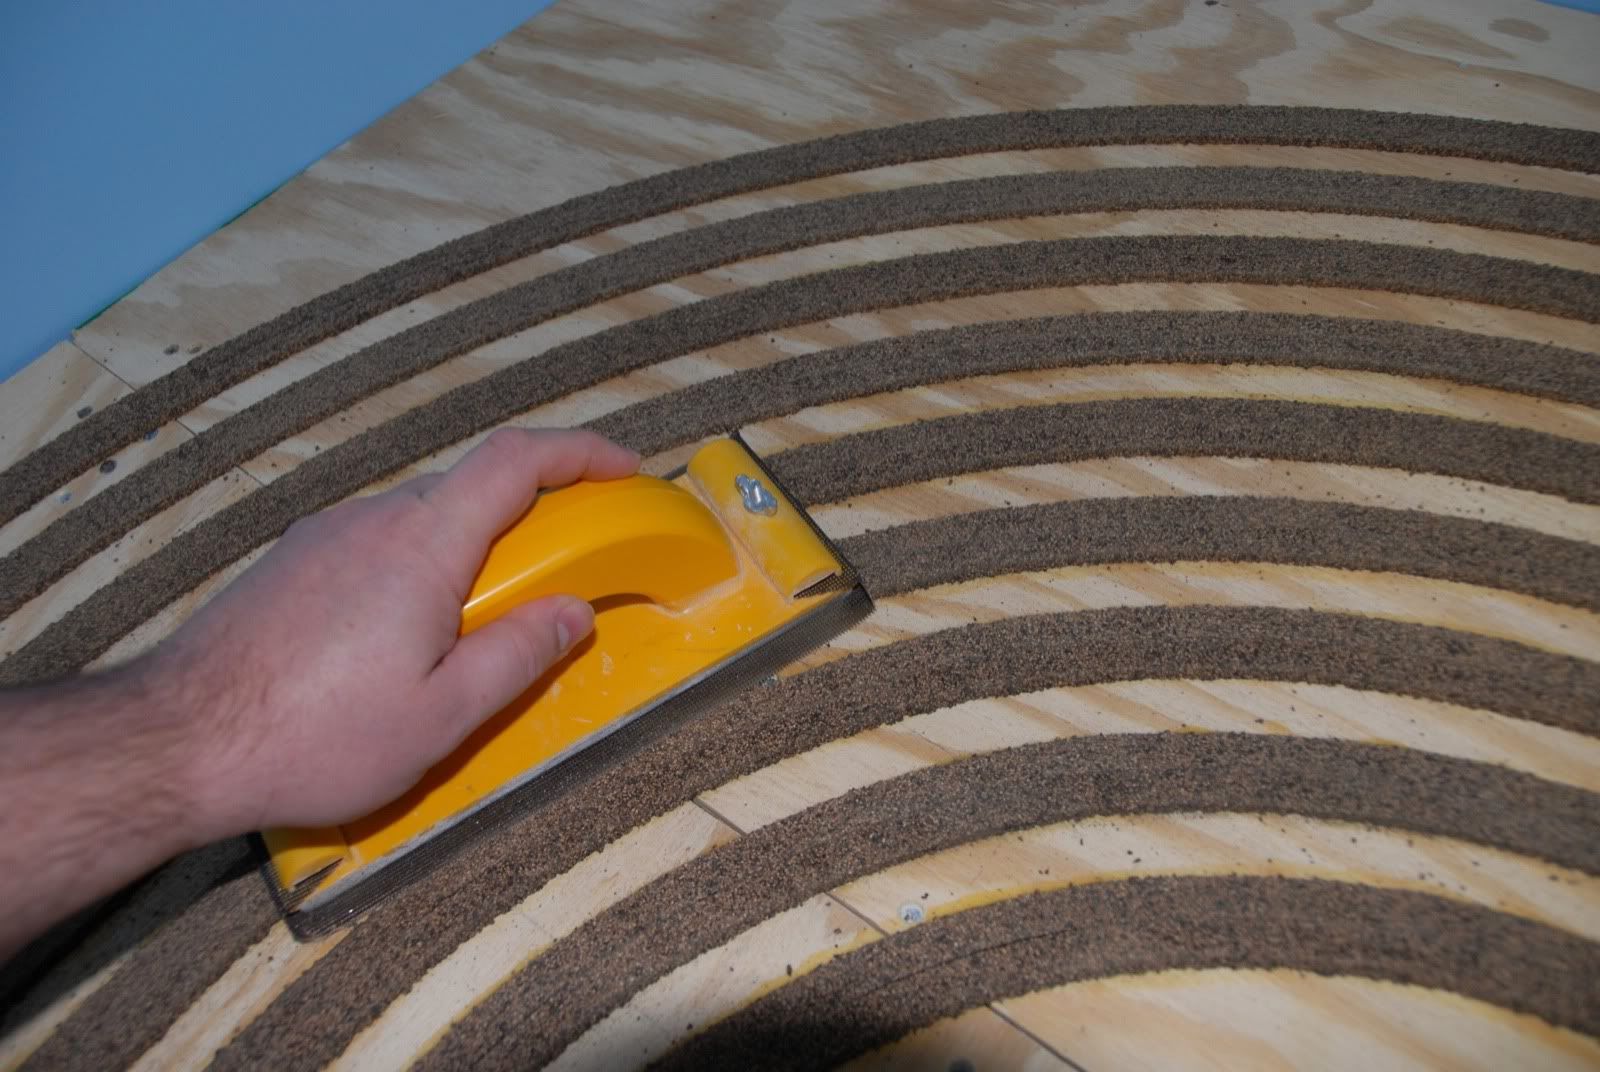
Once dry I followed up with some drywall sanding mesh attached to a sanding float and smoothed out the top of the cork, Made short work of it and resulted in a perfectly smooth surface.
The completed cork roadbed on the lower level:

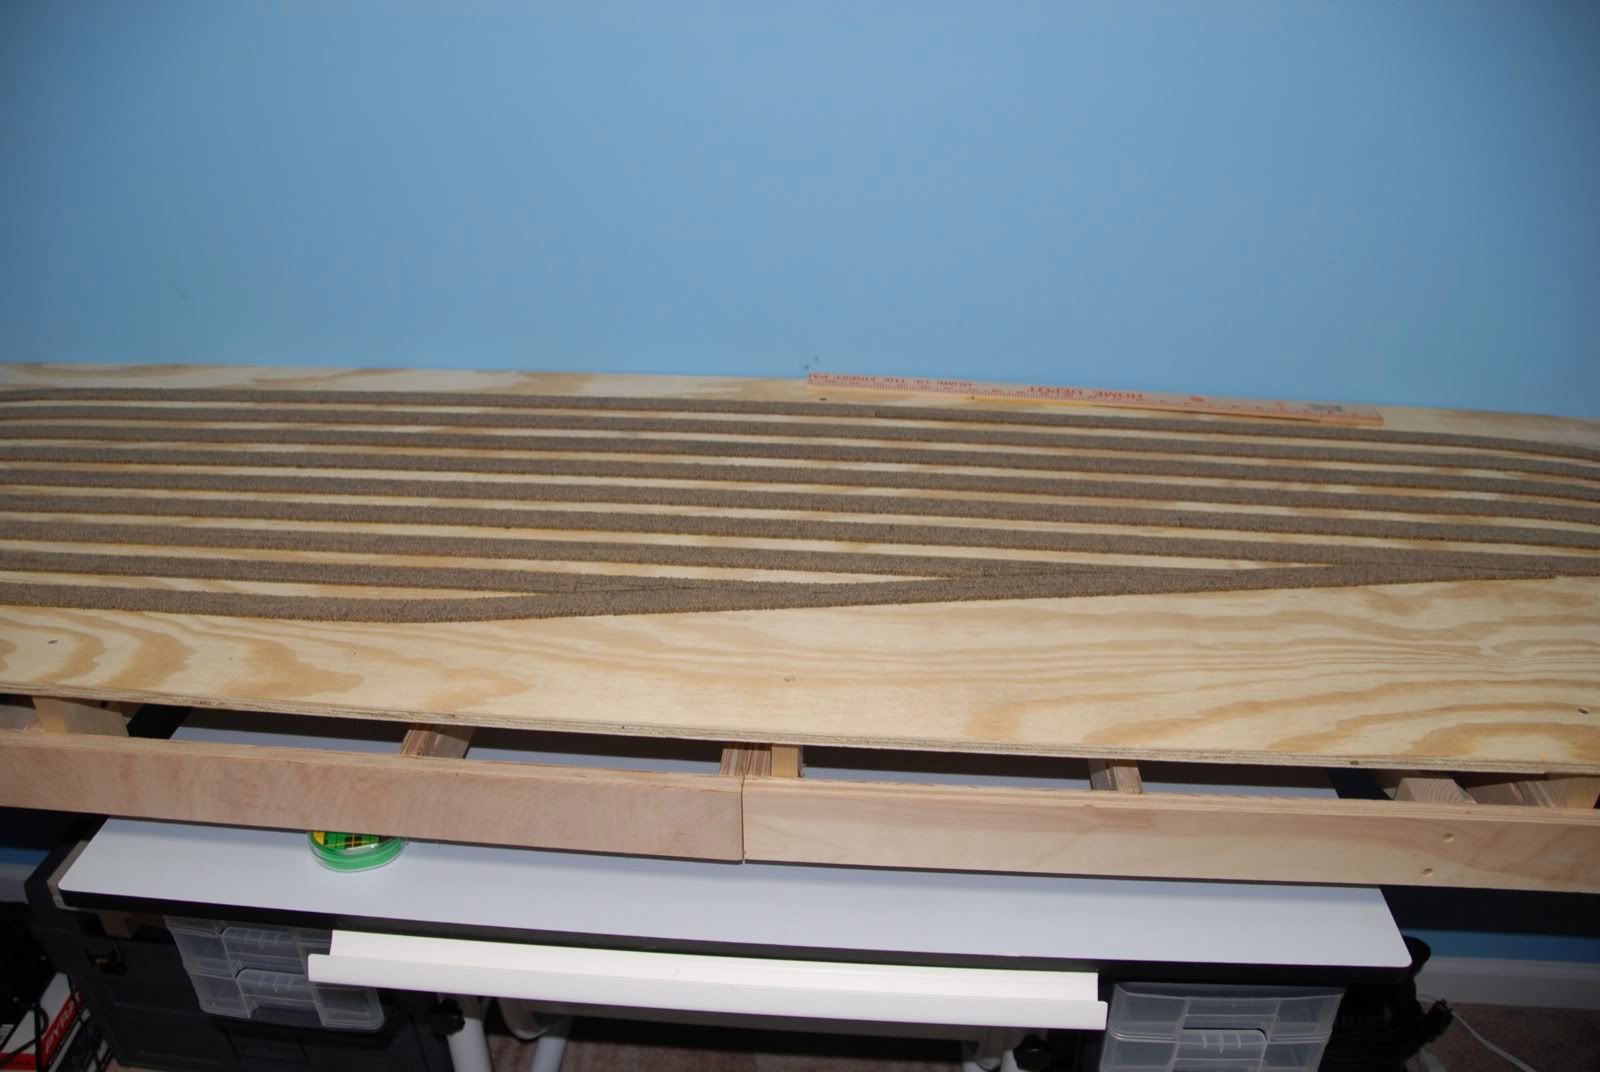
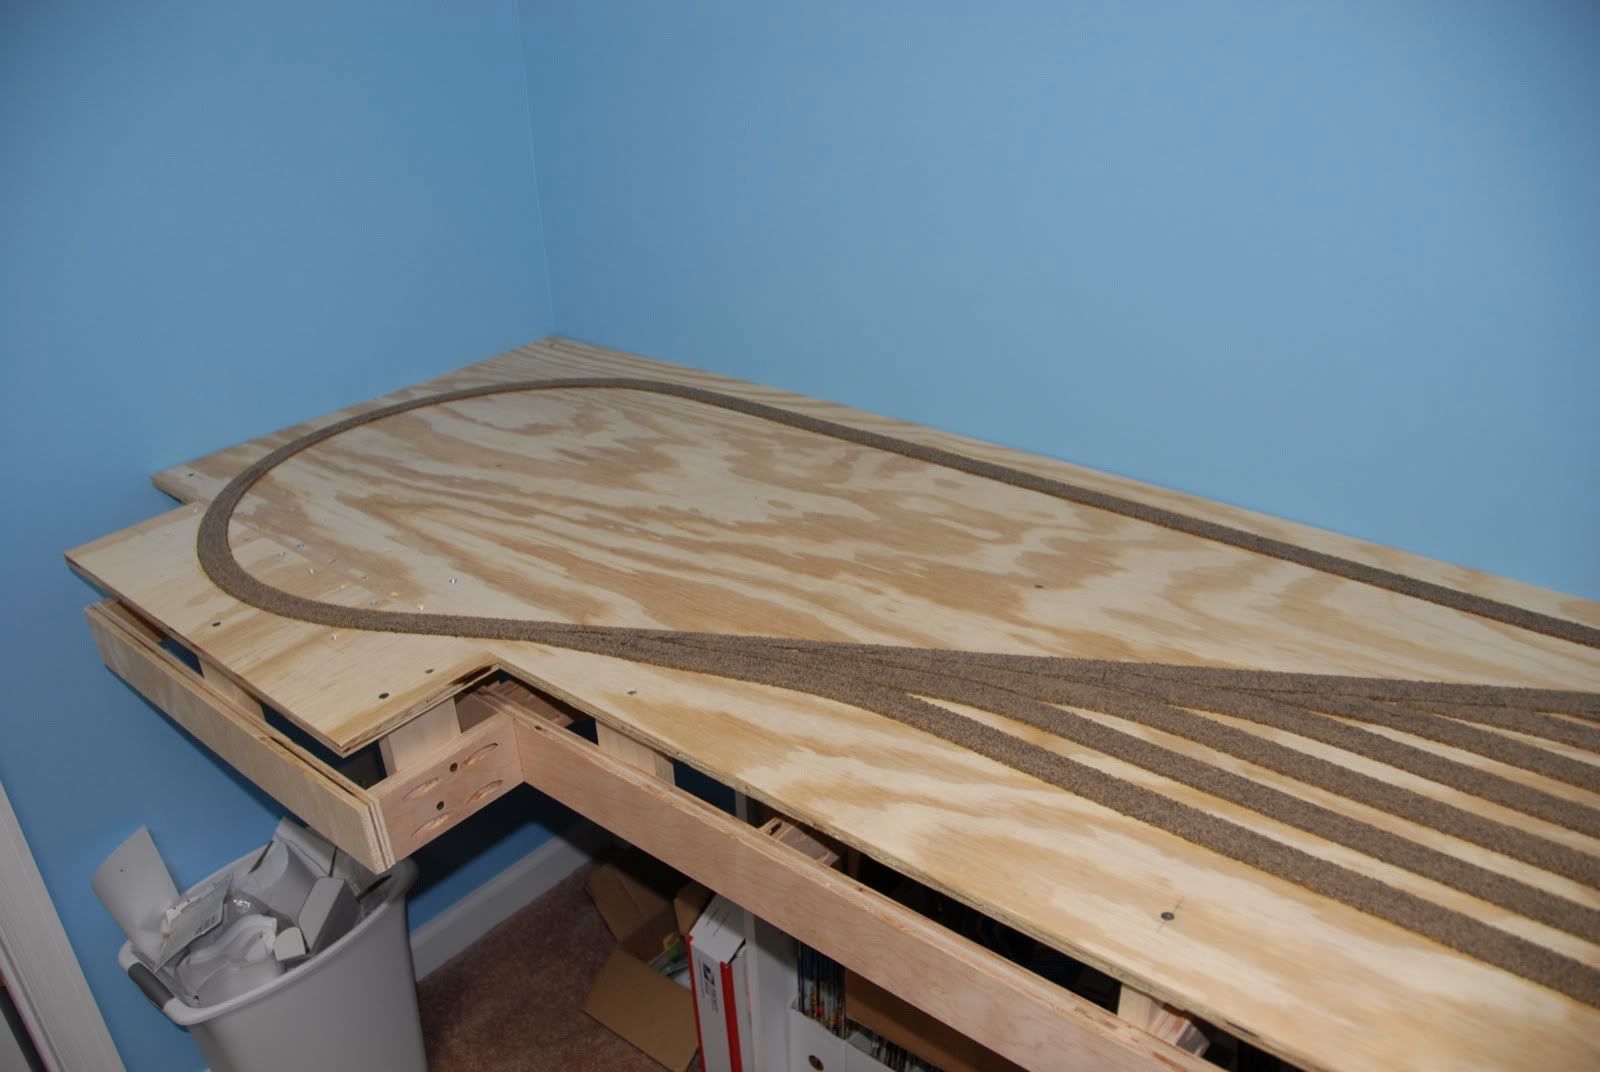
The cork is down in a weekend, not too bad for a one man crew!
Next comes some trackwork and beginning of the wiring for this level. Things will start slowing down here, so until then.......
No comments:
Post a Comment