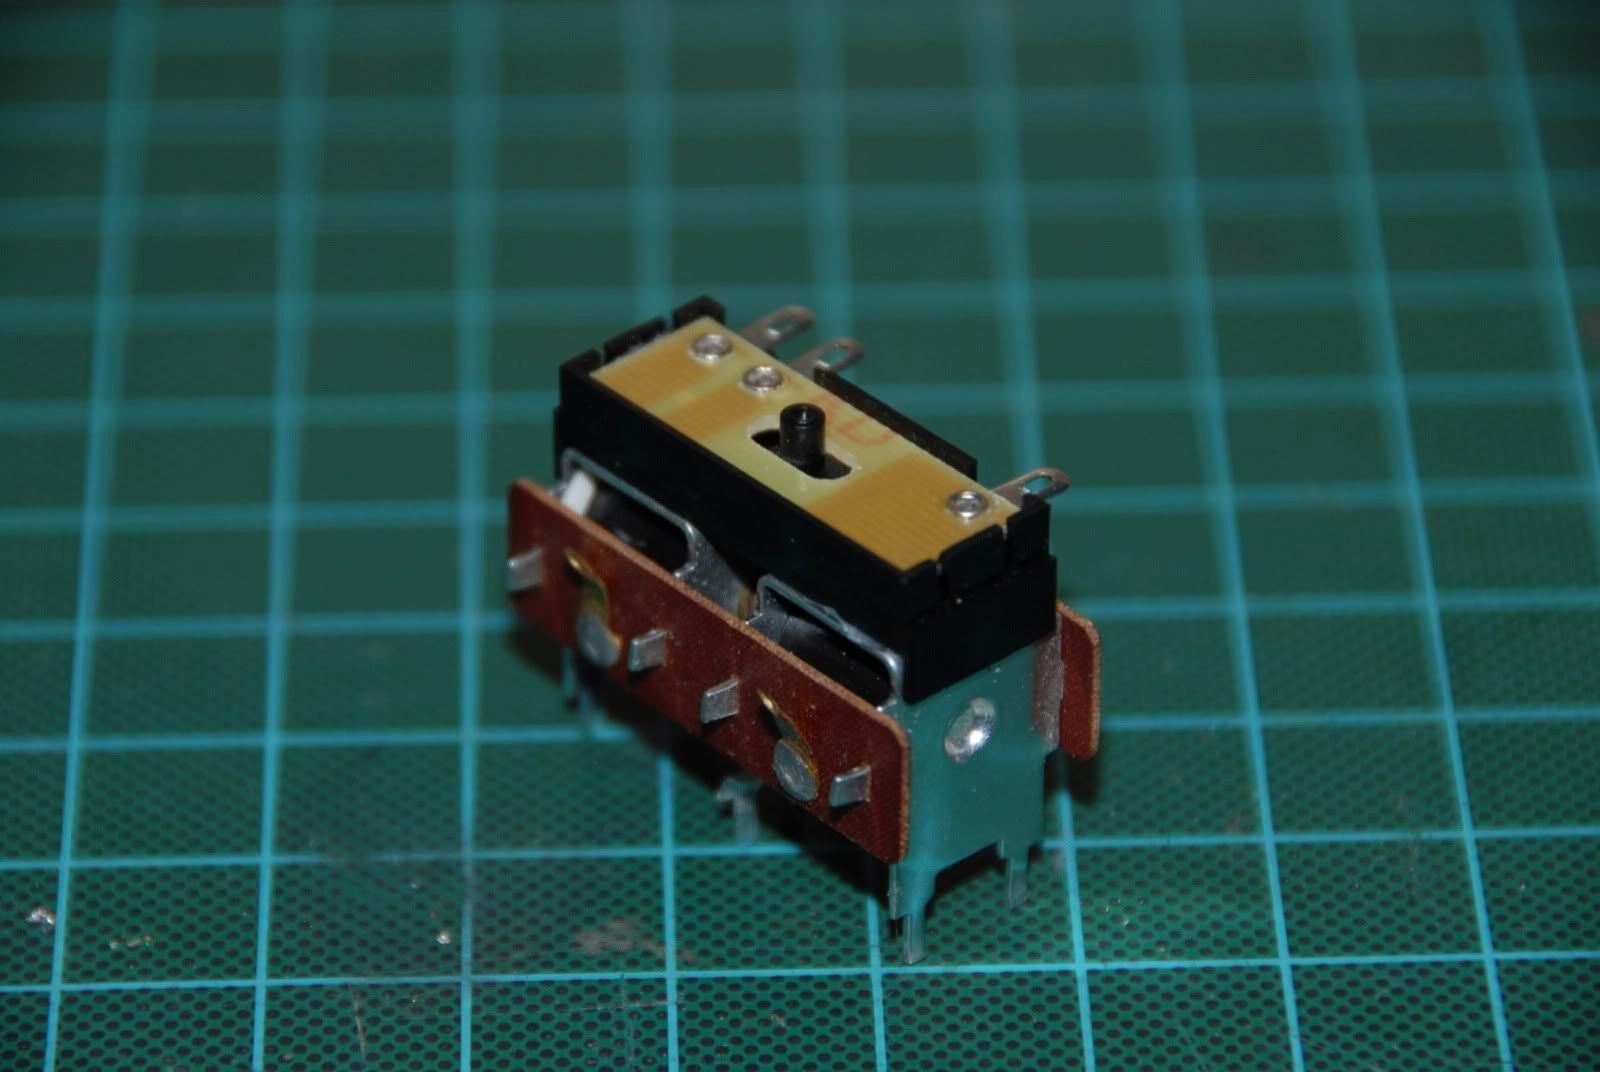
First. mount the PL-13 to the PL-10 with some adhesive. I used silicone sealant for this. Let them sit for overnight for the silicone to dry.
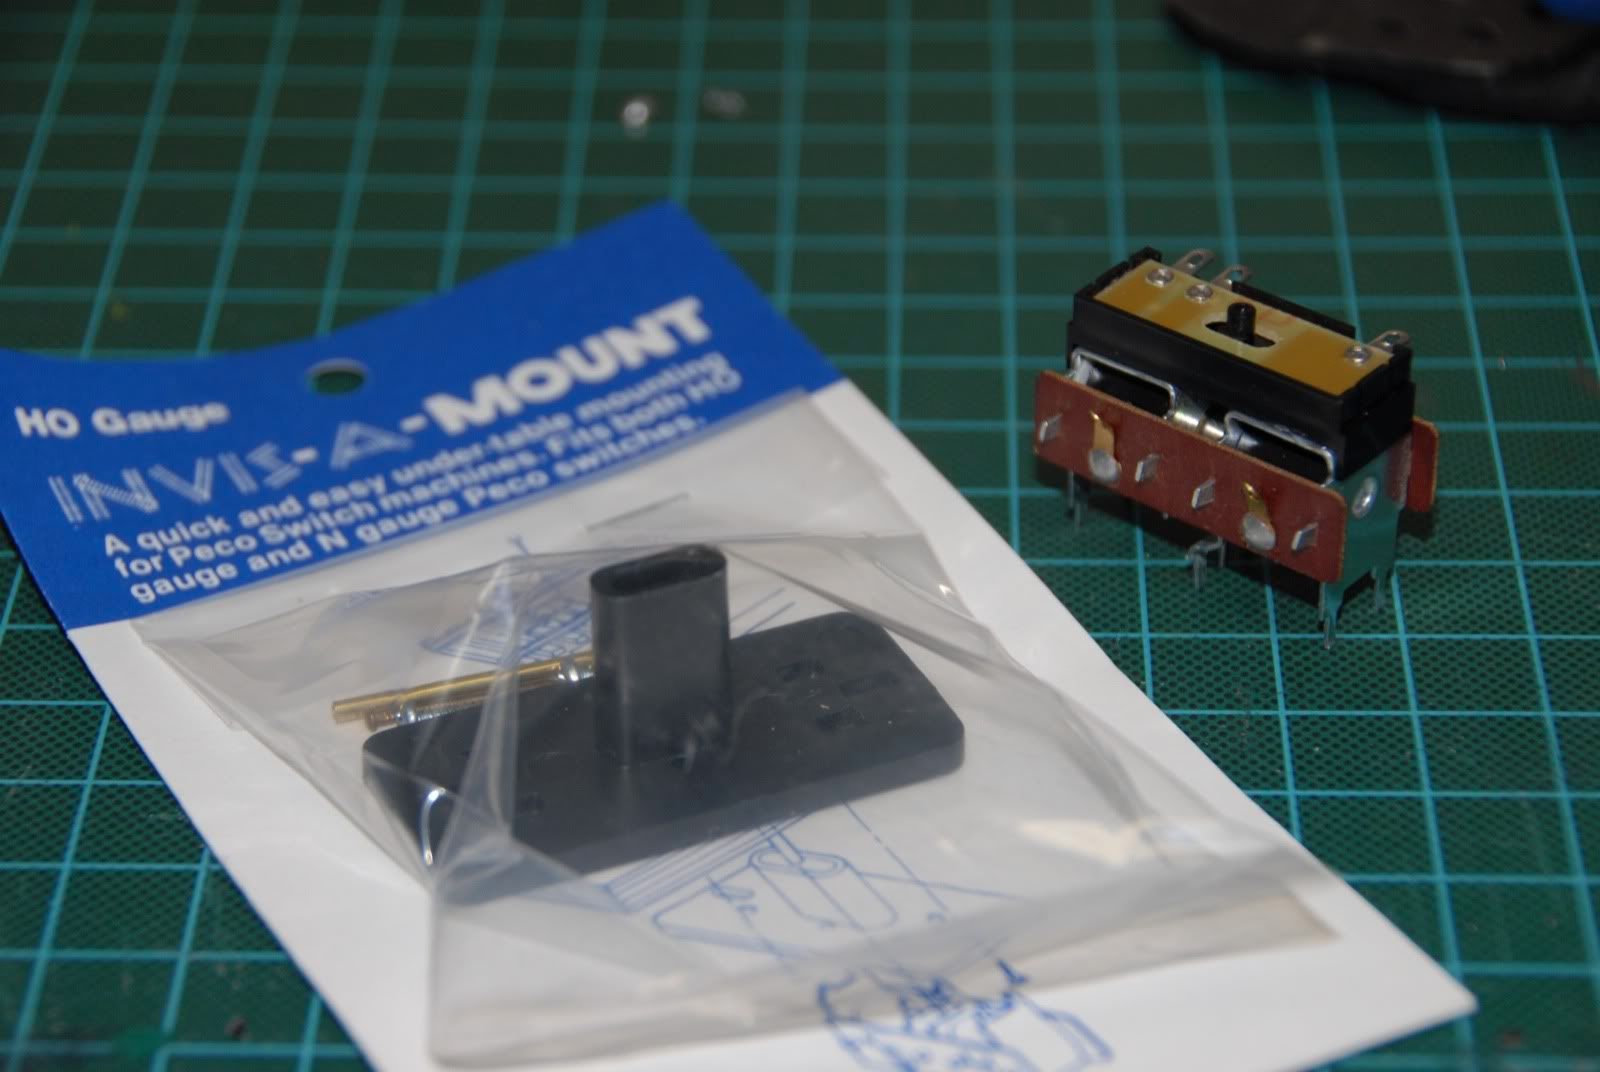
I'm using Invis-A-Mount undertable mounts for mounting the Peco PL-10s. I did not want to mount the PL-10s directly to the turnouts, as they require a large hole in the roadbed to mount. Using the mounts made it easier to mount with a much smaller hole required in the layout. They are made by F&H Enterprises, but I believe they are out of business. However they can still be found on ebay.
In order to make the mounting go quicker and more precise I made a template out of sheet aluminum for marking where to drill the mounting hole. It has 2 guidelines, one for the track centerline, one for the turnout throwbar centerline as well as the drill guide holes.
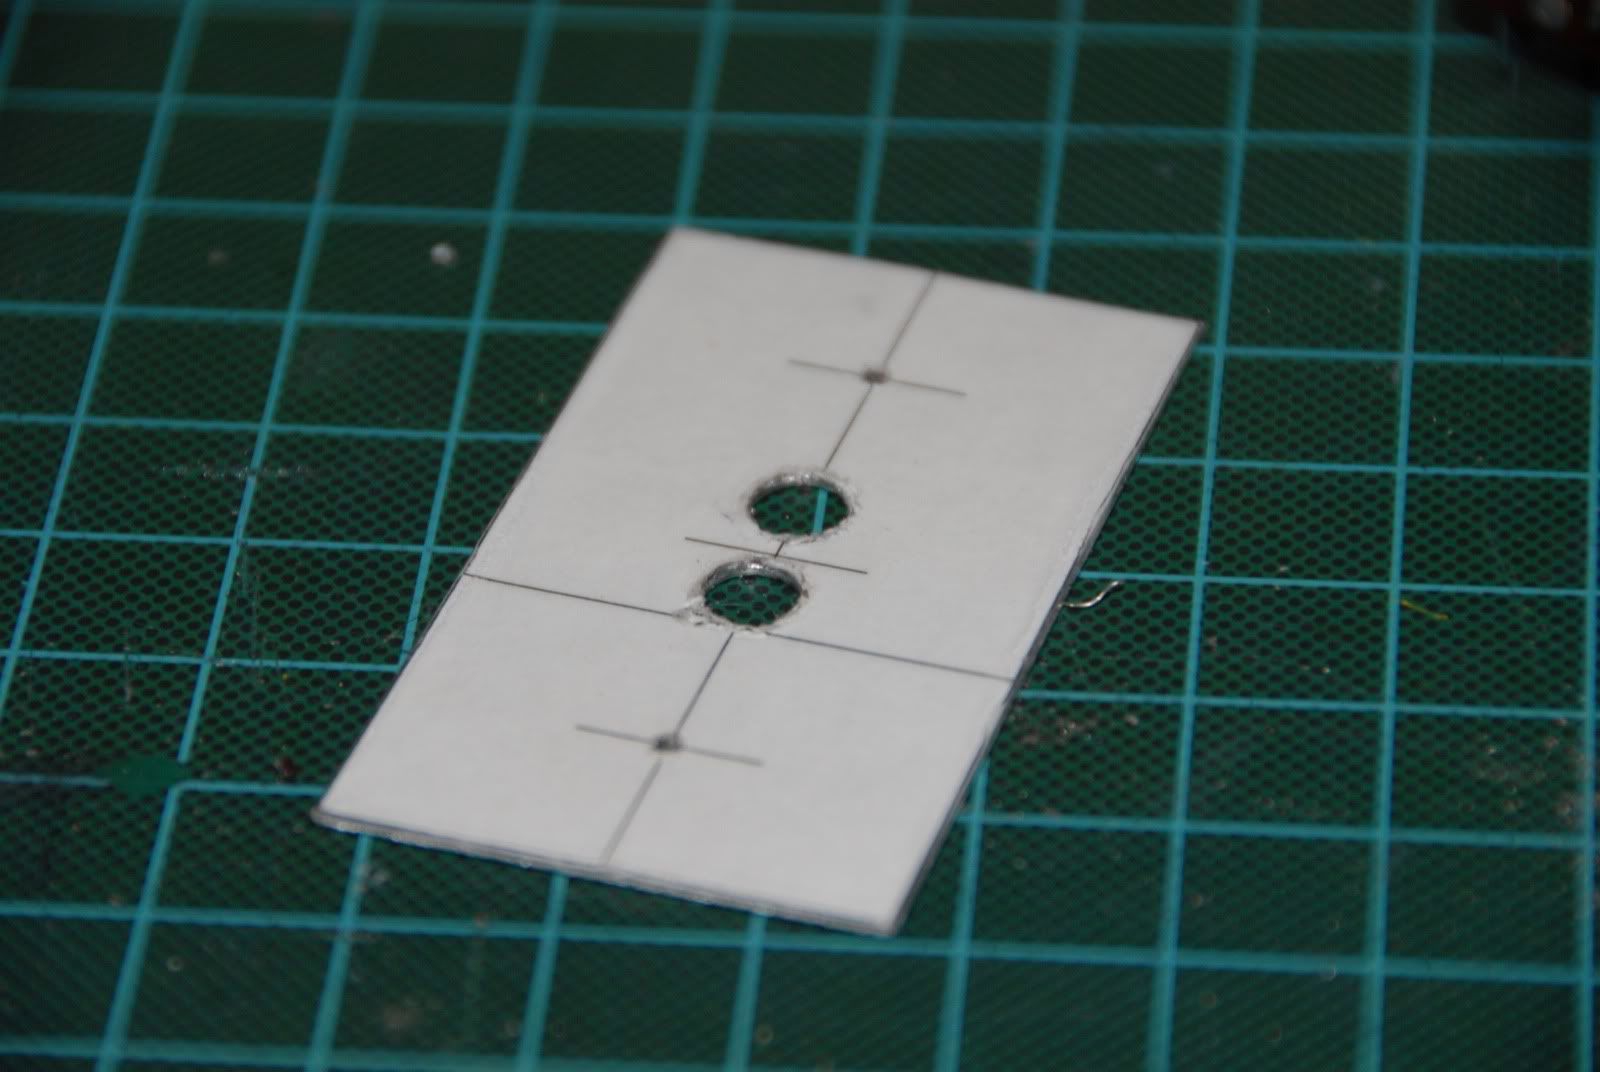
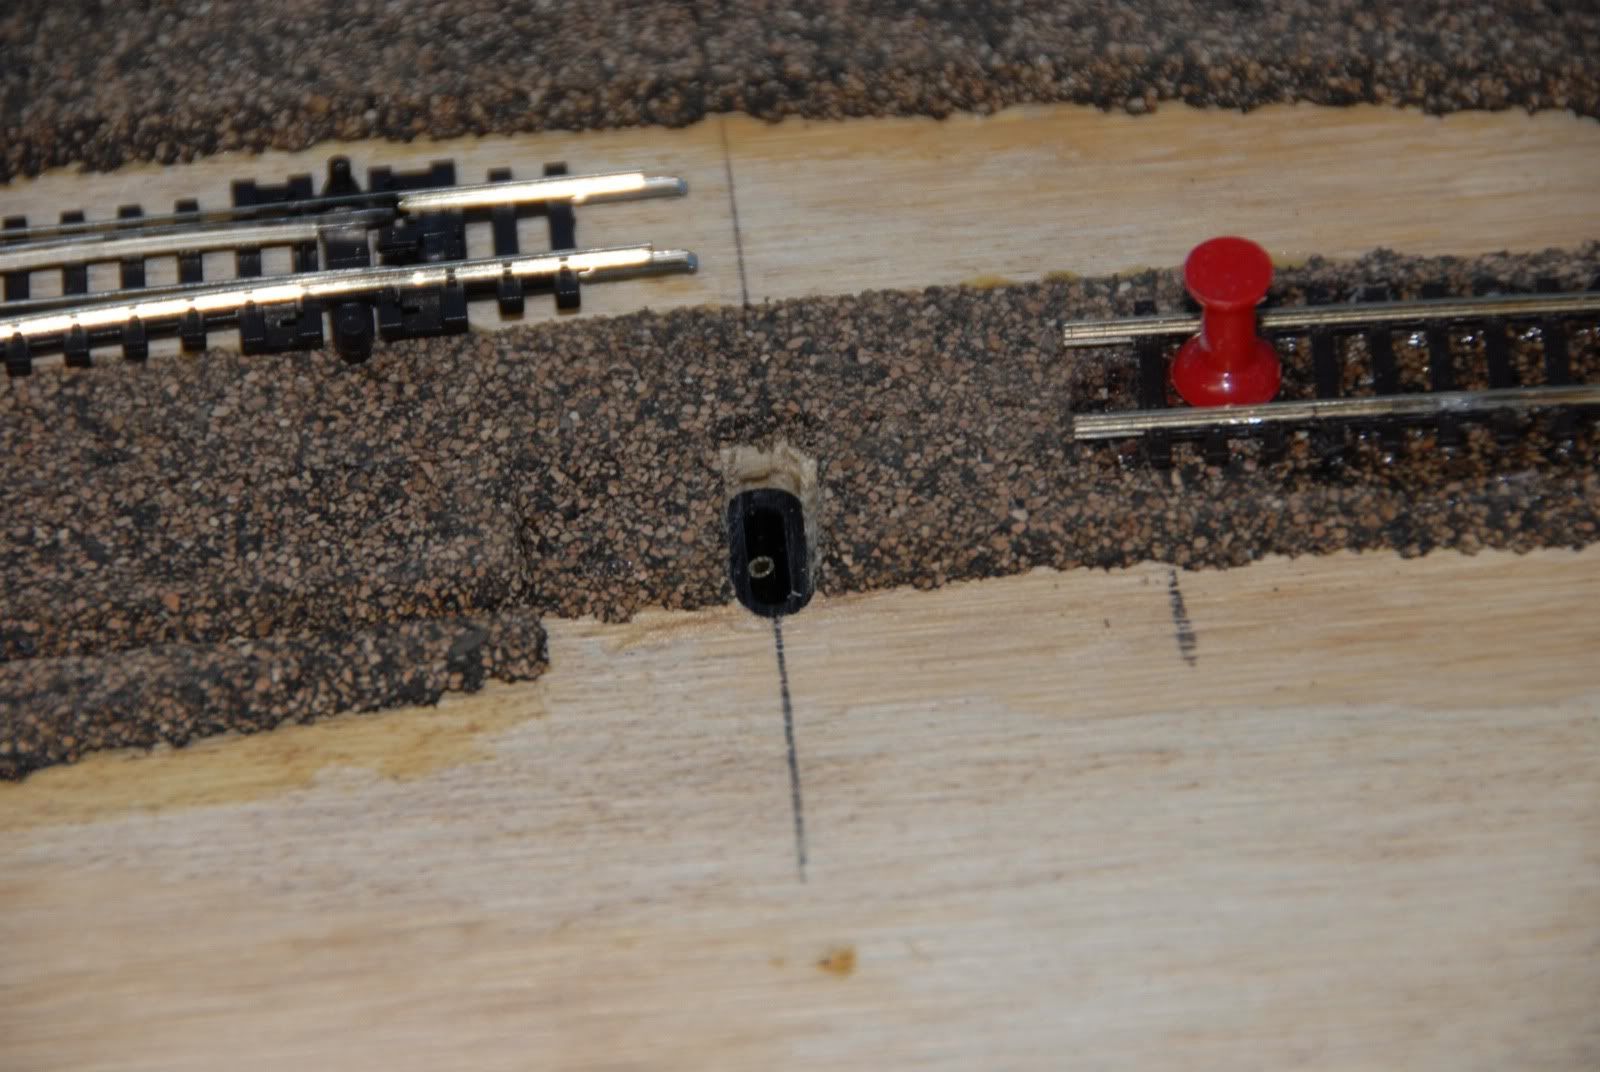
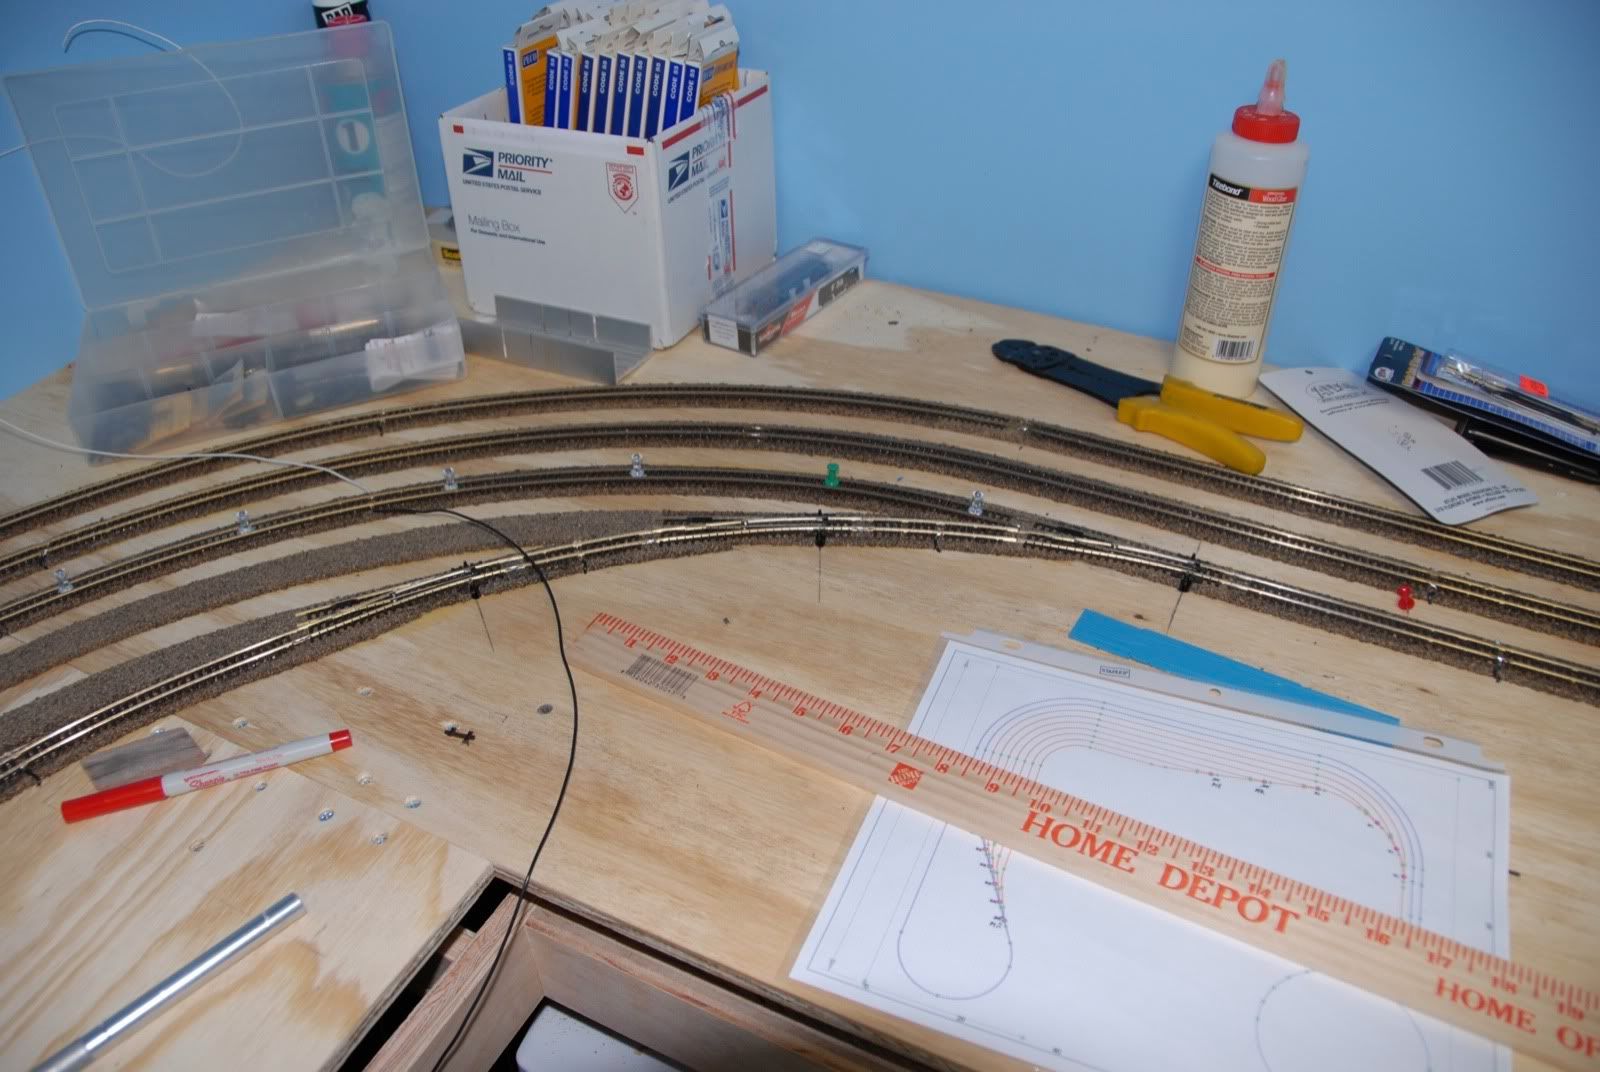
Line those up and mark the two circles with a thin Sharpie. This will then give you the location to drill 2 1/4" holes. Once the holes are drilled use a jig saw to connect the holes. The results will look like this:
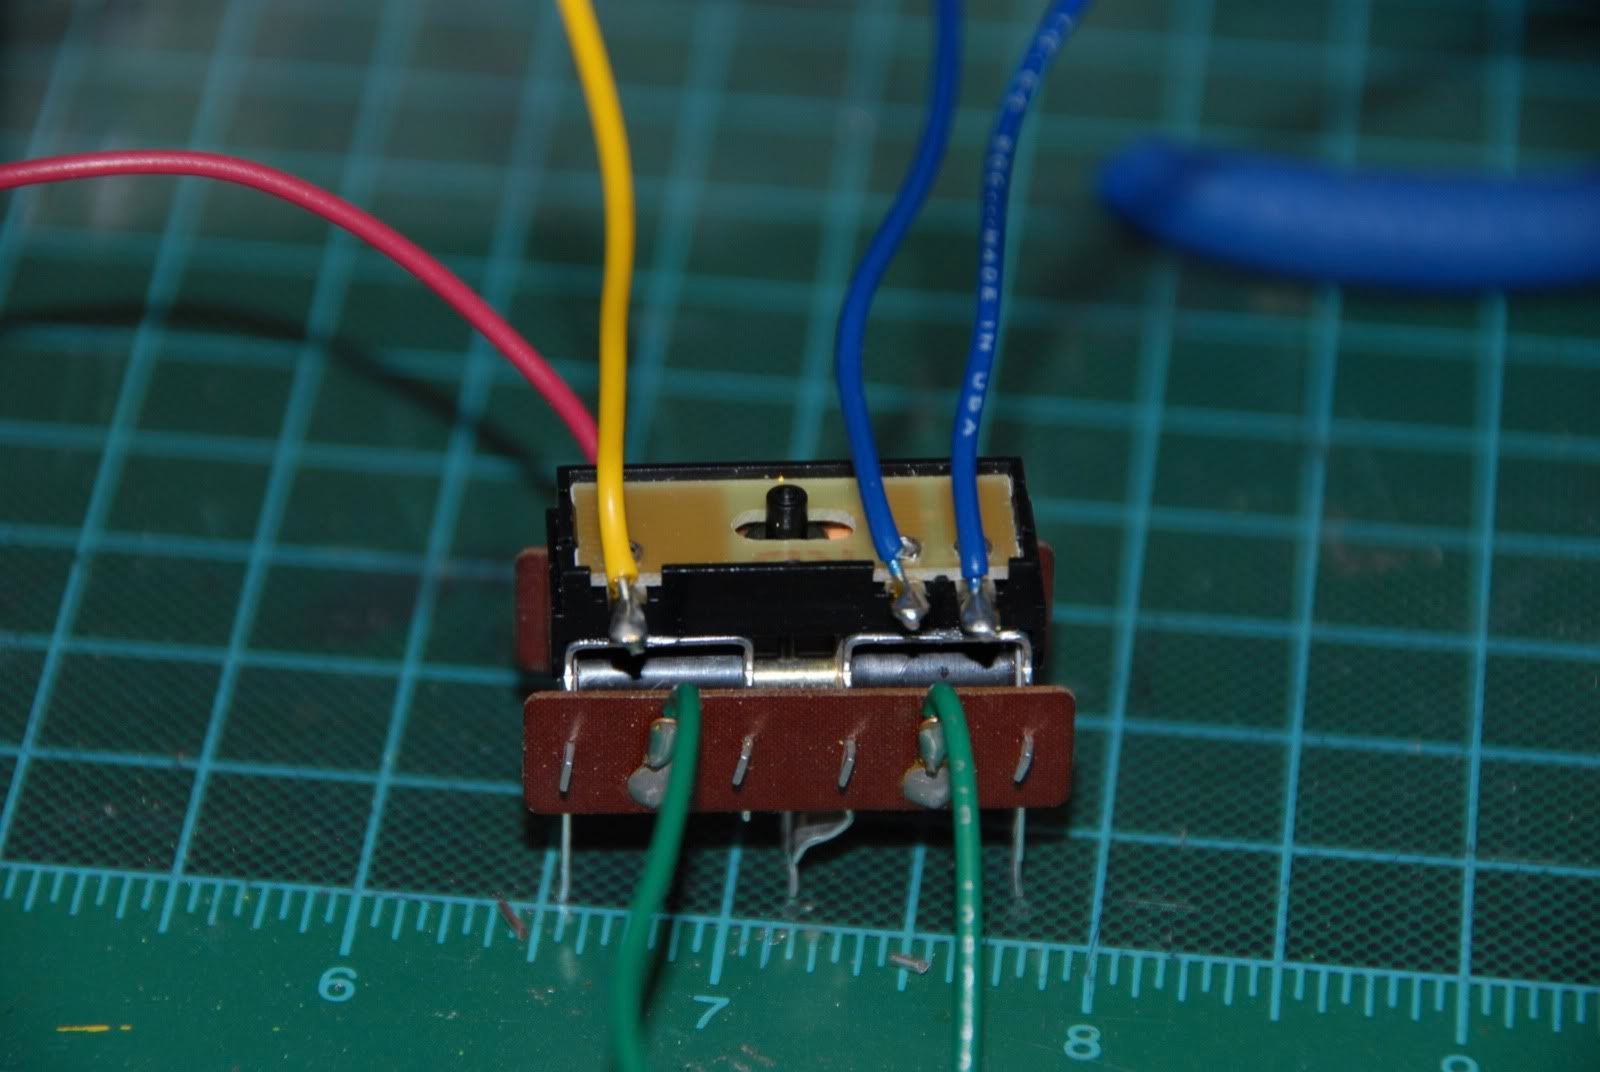
Back to the PL-10/PL-13, solder on some wires.
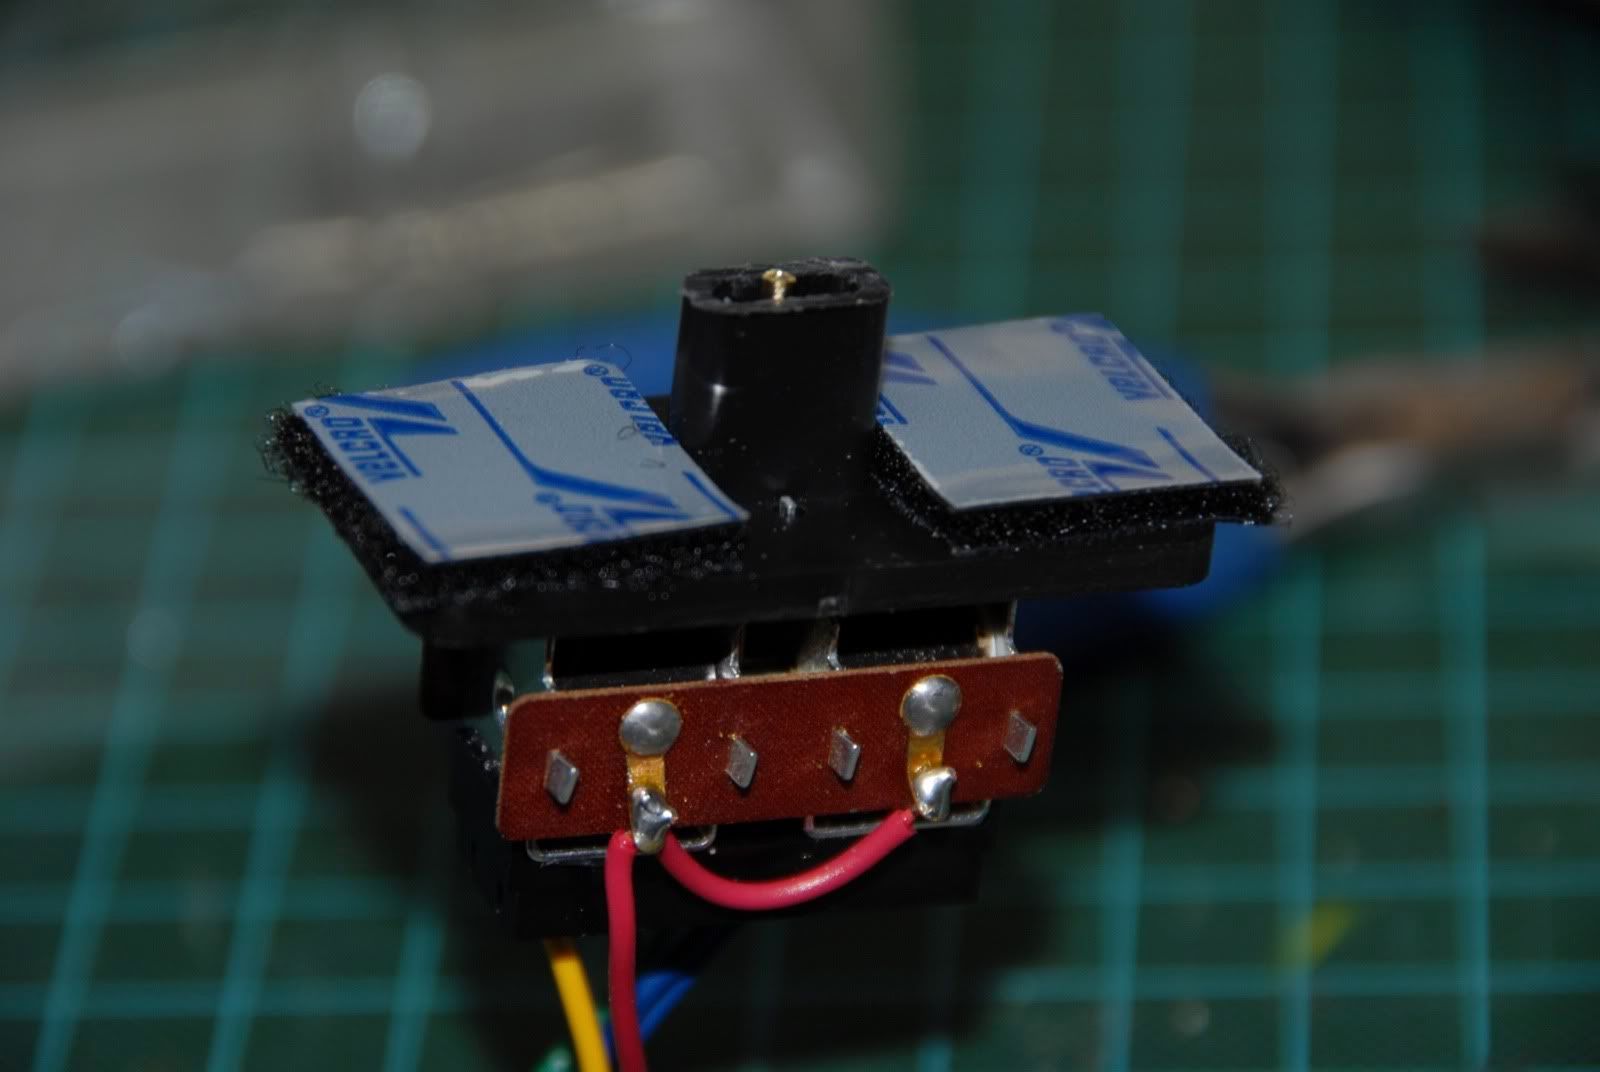
Mount the Invis-A-Mount to the PL-10 and bend the tabs of the PL-10 to hold it to the mount. Finally, I used some industrial strength velcro to hold the whole assembly in place. The mount comes with screws, however I'm using the velcro for installation/deinstallation ease as well as adjustability.
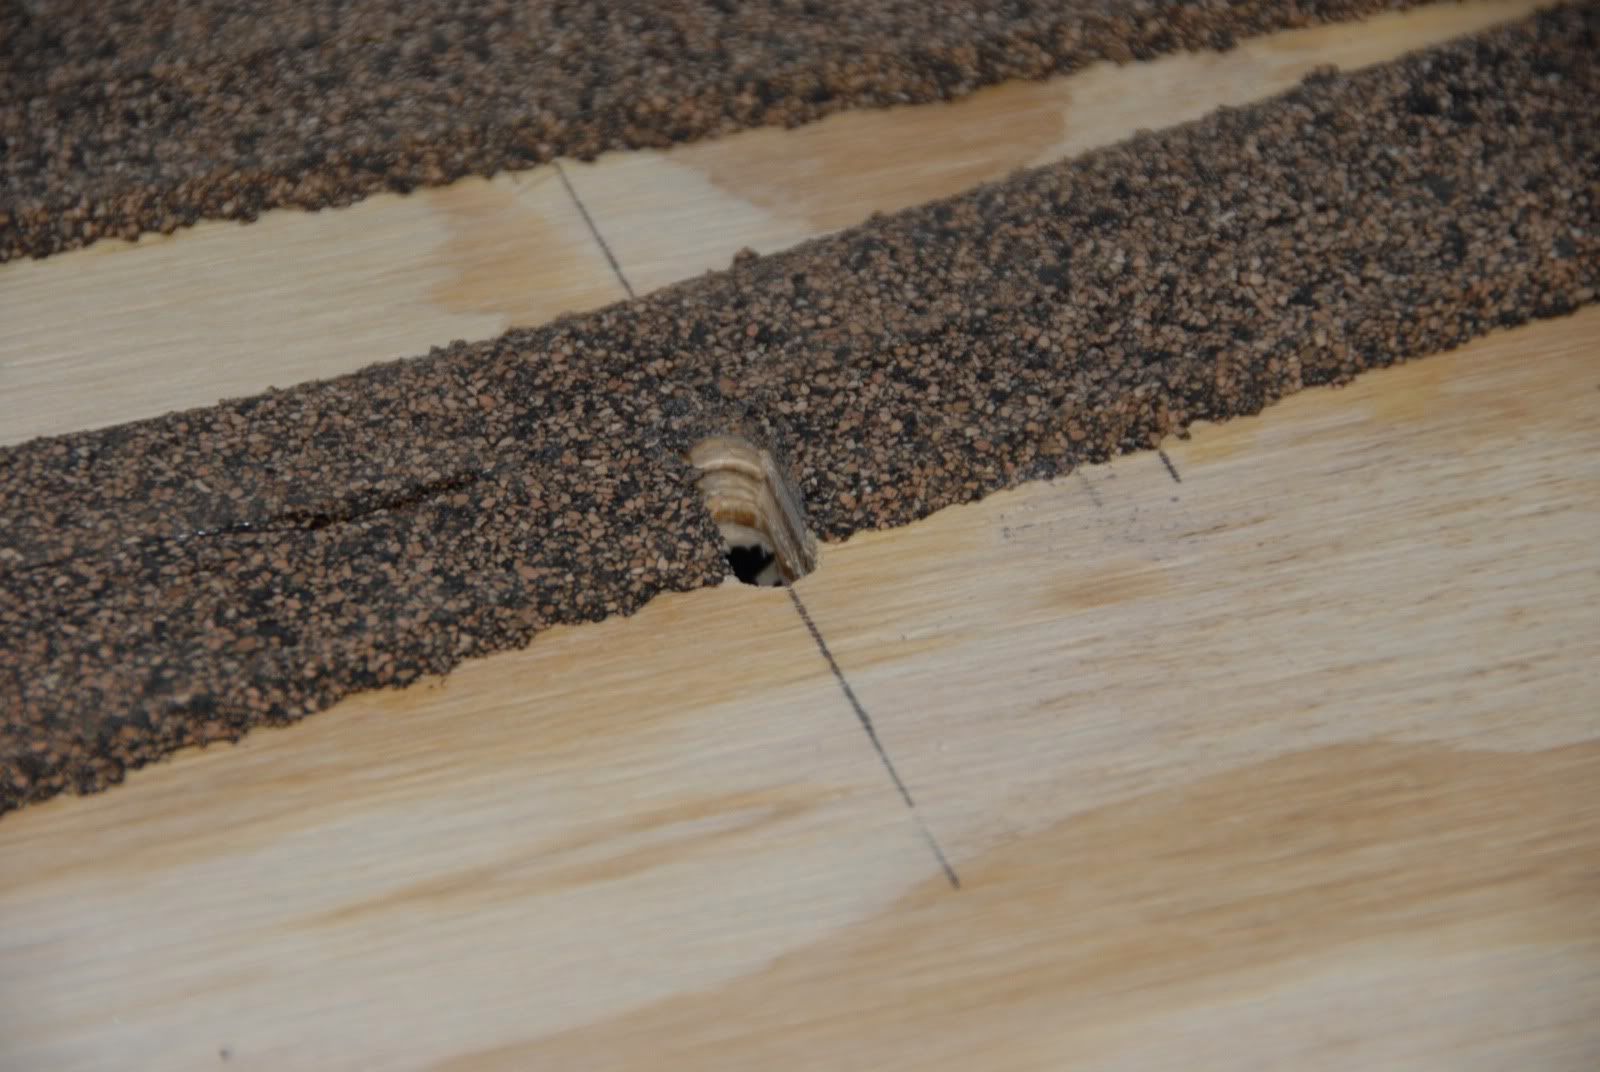
The mount needs to be trimmed to match the plywood thickness as does the extension tube which goes between the PL-10 and the turnout. Attach the whole assembly to the underside of the layout. You can see it peaking out thru the hole.
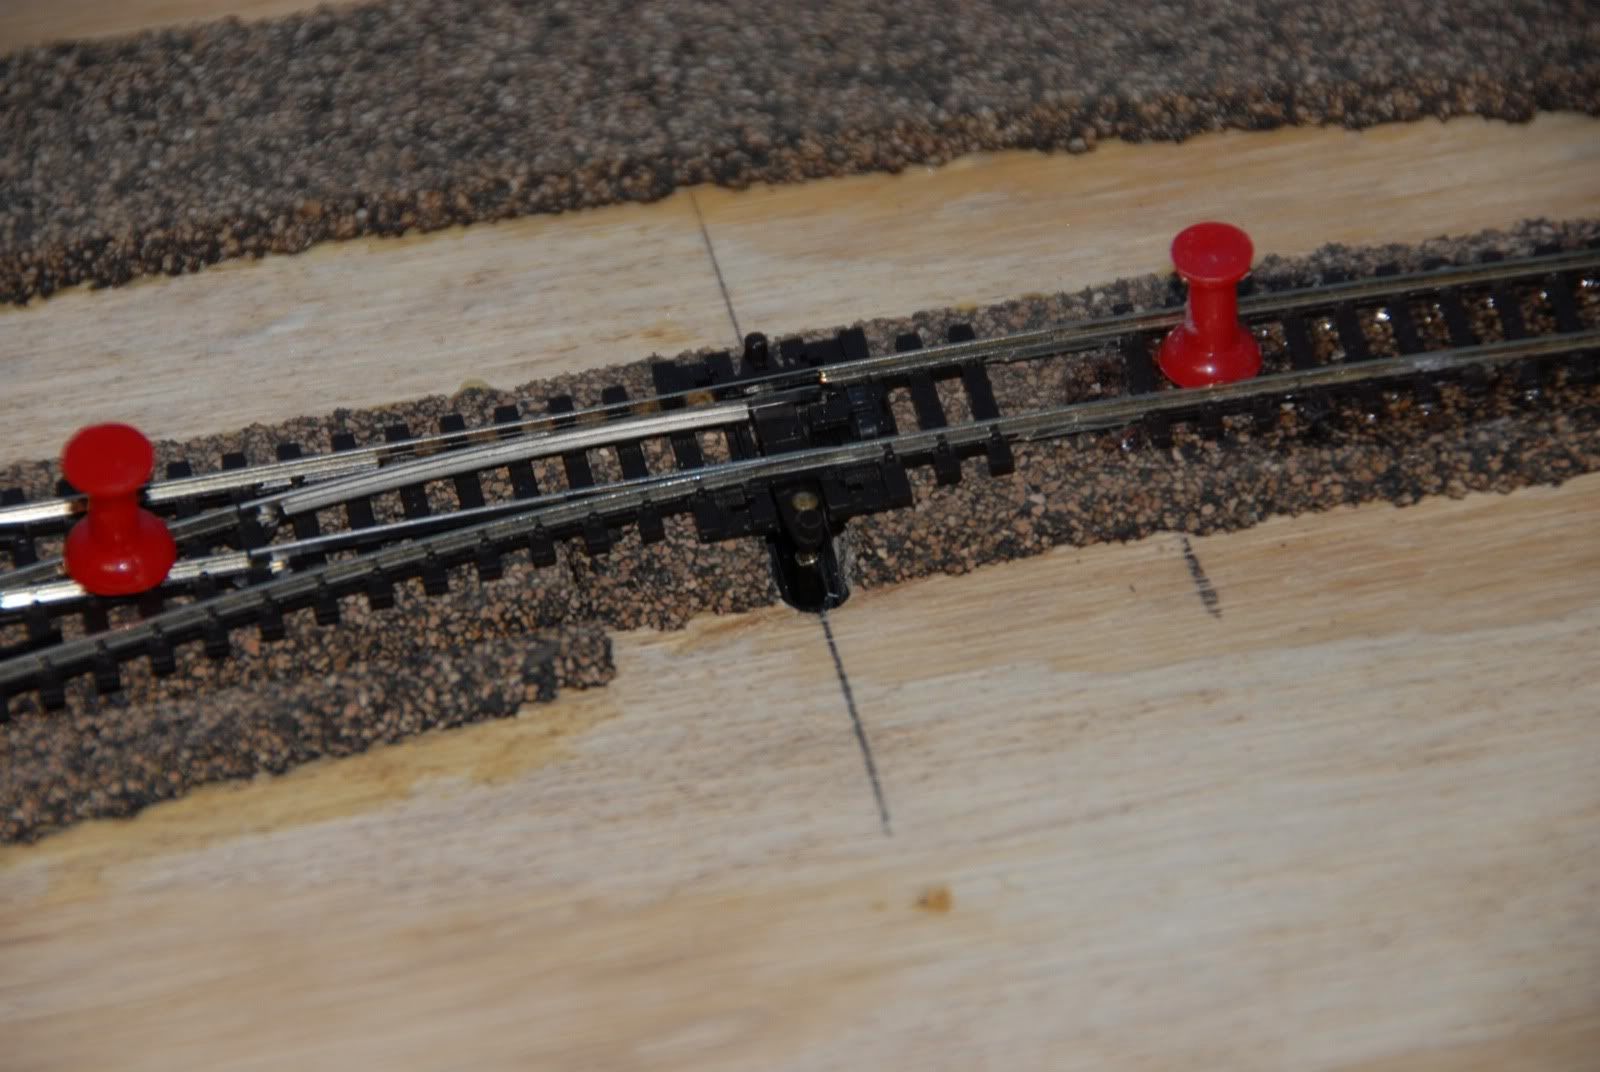
Finally put the turnout in place, connecting it to the undertable assembly with the included nail going to the extension tube. Test it and it's ready!
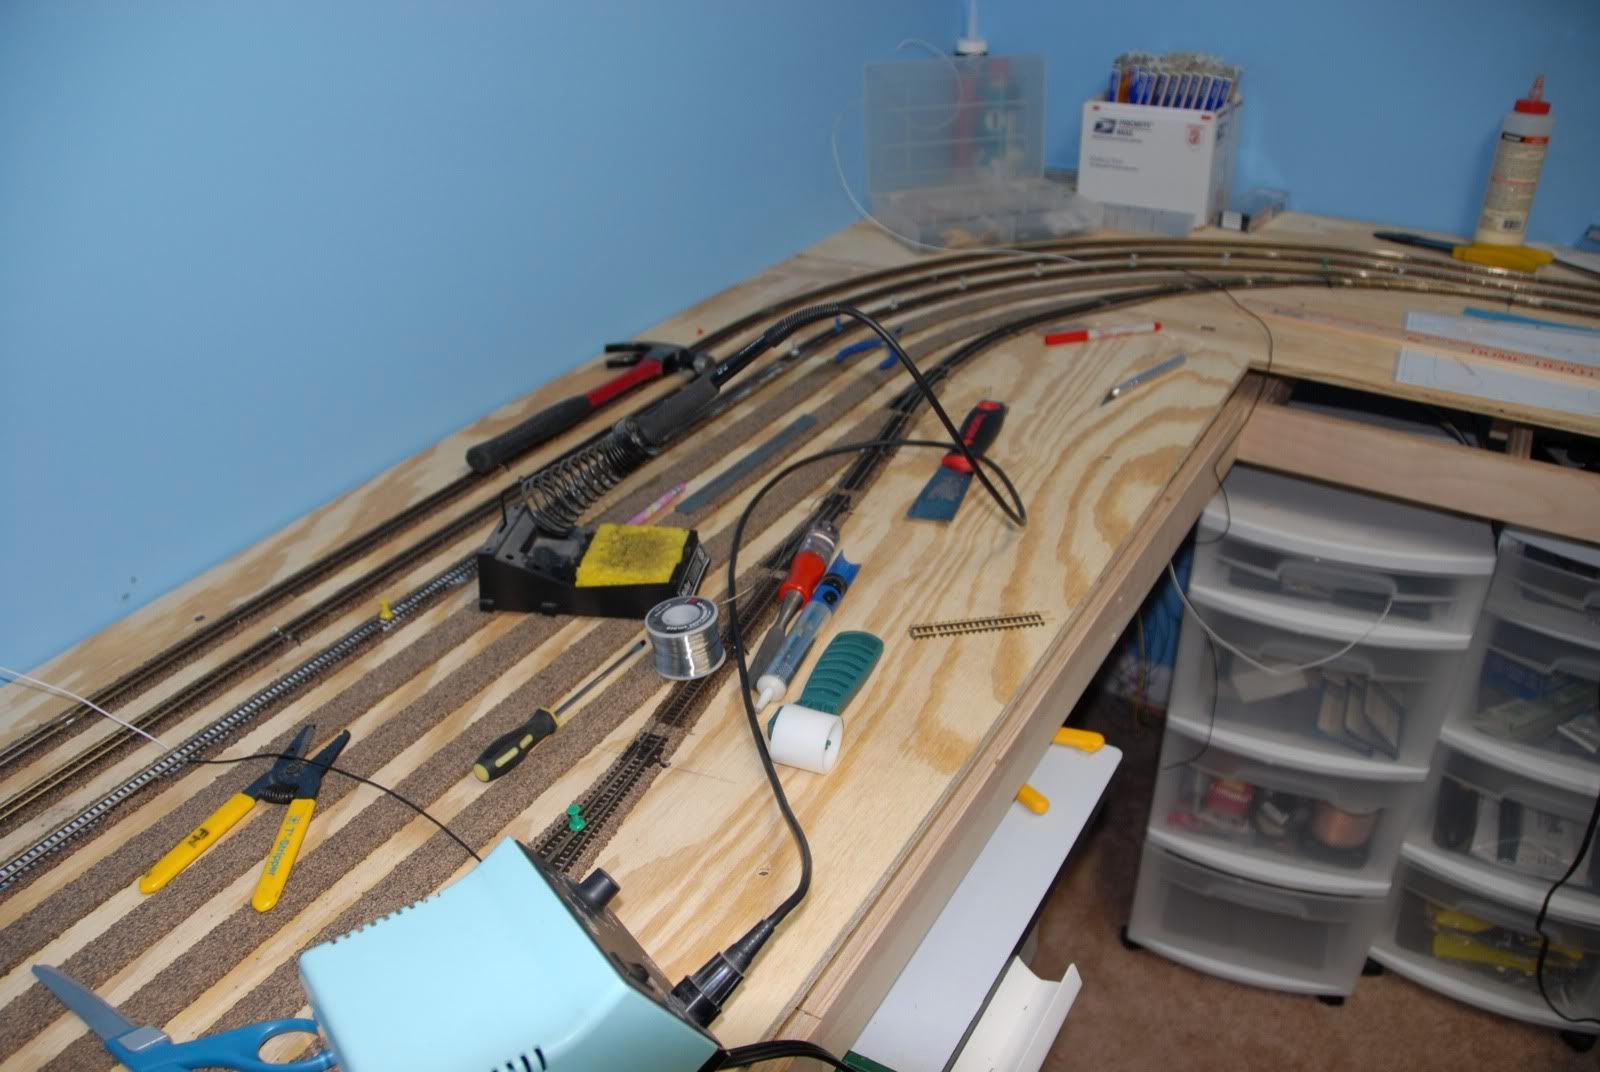
As I said at the beginning of this post the turnouts are in place, as is the flex for the mainline. The flex for the staging tracks is about a third of the way there. Once the track is in place I will go back and finalize all the blocks using a Dremel to cut the rails for the blocks as well as complete all the feeders. Then the undertable wiring begins.....


No comments:
Post a Comment