Another busy week on the Cahaba Southern, unfortunately there isn't that much to see in terms of changes. Started off the week putting some Digitrax DCC decoders into some locomotives so that the fleet will at least be partially ready once the track is laid. Speaking of track, there are 2 things I'm doing on this layout for the first time: Using undertable turnout switch machines for the Peco turnouts and using adhesive caulk to secure the flextrack down to the cork roadbed.
I've gone with using Peco turnout switch machines mounted undertable, and spent an evening figuring out the easiest way to mount them, as I have 30+ to install, and I want to install them as I'm going along. I'll describe how I mount them in a future post. As for the use of caulk for laying the flextrack, it is working well, however it is slower than nailing down the track. There have been many articles in the literature on how to do this, so I won't bore y'all with the details.
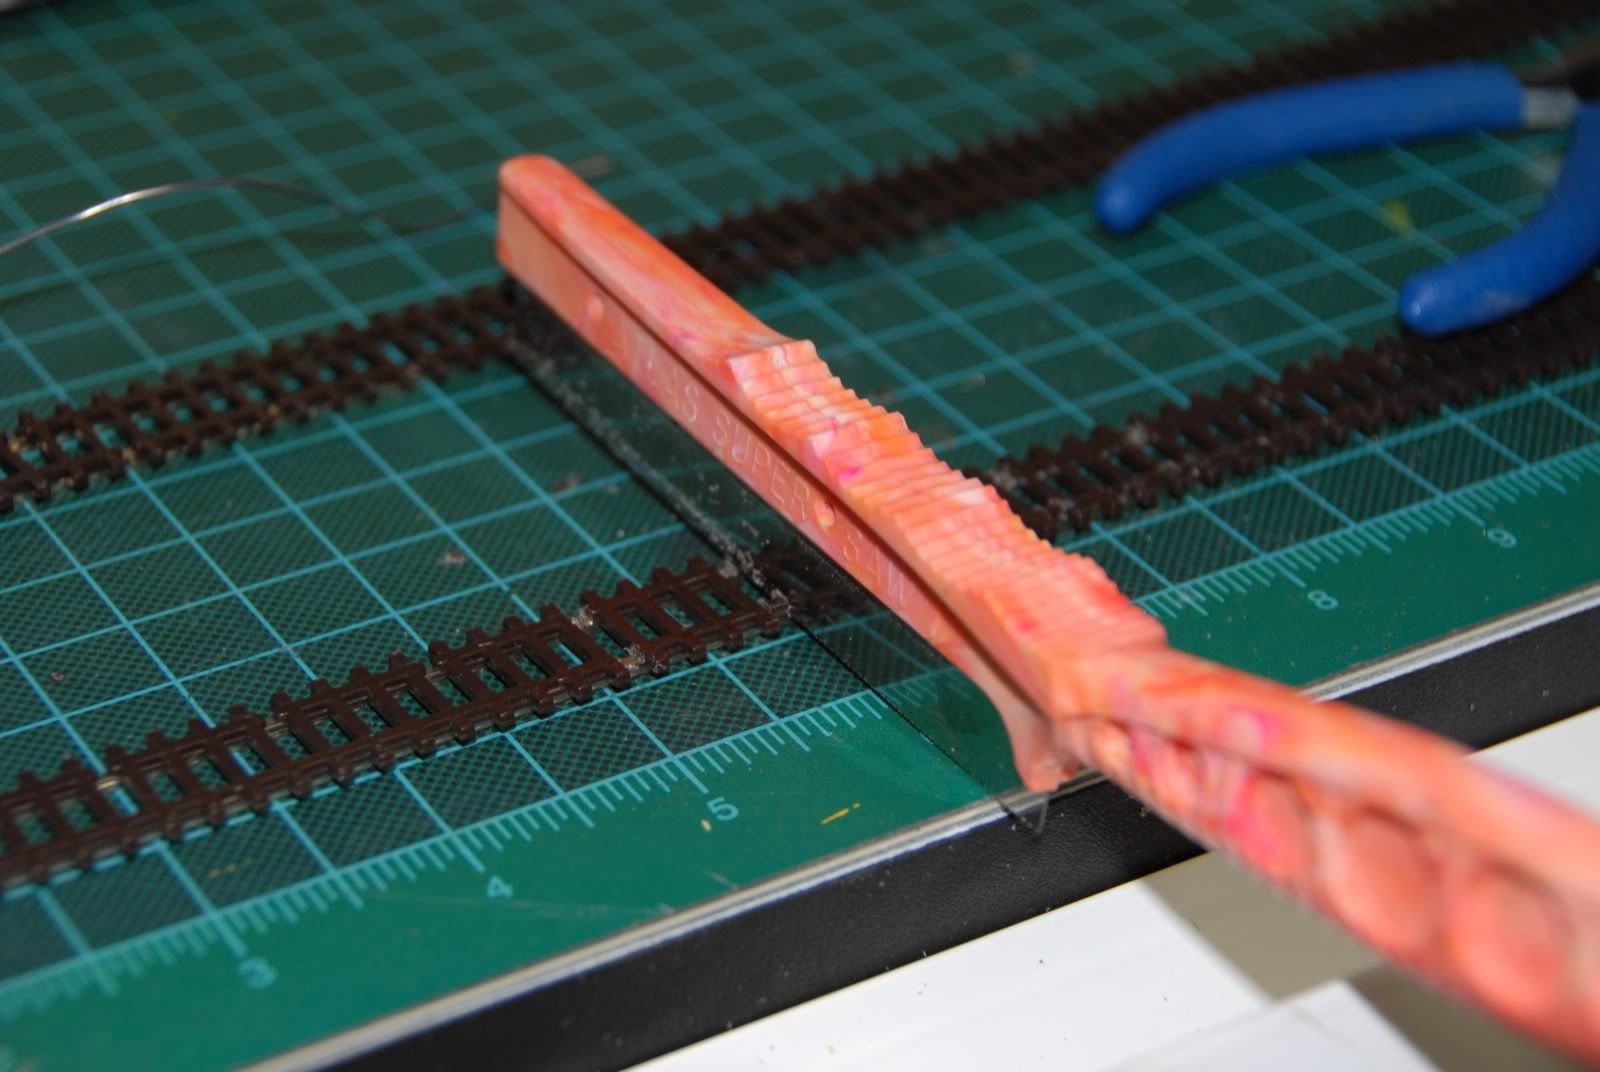
Speaking of flextrack, one of the things one has to do is provide power to it. Soldering feeders is the way to go, however I wanted to make the feeders invisible once the track is down and ballasted. First, take the track and turn it over. Look for the gaps on the flexible rail, those mark where we want to do our work. Remove the plastic backing on the opposite rail from the gap using a razor saw. Be sure to just cut through the plastic and not the rail, as shown in the following picture:
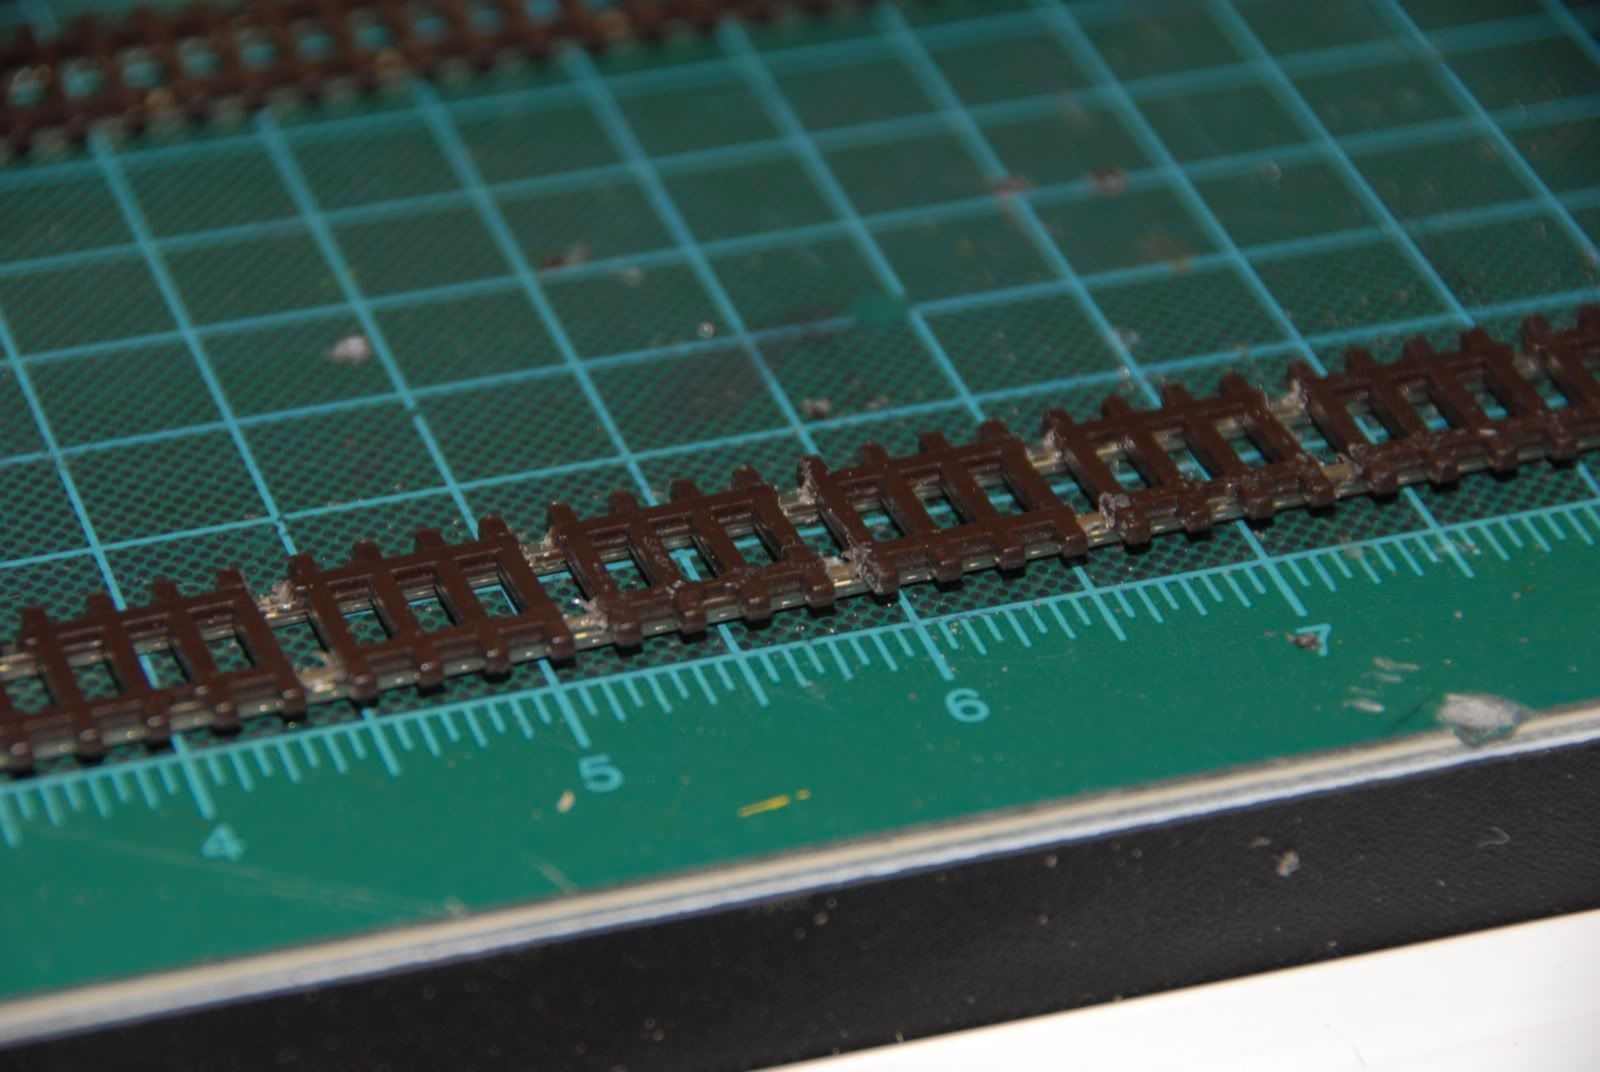
Cut thru 5 adjacent gaps and use a pair of pliers to remove the remaining plastic, being careful to damage the ties. It should then look like this:
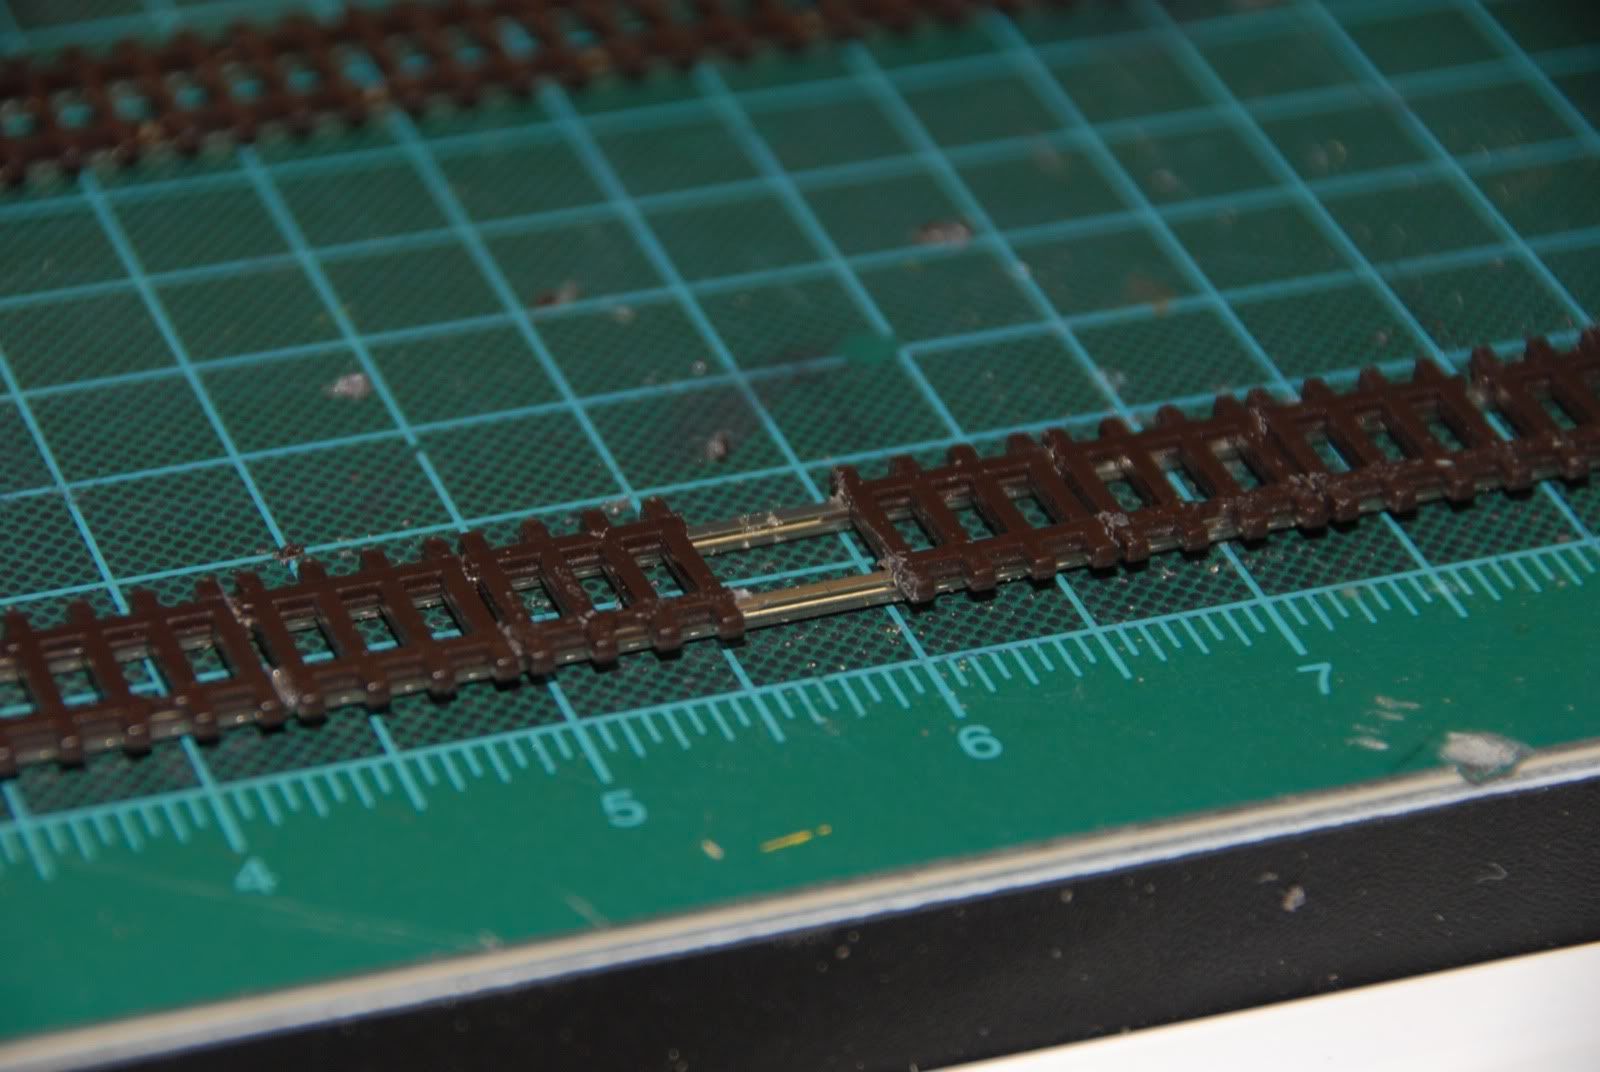
Slide the 4 sections apart, leaving a large gap in the middle as shown:
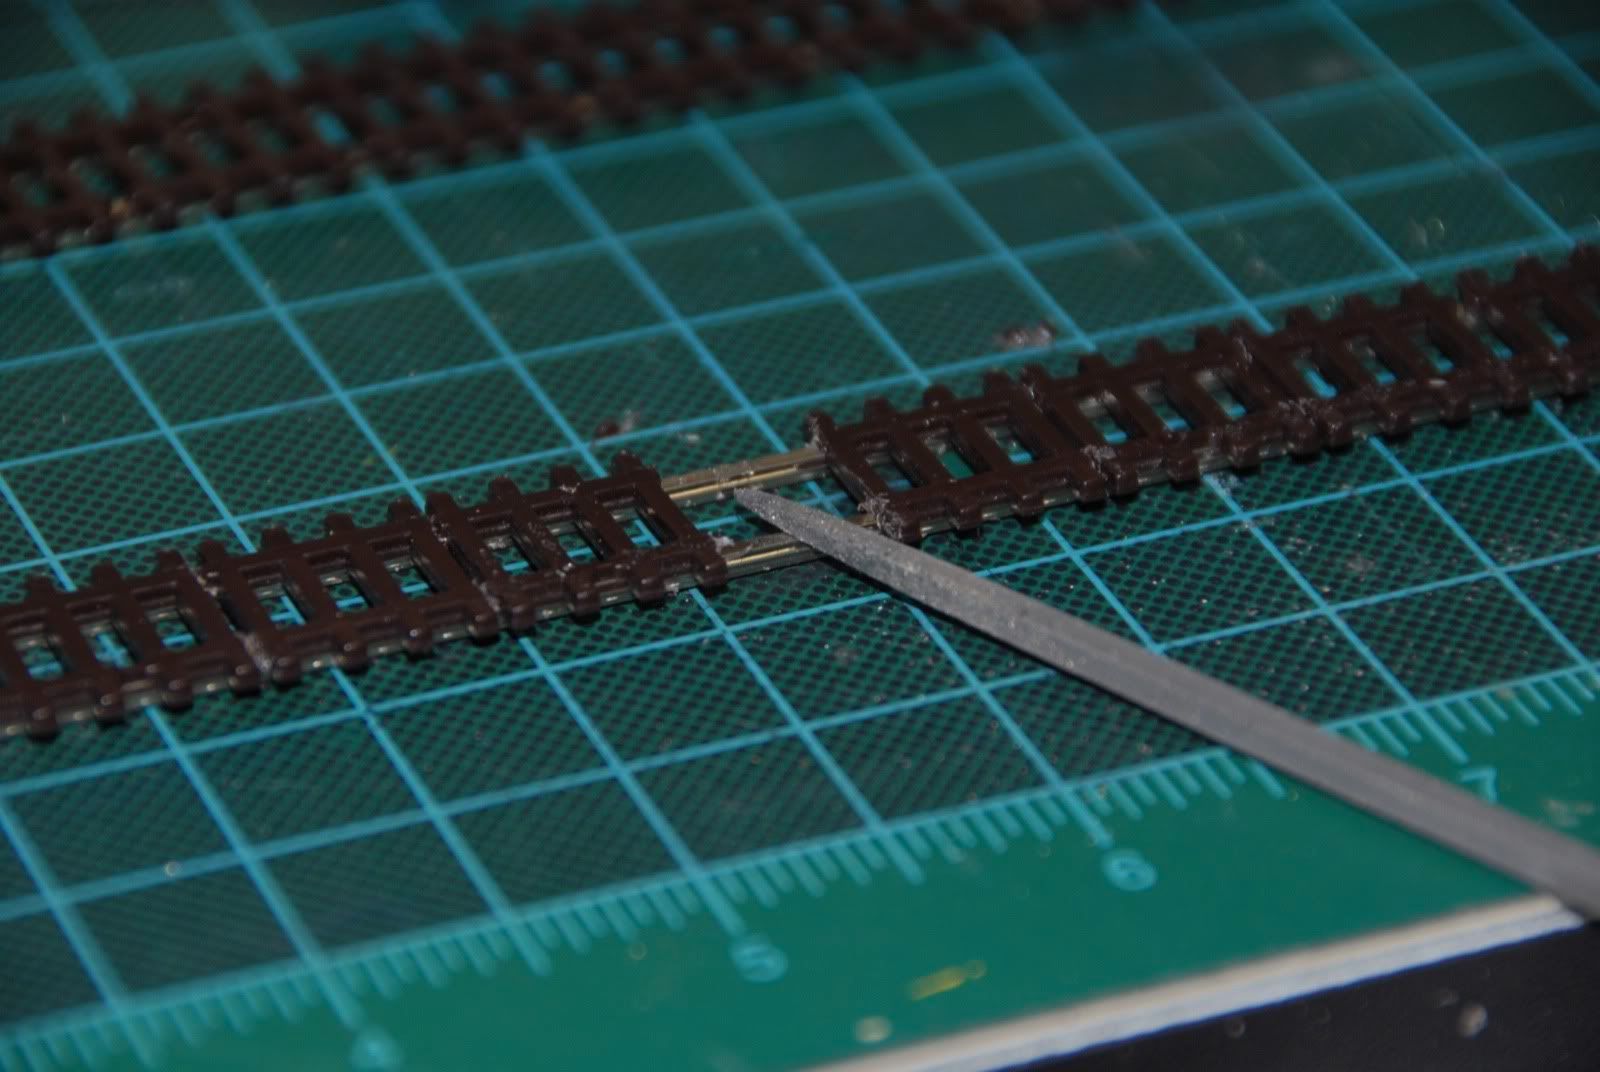
Take a small file and roughen up the bottom of the rails. This will give the solder a better surface to adhere to.
Lay the 20 gauge wire as shown and solder using some 60/40 rosin core solder. Here is the wire laying down on the rail, held in place.
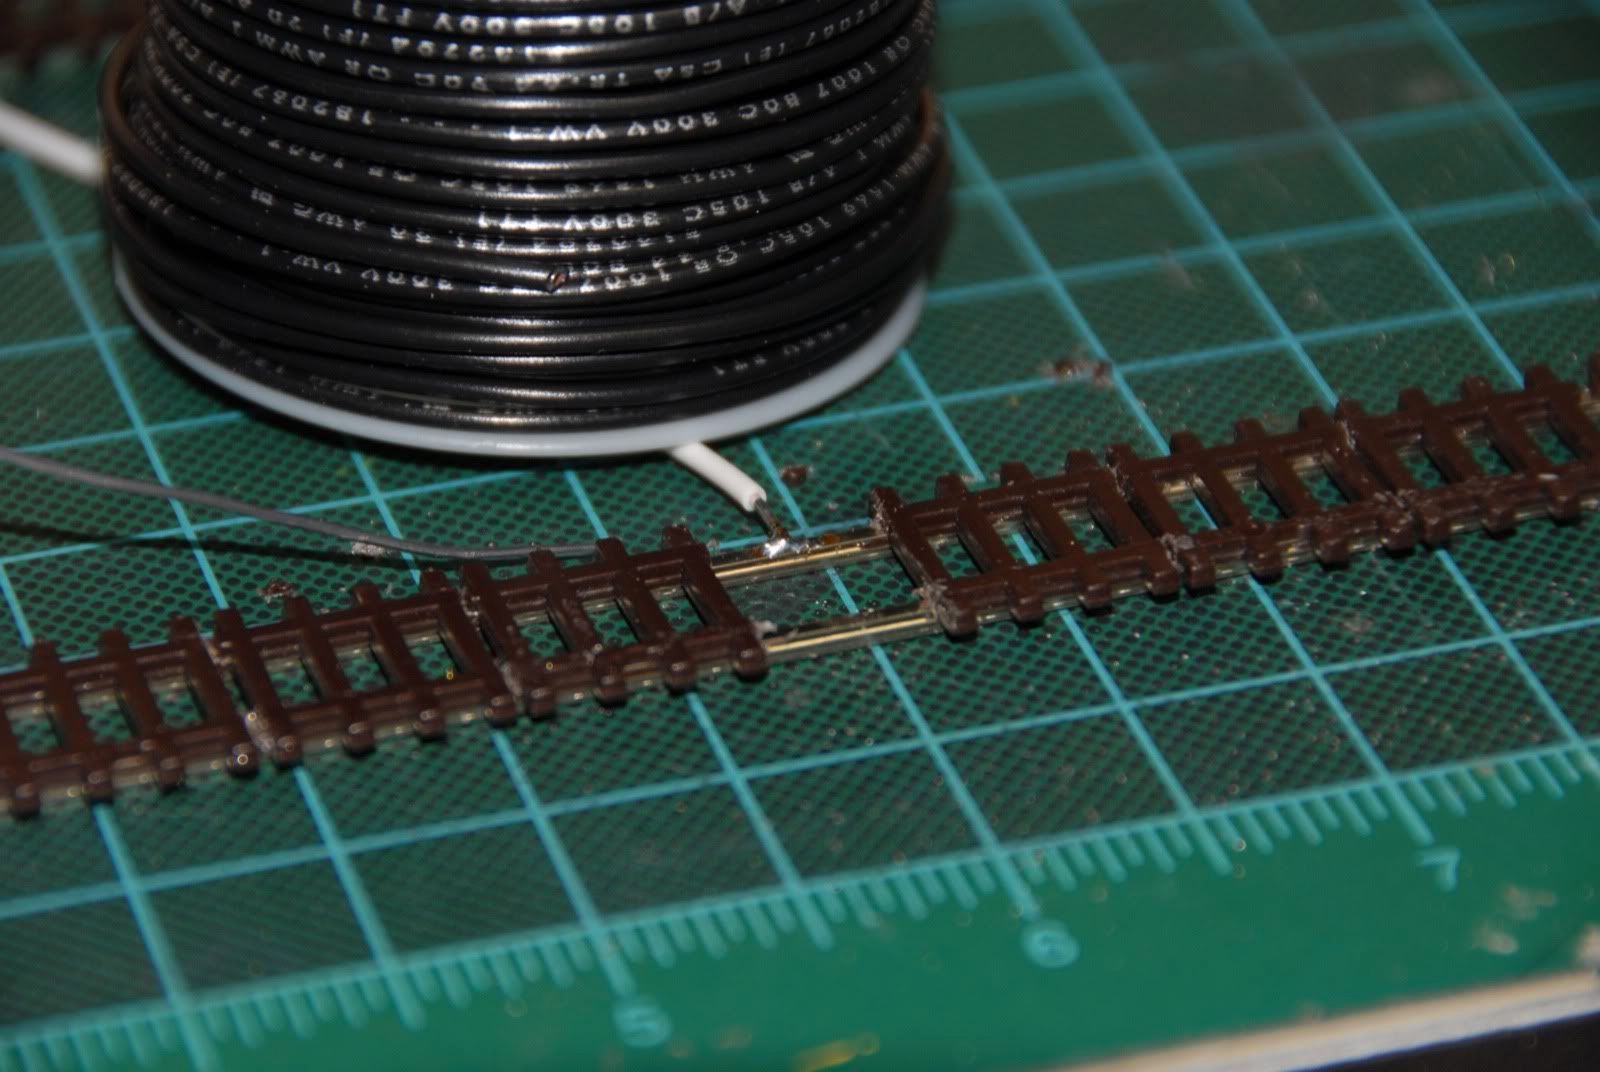
One thing I highly recommend is a good soldering station. You want higher heat than you can get from your standard $20 25-watt soldering iron, as the higher heat let's you get the solder melted quickly, as taking too long will melt the plastic of the ties. I use a Weller station with adjustable temp, which I have set to 750F. Here is the wire should look after soldering.
Here are both wires soldered to the track:

File the solder smooth on either side of the wires, and then slide the ties back into place.
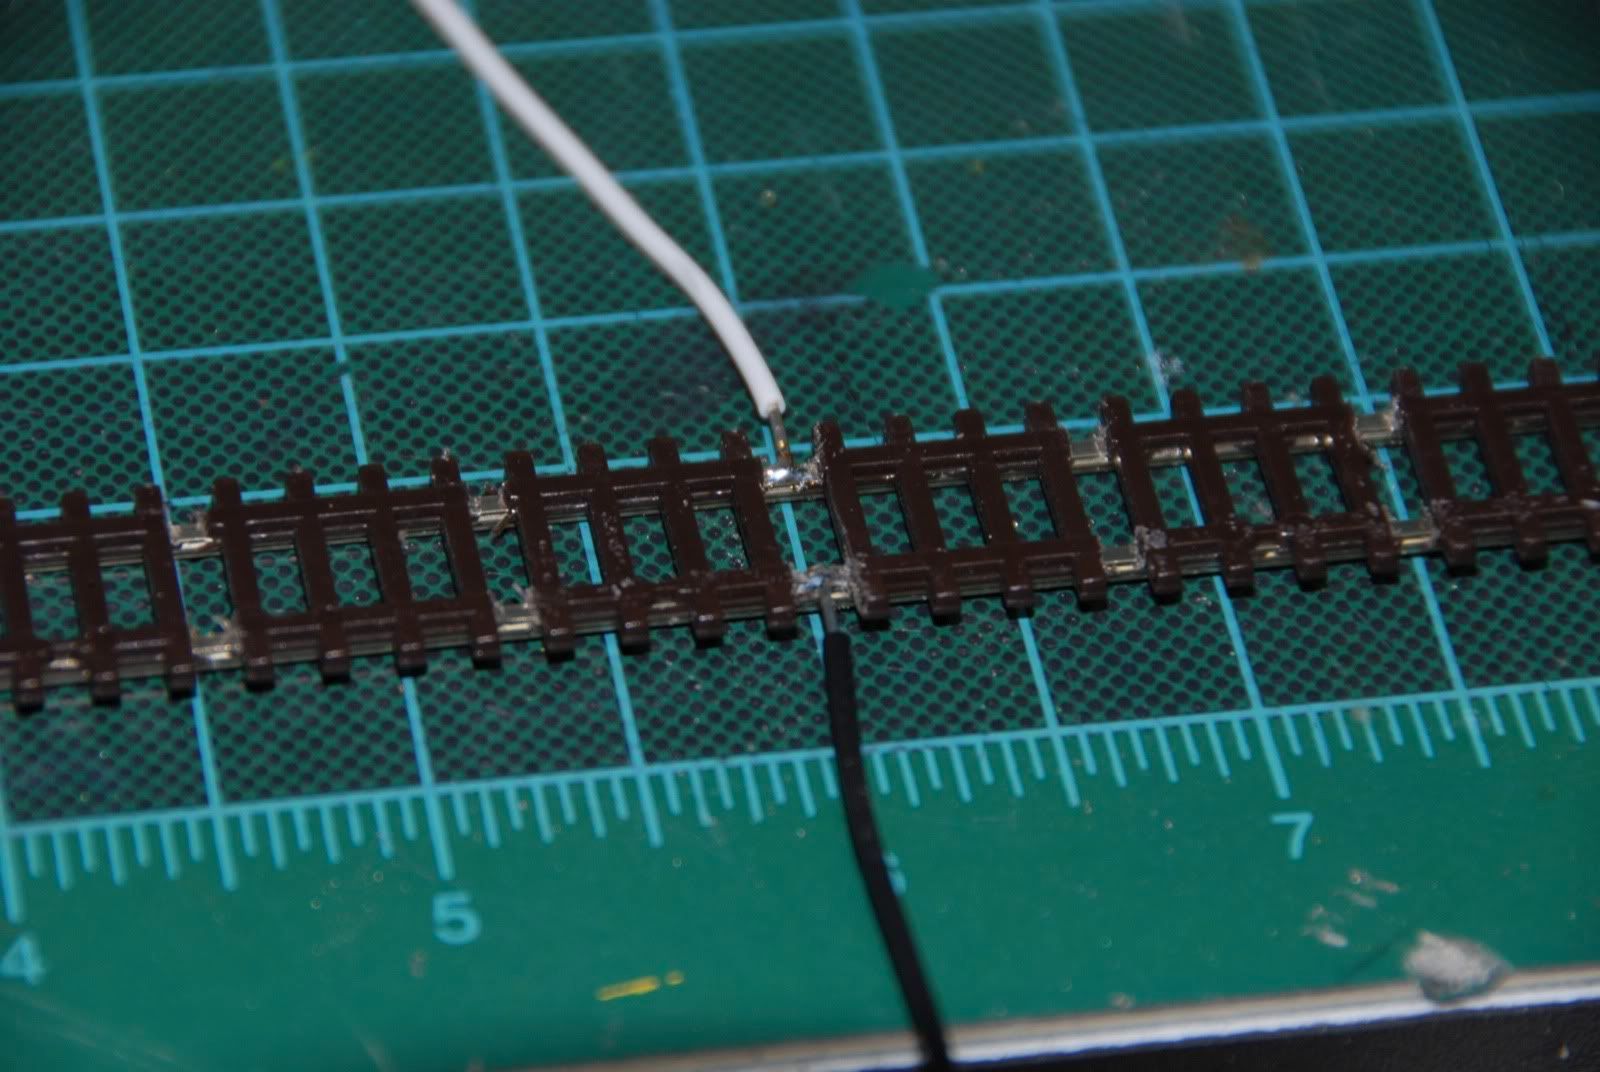
Turn it over and you are done. As you can see the ties are back evenly spaced, and no large solder blob visible on the side of the rail.
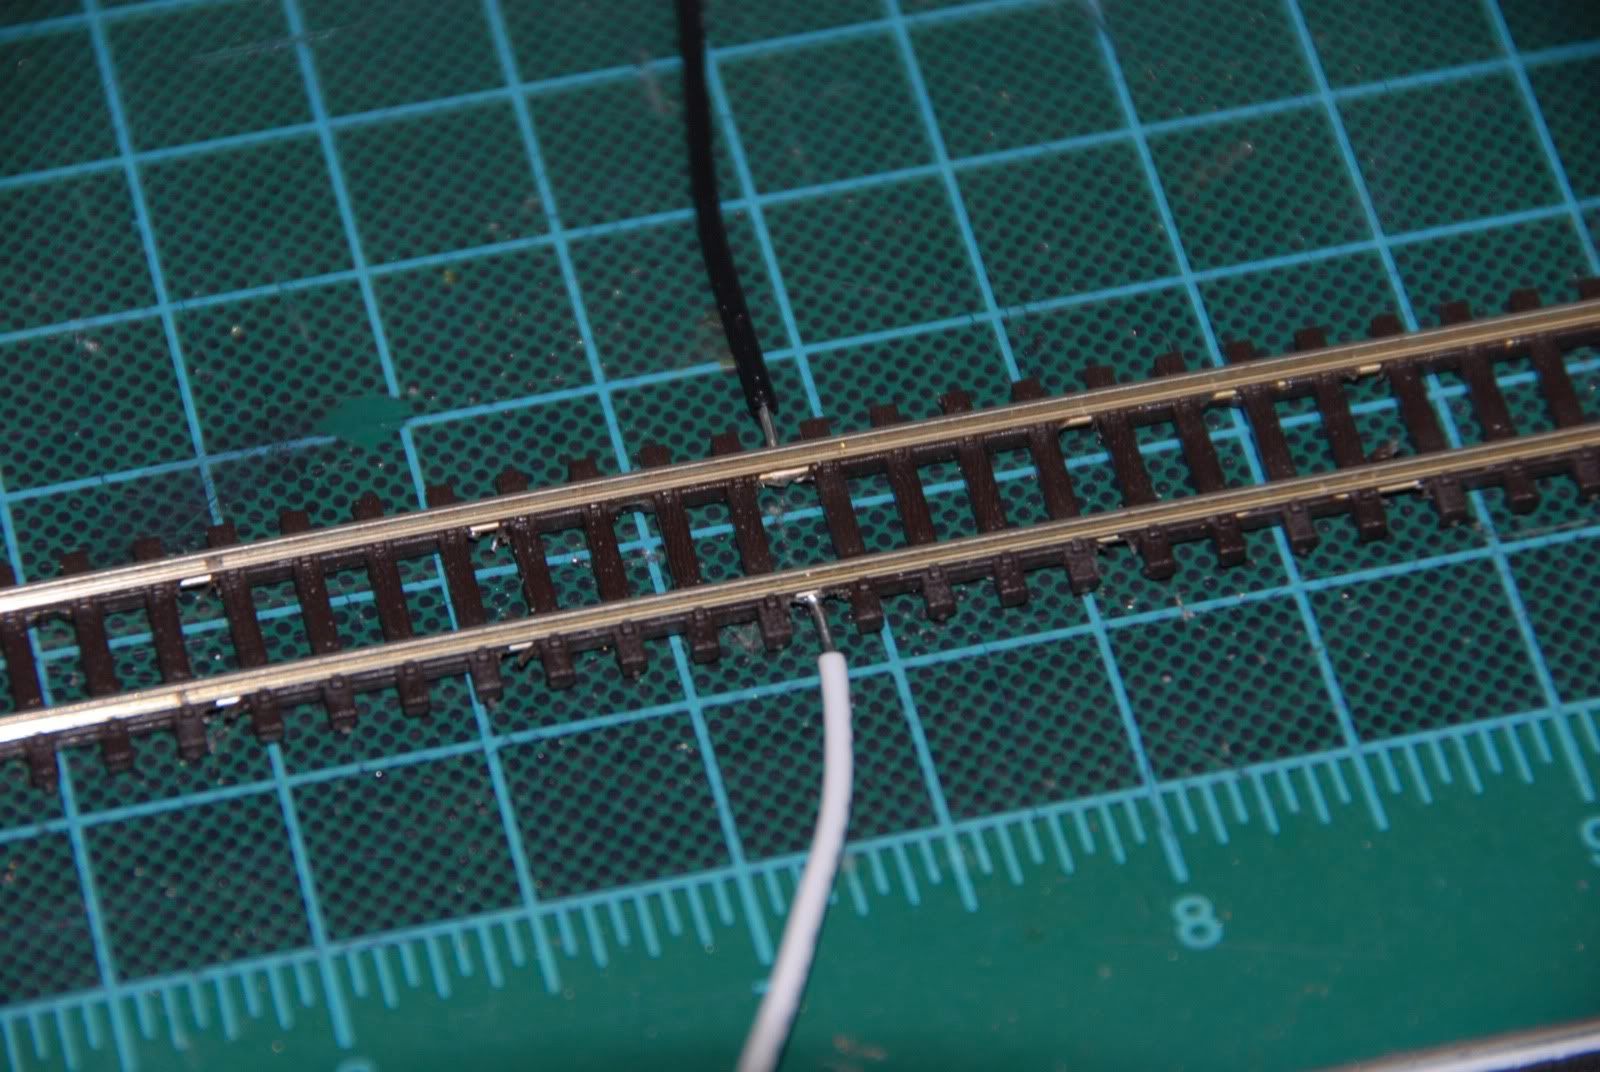
Lay the track and cover the wire with ballast, making an invisible power feed.
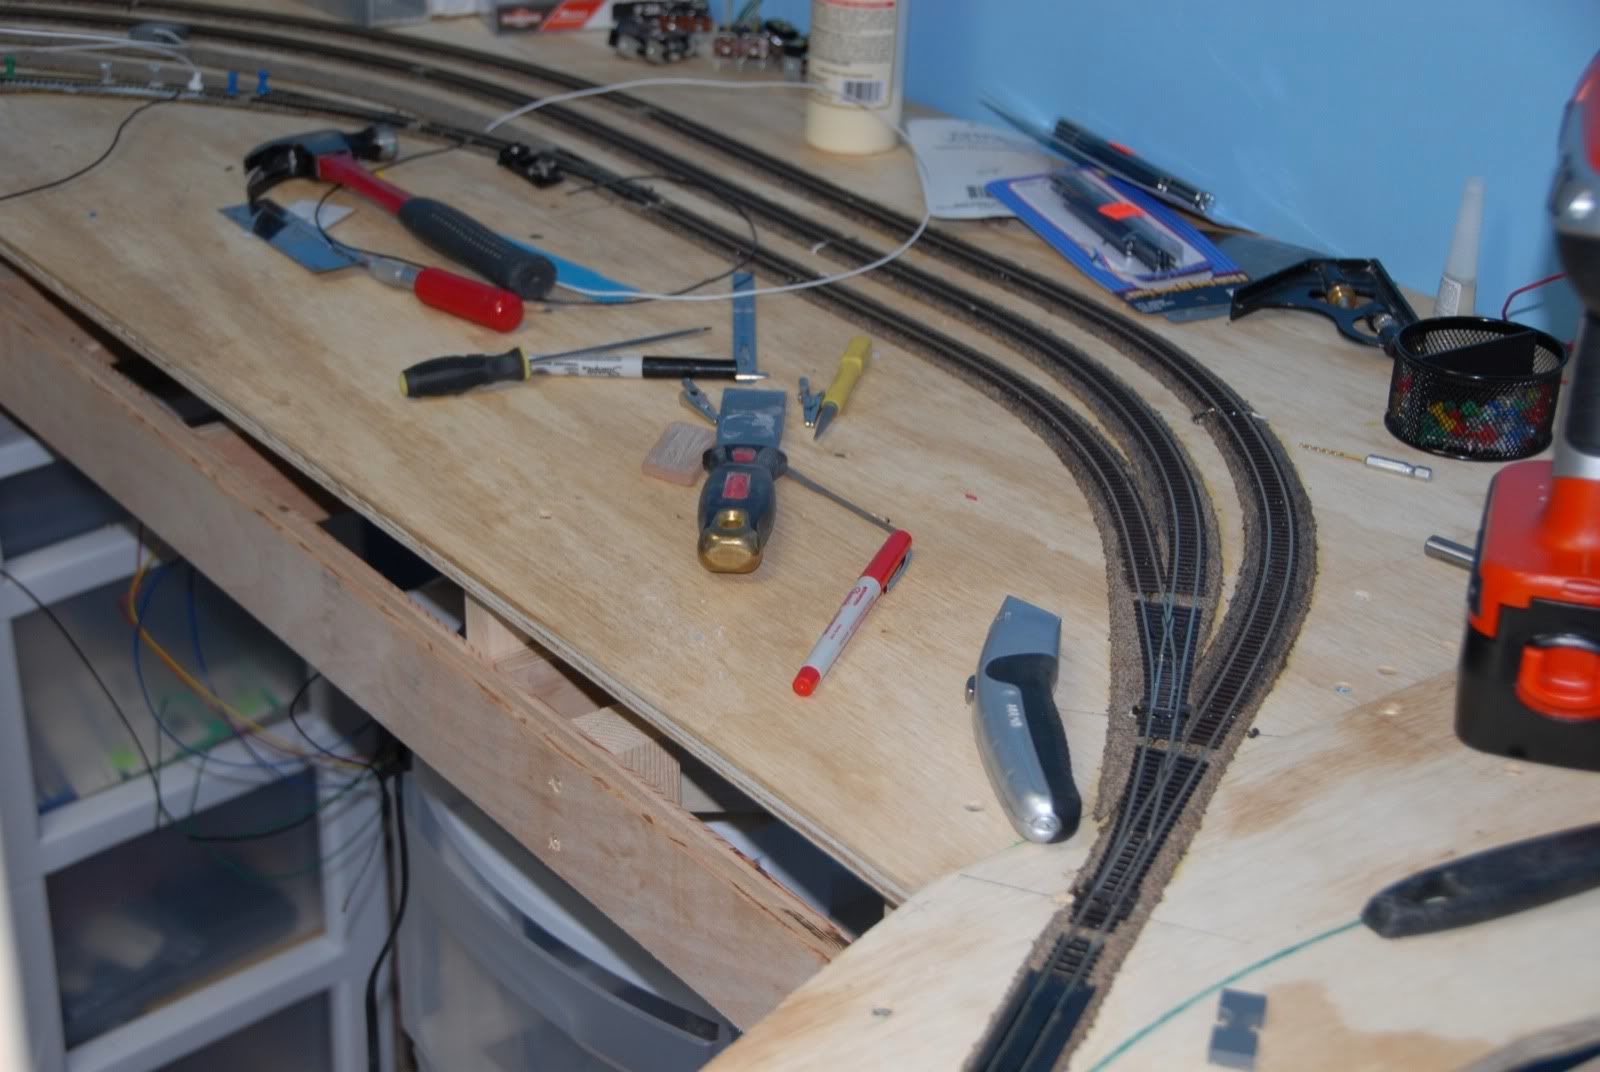
One final pic of this post, showing some of the progress this week. Excuse the mess, work in progress!!
What an awesome blog! I love the model train project!
ReplyDeleteHi Mr. Williamson,
ReplyDeleteMy husband and I live in Columbiana, He also is modeling an N scale layout. He took over one of our rooms in the house. He has his o -scale running around the ceilings of our home. He and my 6 year old son love trains and any thing to do with it. I love to catch them coming and take pictures. Glad to know that someone close is modeling an N scale.
Thanks for the kind words. I started the blog as a way of giving back to the hobby I so much enjoy. Hopefully it will inspire a few more enthusiasts to take up the hobby. I'll be trying to keep the blog updated once every week or so, time and other commitments permitting. Hope to see y'all around some more!
ReplyDelete